Increase Sales Conversion
Can’t turn your site traffic into sales?
Reduce Cart Abandonment
Your customers abandoning their carts?
Promote Products & Offers
Make potential customers notice special offers.
Collect Form Submission
Struggling to collect form submissions?
Get More Phone Calls
Let them call you directly via popups.
Grow Email List
Having trouble growing your email list?
Gamify Your Campaign
Choose your offer and let the game begin.
Make Announcement
Make sure important news unmissed.
Increase User Engagement
Keep visitors & customers on your site longer.
Collect Feedback & Surveys
Can’t draw attention to your surveys?
Facilitate Social Sharing
Grow social media followers and likes!


Create a ‘Frequently Bought Together’ Popup to Skyrocket Sales
# Create a ‘Frequently Bought Together’ Popup to Skyrocket Sales
If you wish to upsell or cross-sell to your customers with a ‘Frequently Bought Together’ offer, you can easily do so with a popup campaign.
While it’s not yet possible to create an automatically populated section that recommends products based on visitor behavior, you can still configure your popups to upsell or cross-sell to your customers.
Let’s see how.
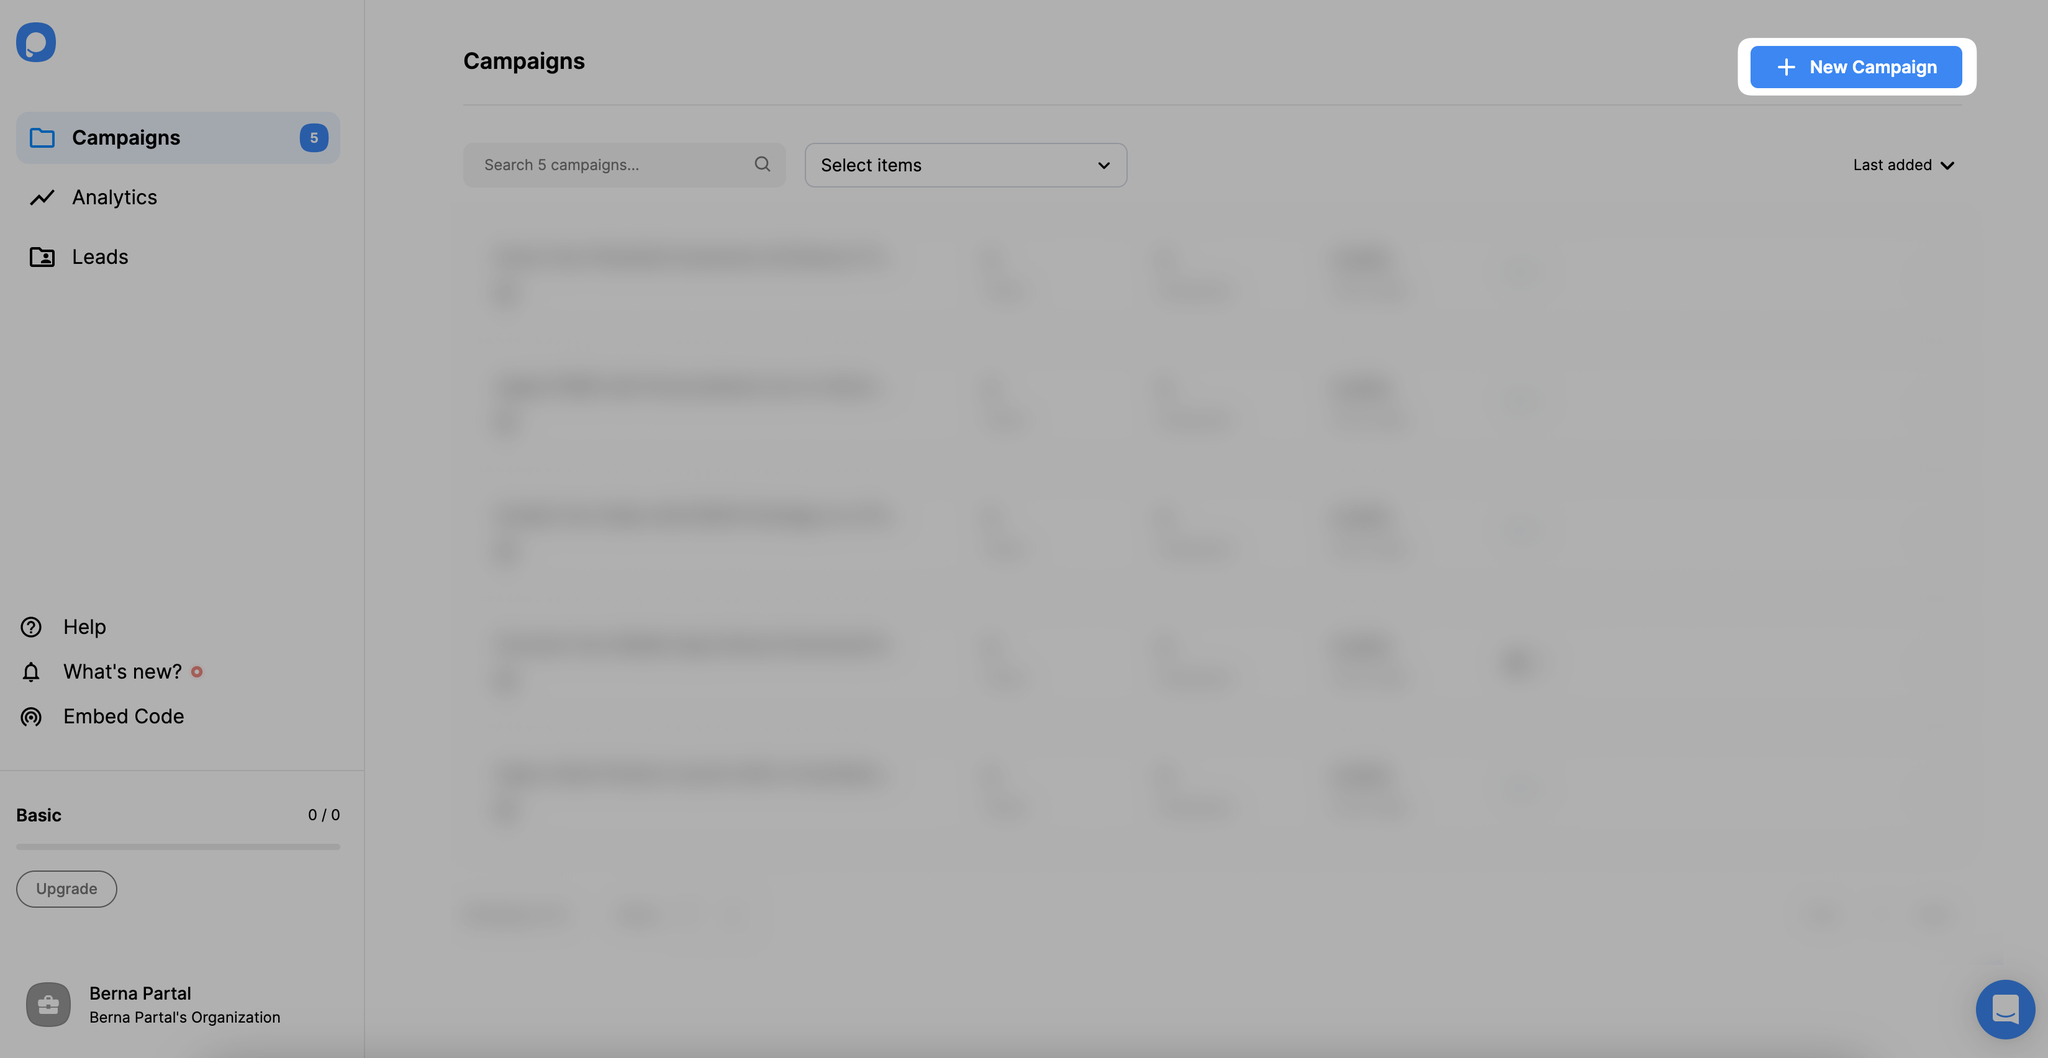
# Step 1: First, sign up and log in to your Popupsmart account. Create a new campaign on your dashboard.
# Step 2: Pick a popup template and begin designing its look.

Tip: Decide on the product category and the products to be promoted on your popup. For example, if a visitor is browsing a specific product category, you can promote another or a product/product bundle offer. This will ultimately increase your customer’s average order value.
Make sure to show product images clearly and write a catchy headline with a call to action to encourage customers to take action.
Pro tip: Notifying customers about the discount on the product is a game-changer that boosts conversions.
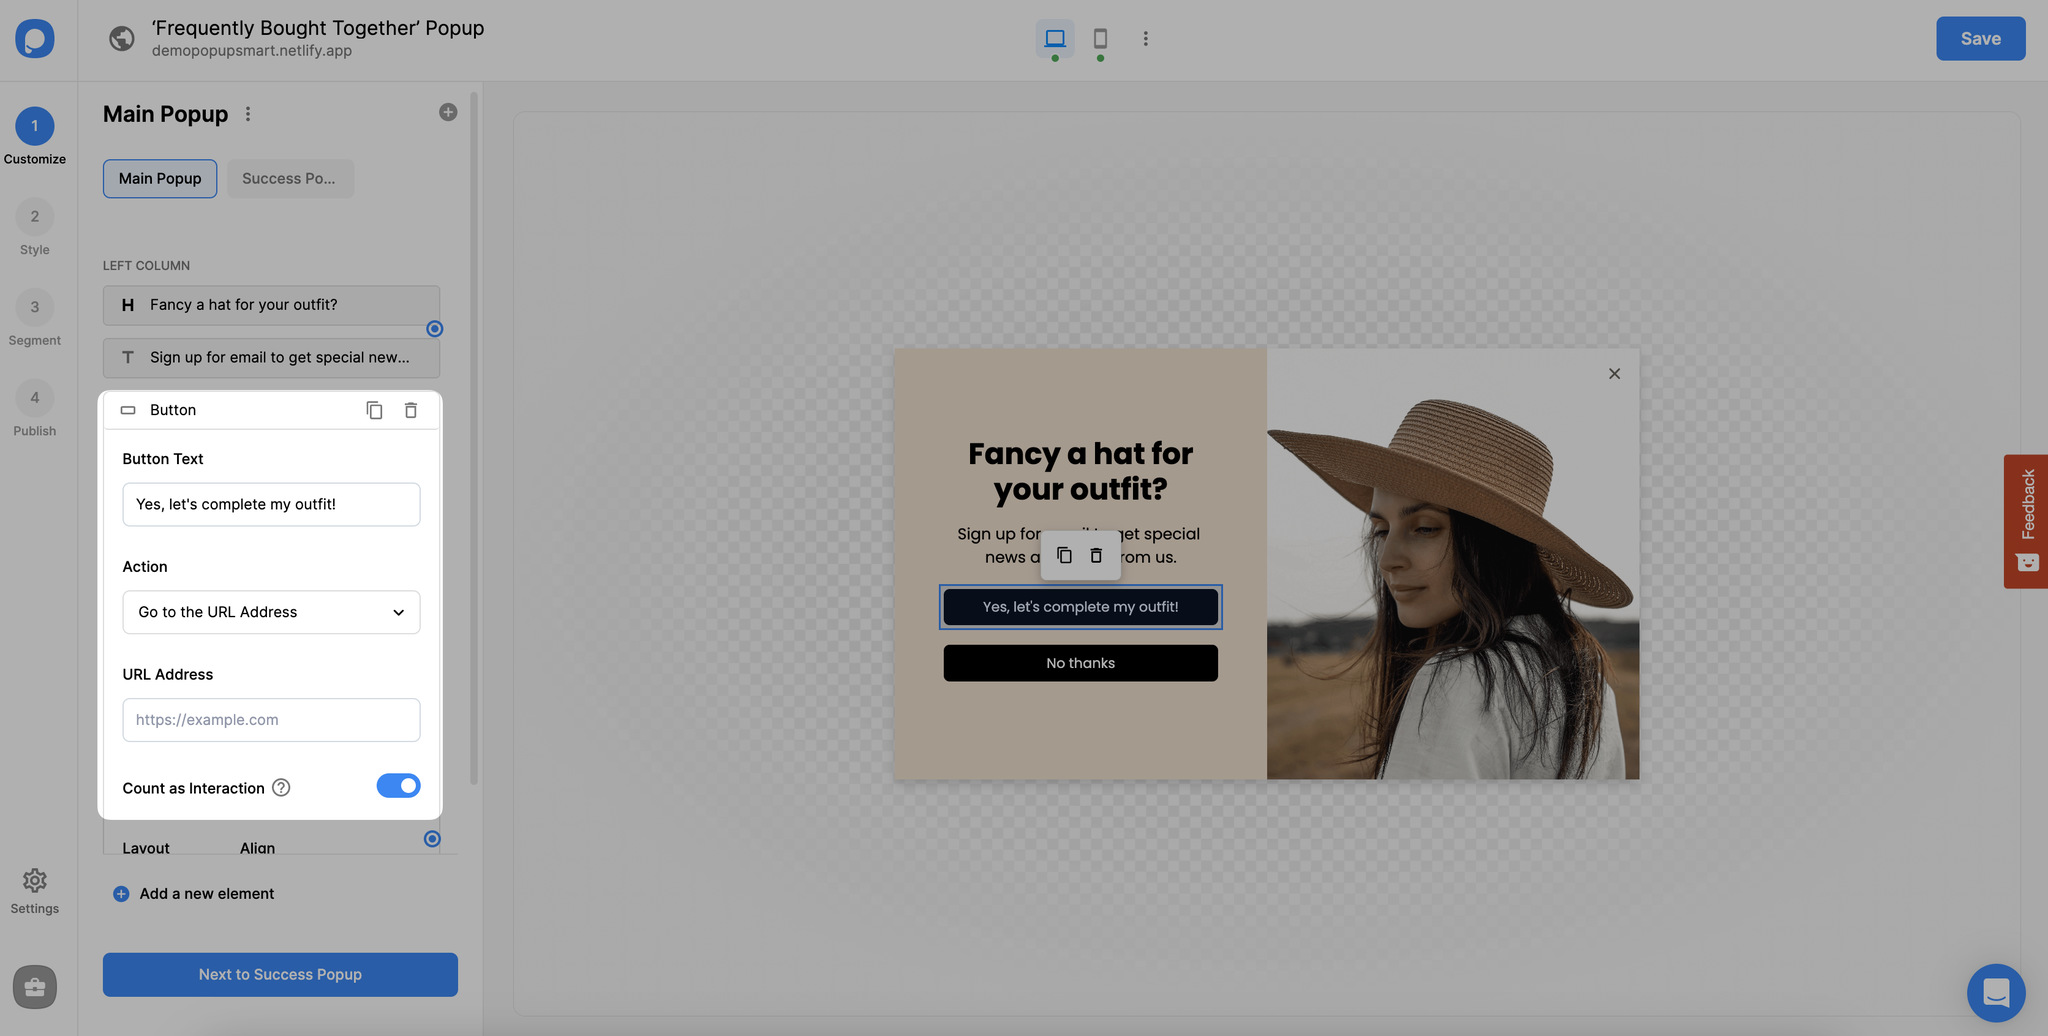
- Don’t forget to configure your popup buttons. For example, you may take visitors to another product category or a product page by setting an action for the button.
# Step 3: In the “Customize” section, edit the button element and scroll down to “Action.” Then, select “Go to the URL Address.” Enter the URL of the page you’ll redirect the submitters.
# Step 4: Once you have completed customizing your popup, navigate to the “Segment” tab. From the “Audience” part, select URL Browsing.
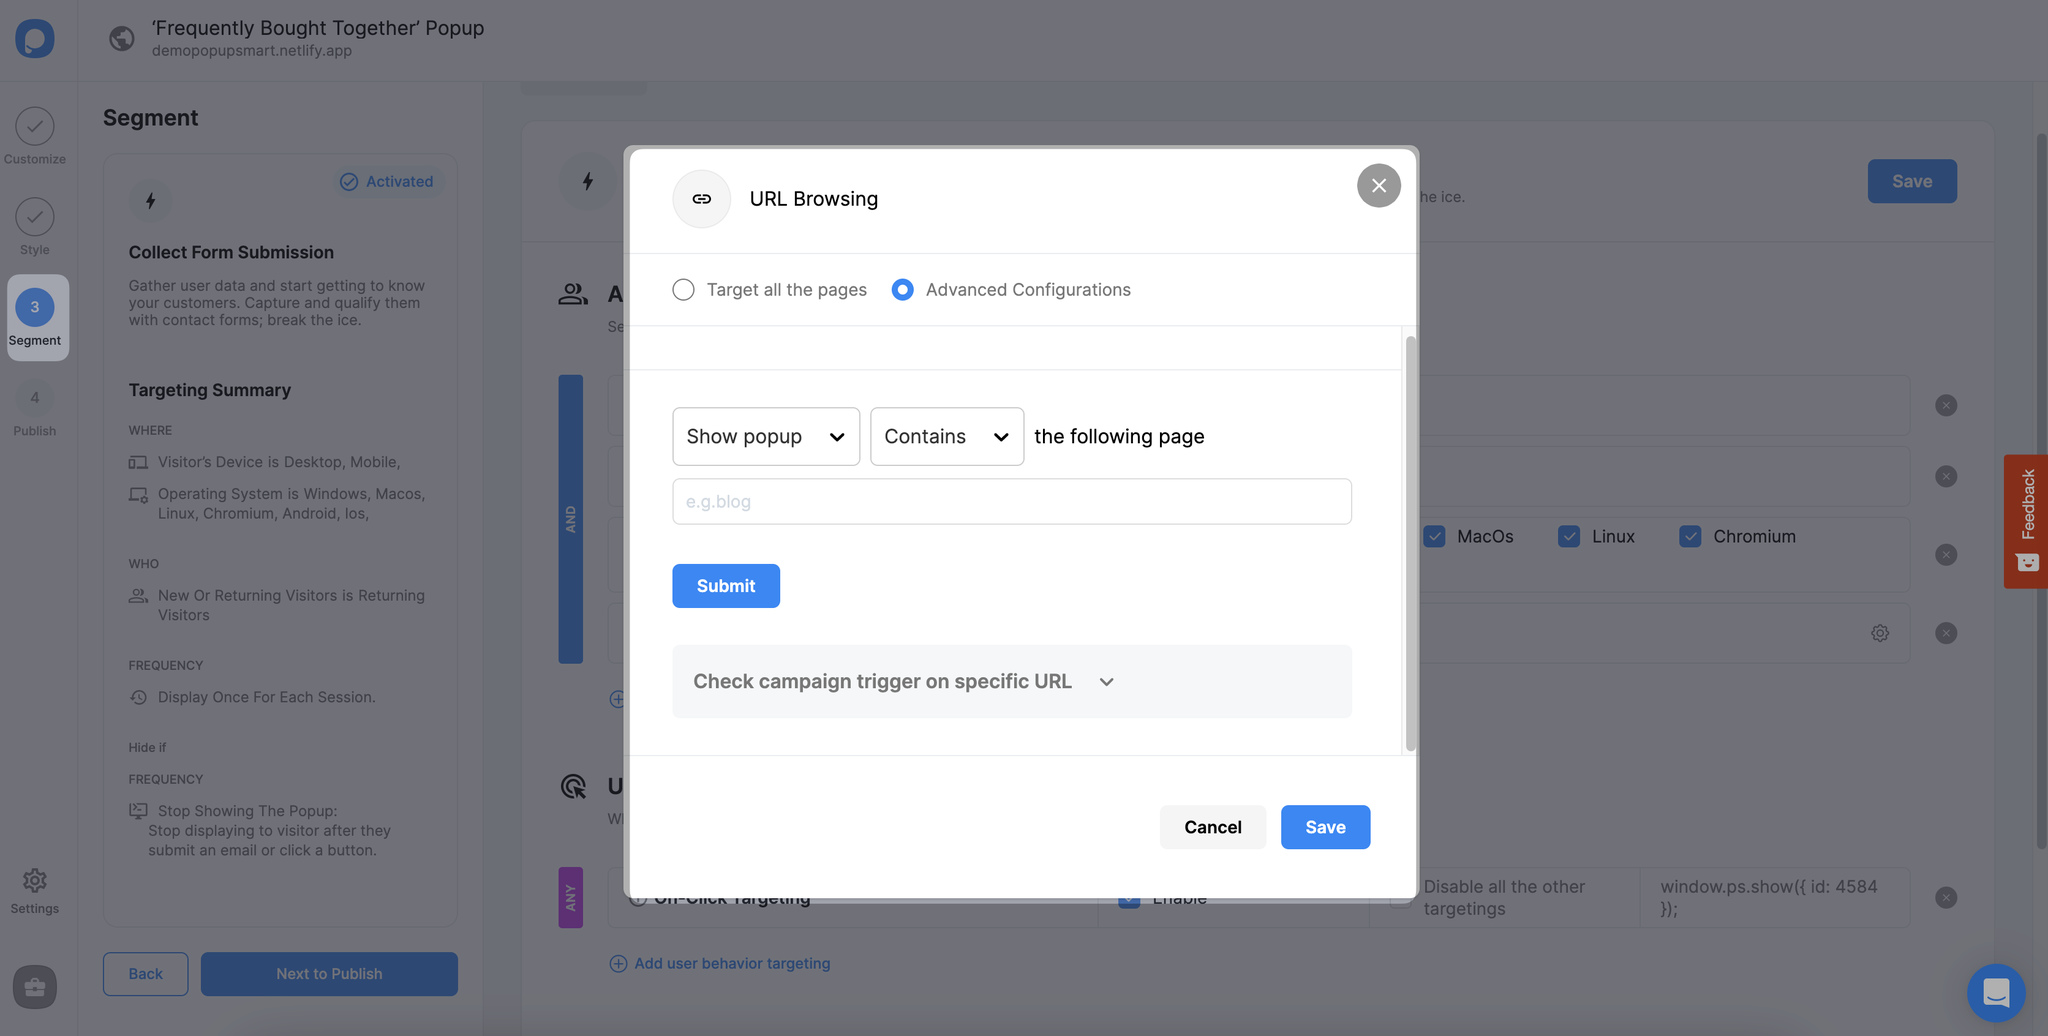
- To adjust URL Browsing, click on the “Add” button, go to and select a condition under “Show When,” such as “Matches” or “Contains.” This will determine whether your popup will appear on the URL you specify.
- Enter the URL path in the Path field, such as “/blog.”
- You may also add multiple URLs.
- Save before closing the modal.
# Step 5: These settings will ensure you show your offer on the specified page, such as a product category or product page.
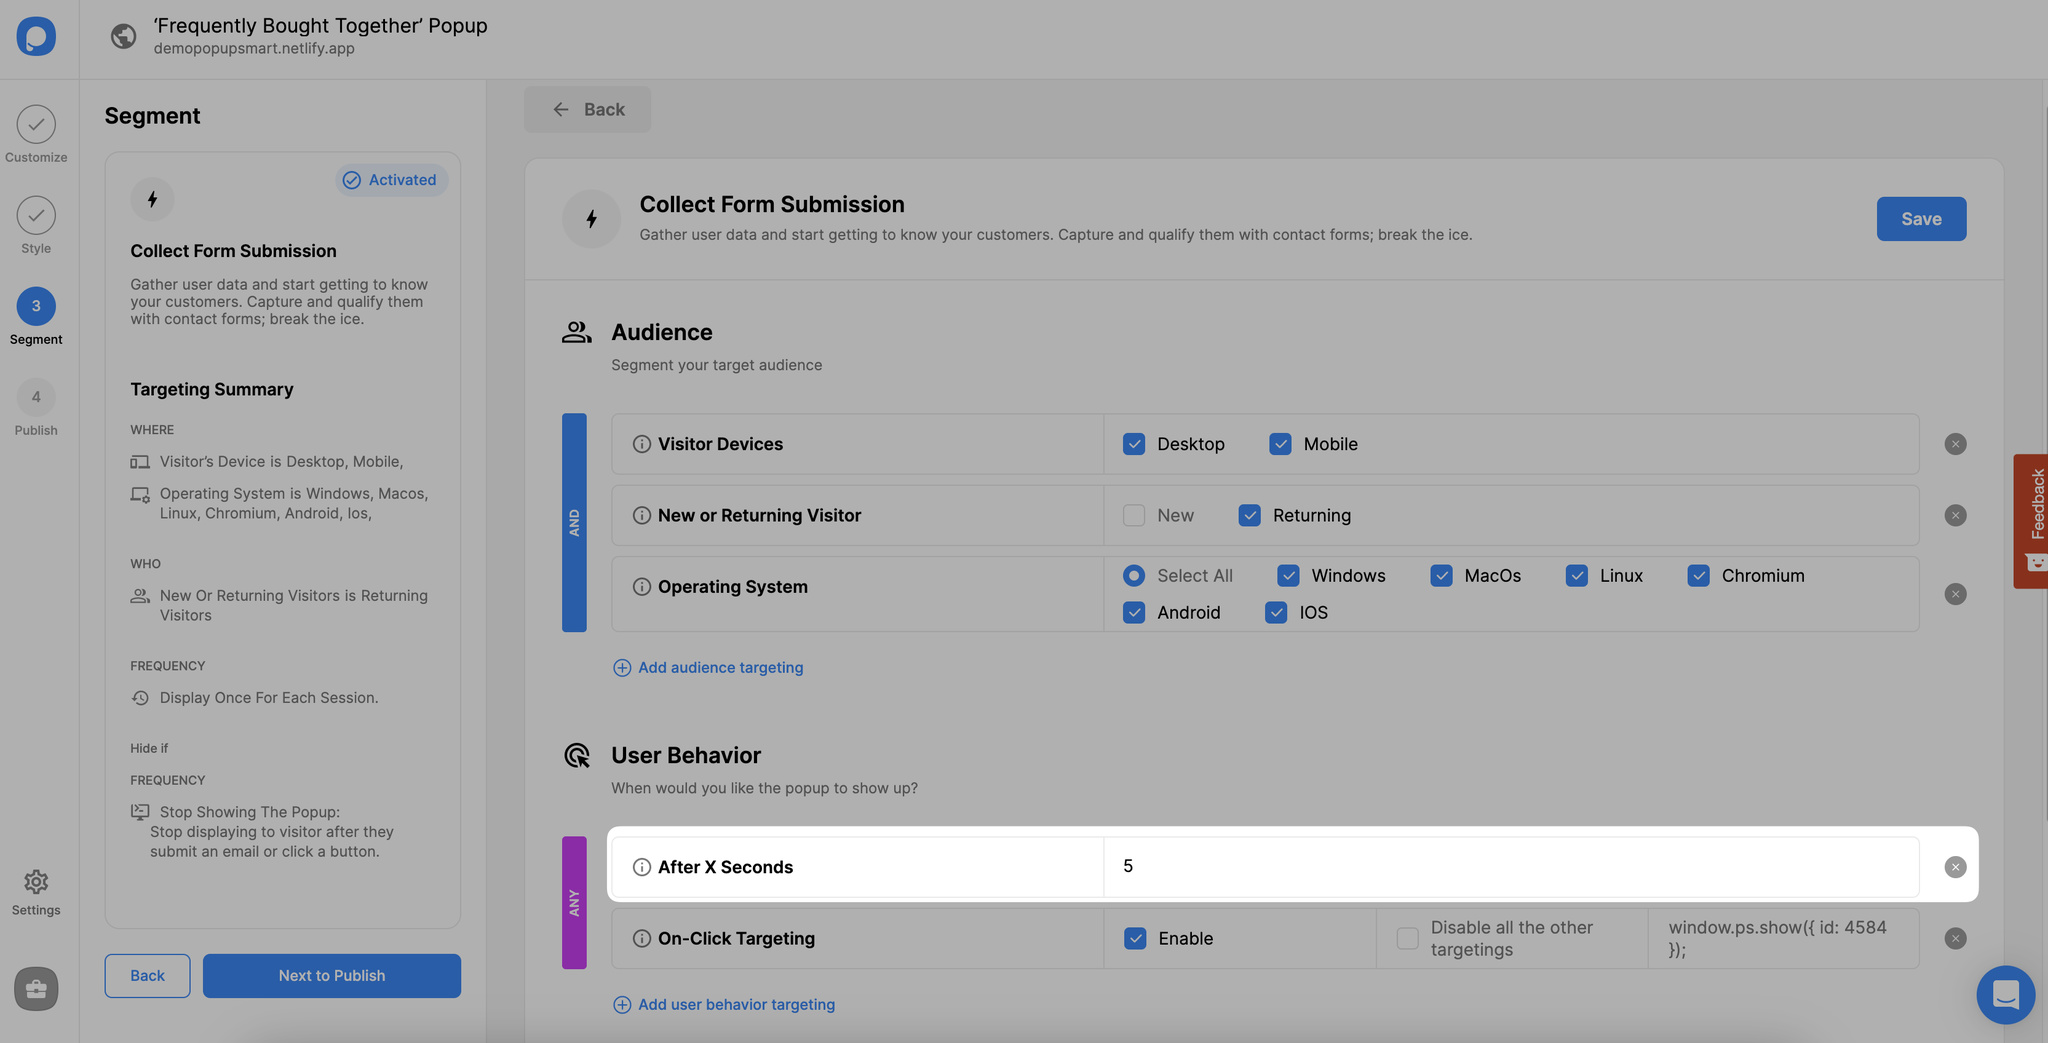
Simply put, it triggers the popup after the visitor lands on your page for a specific period. We recommend not showing the popups immediately but instead triggering them once the user spends at least 5 seconds on the page to preserve a better user experience.
- To set up the After X Seconds trigger, go to “User Behavior” and click “After X Seconds.” Then, enter the time in terms of seconds.
- Save before closing the modal. Save & publish once your popup campaign is ready.
Using a frequently bought-together popup, you can encourage your visitors to purchase and increase your sales!
Have further questions? Feel free to contact us!