Increase Sales Conversion
Can’t turn your site traffic into sales?
Reduce Cart Abandonment
Your customers abandoning their carts?
Promote Products & Offers
Make potential customers notice special offers.
Collect Form Submission
Struggling to collect form submissions?
Get More Phone Calls
Let them call you directly via popups.
Grow Email List
Having trouble growing your email list?
Gamify Your Campaign
Choose your offer and let the game begin.
Make Announcement
Make sure important news unmissed.
Increase User Engagement
Keep visitors & customers on your site longer.
Collect Feedback & Surveys
Can’t draw attention to your surveys?
Facilitate Social Sharing
Grow social media followers and likes!
# How to Integrate Popupsmart with Hubspot
As a marketing, sales, and service platform, HubSpot helps businesses from different areas have conversion rates and retain customers.
Now, it's easier to integrate HubSpot and Popupsmart to see better rates and more prominent results in reaching your customers' interaction and engagement.
Build your lists and acquire new leads with the integration of Popupsmart and HubSpot!
To start the HubSpot integration process, you need to have some default features:
• You need to have a HubSpot account registered with your website and the information needed.
• You need to have a static list or some static lists on your HubSpot account.
• You need to verify your website on your Popupsmart account.
1. After logging into your Popupsmart account and creating your popup campaign as you wish, choose one of the templates with a form element or a popup to add a form input element.
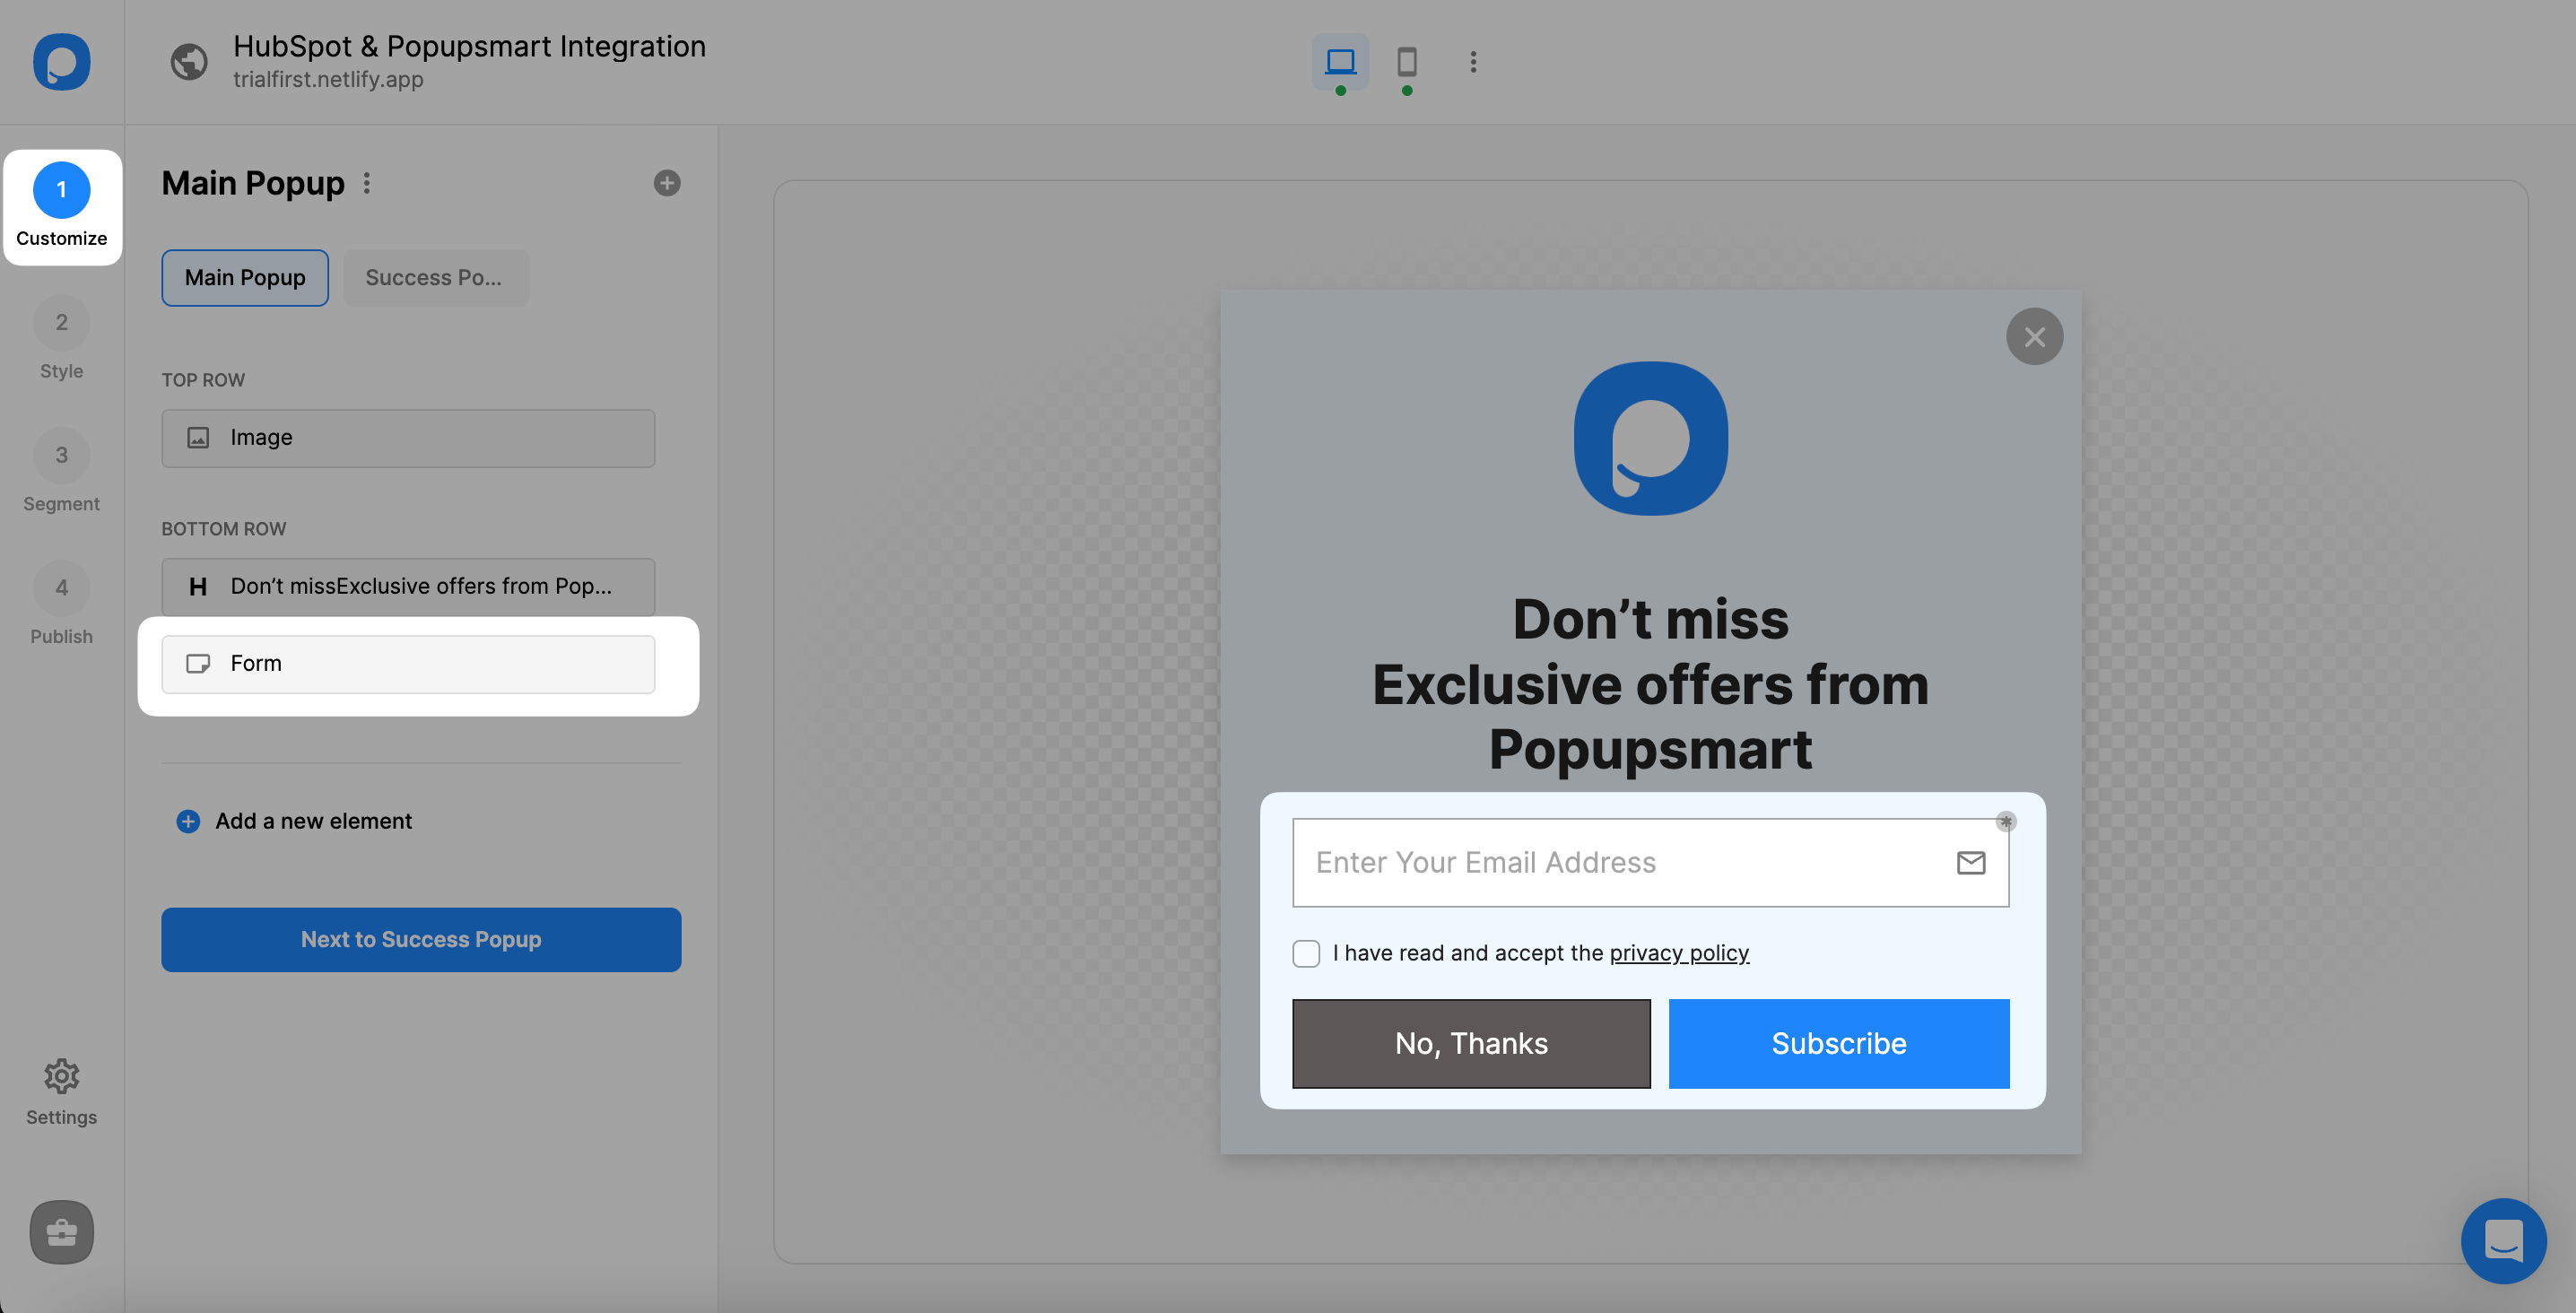
2. After you add a form input element or select the form input element, click “+ Add integration.”
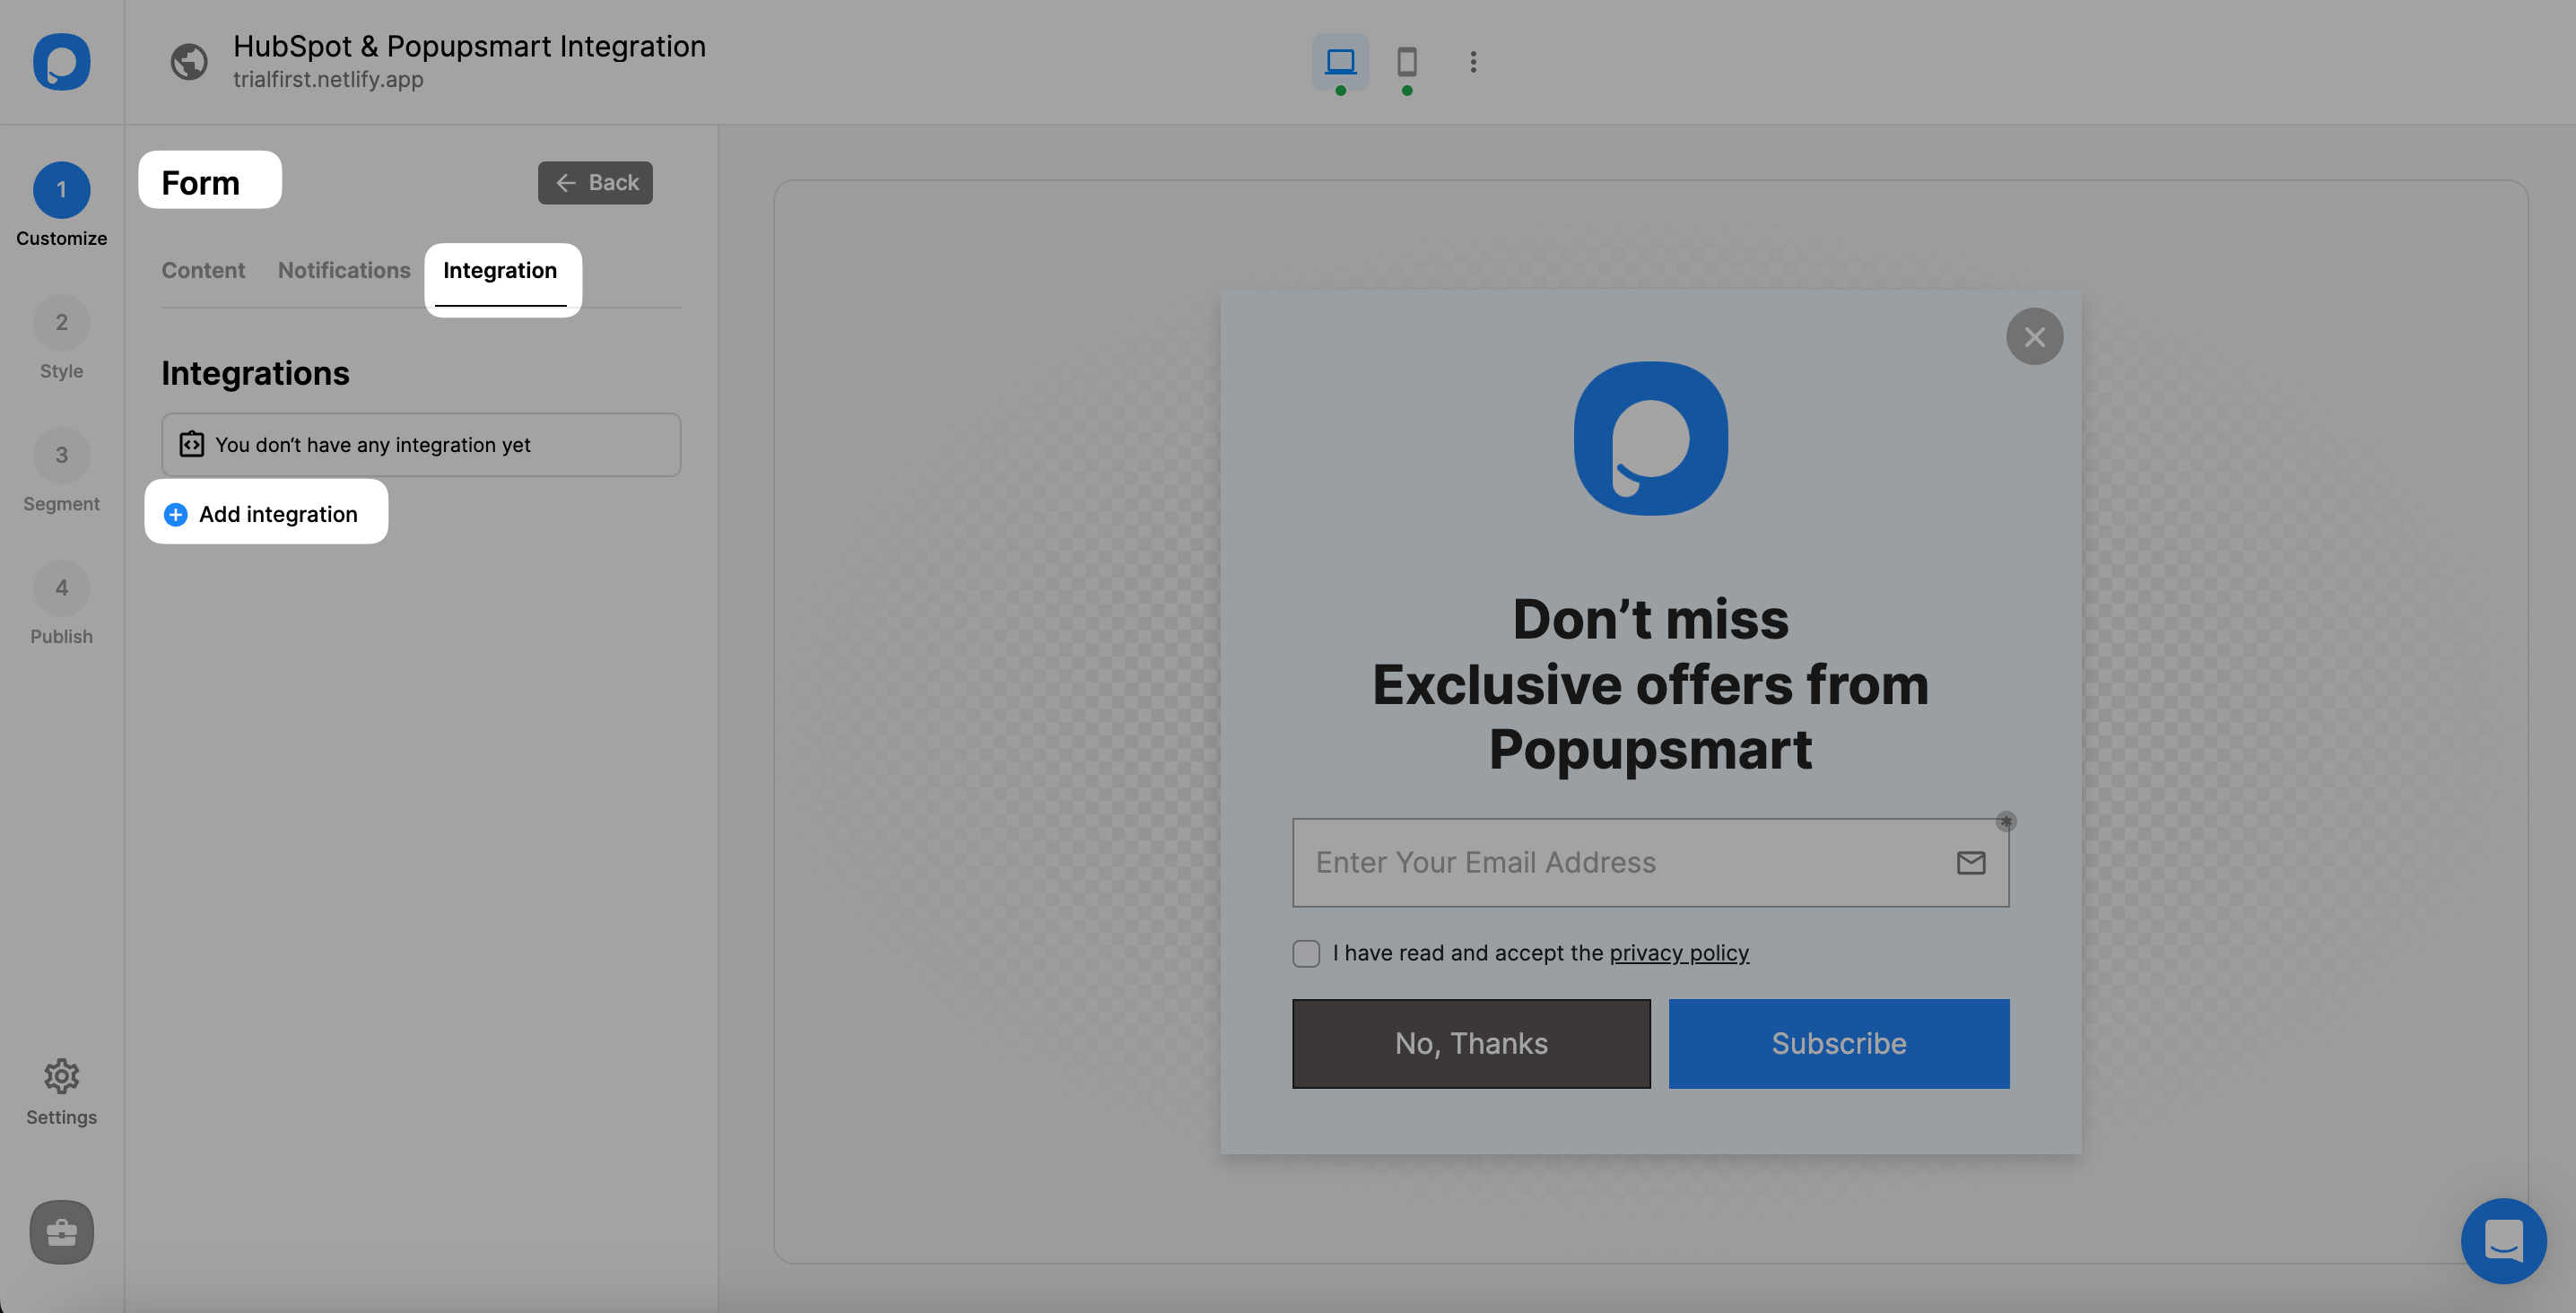
Adding integration with a form element only means that you integrate for taking the data to your HubSpot account.
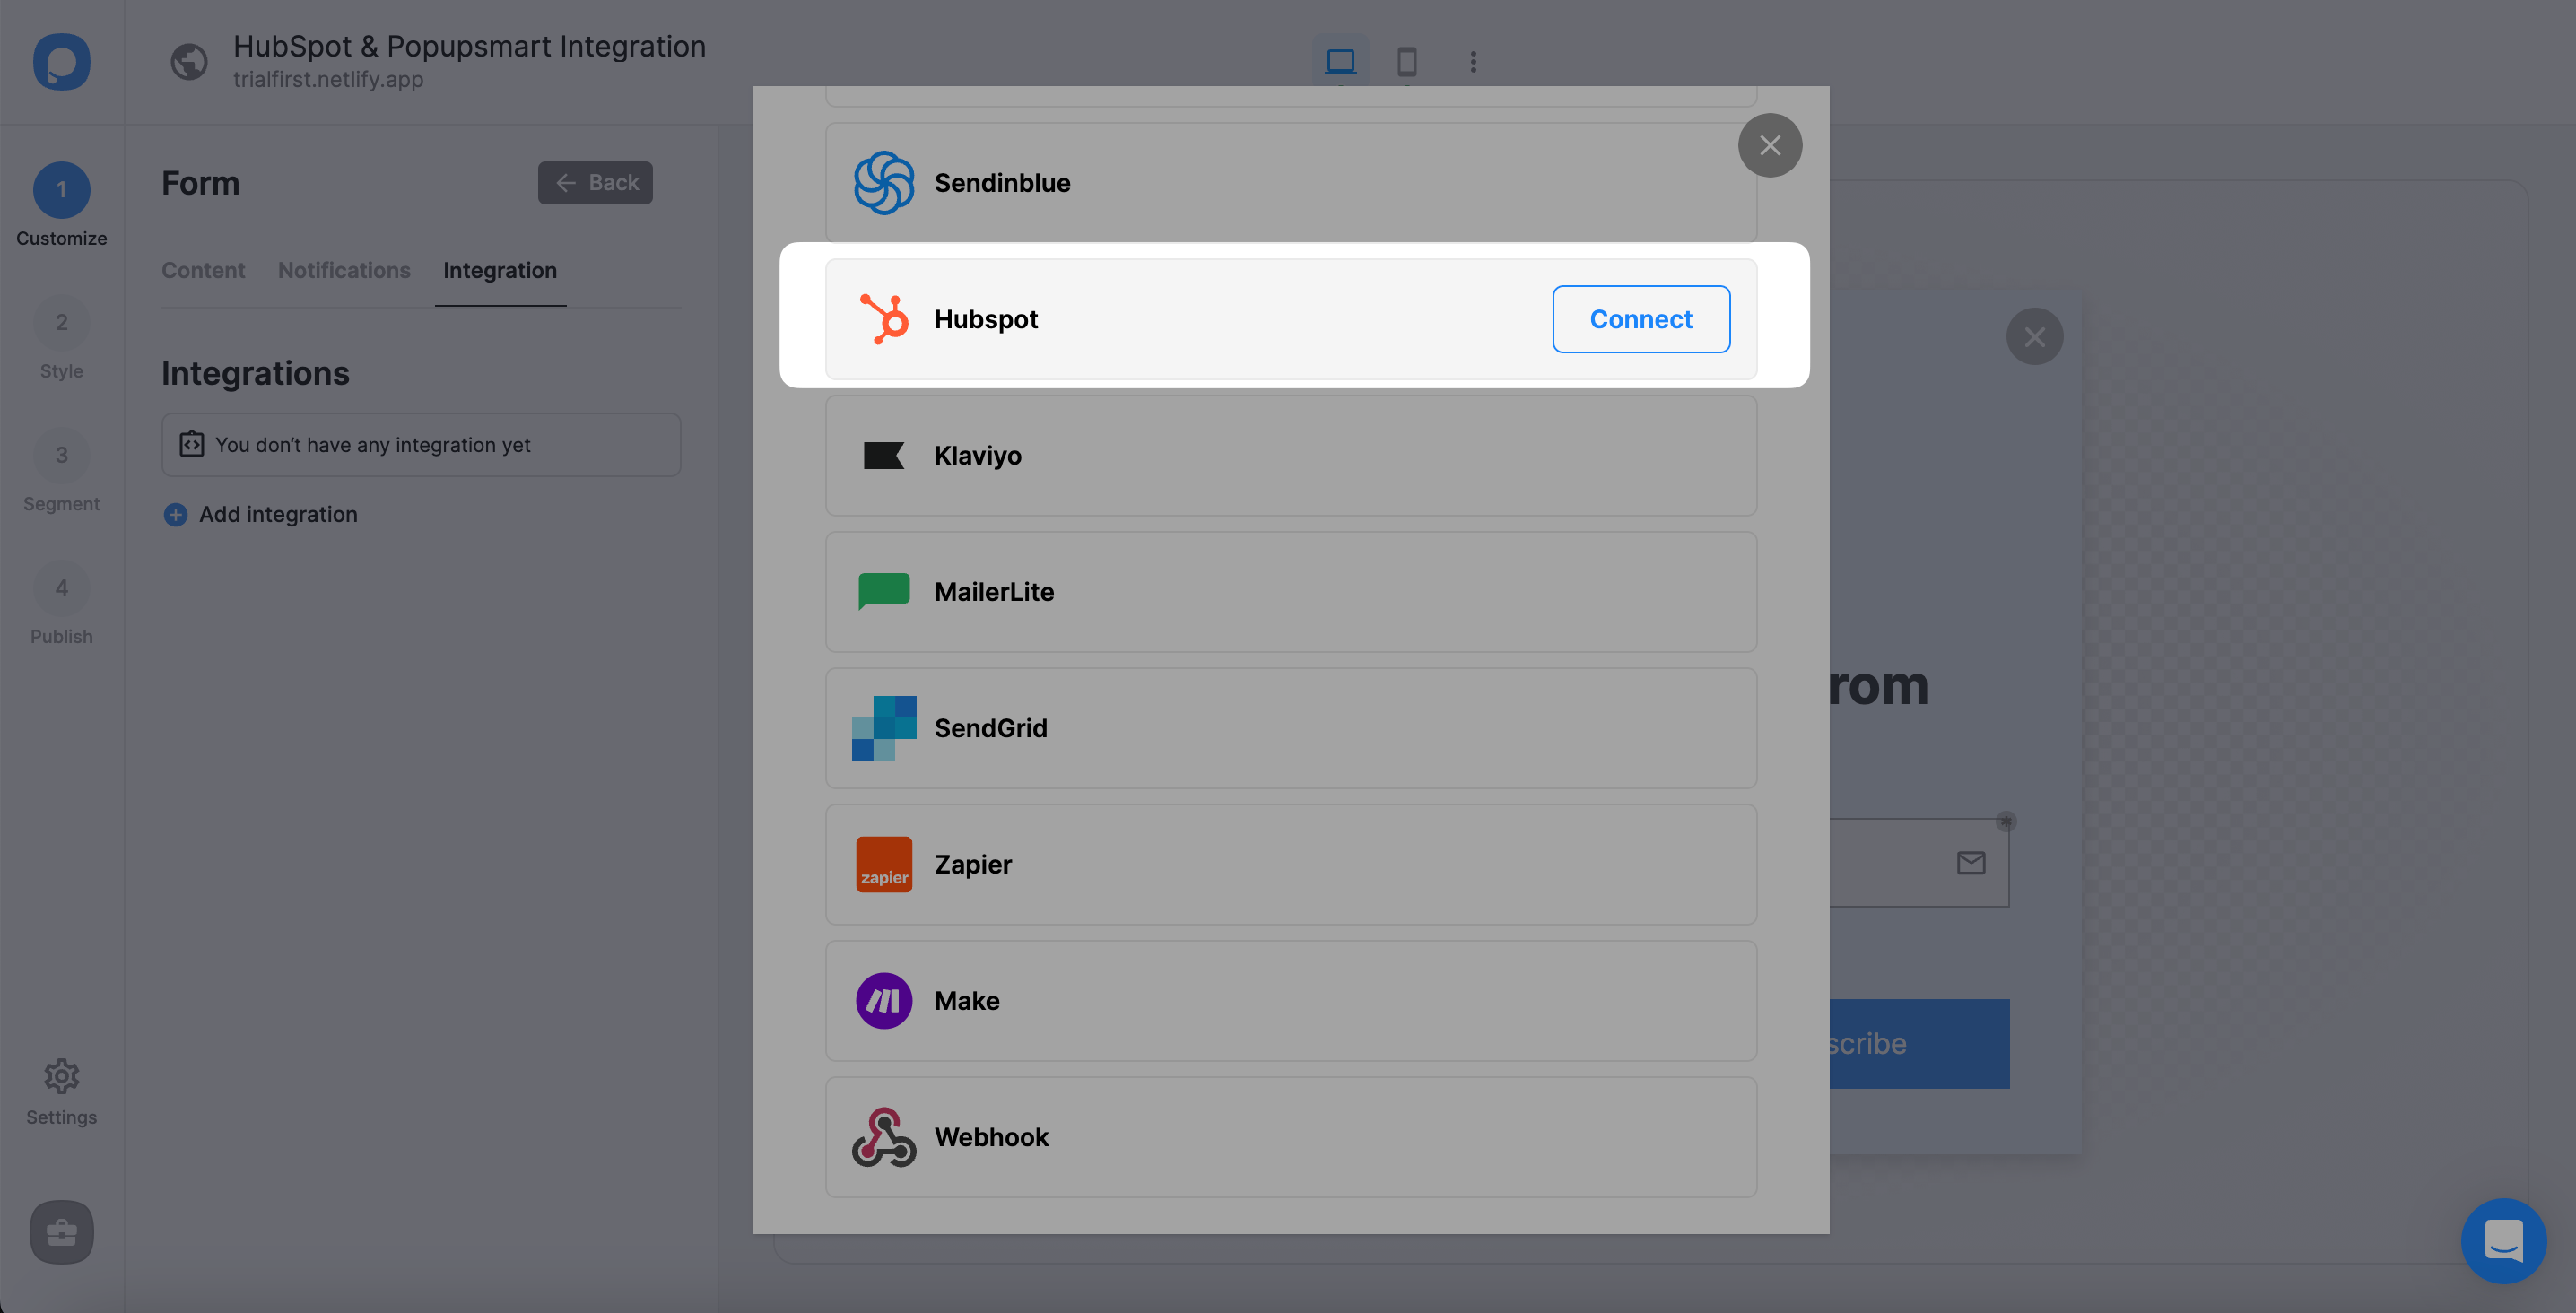
3. Choose “Connect” HubSpot among the choices.
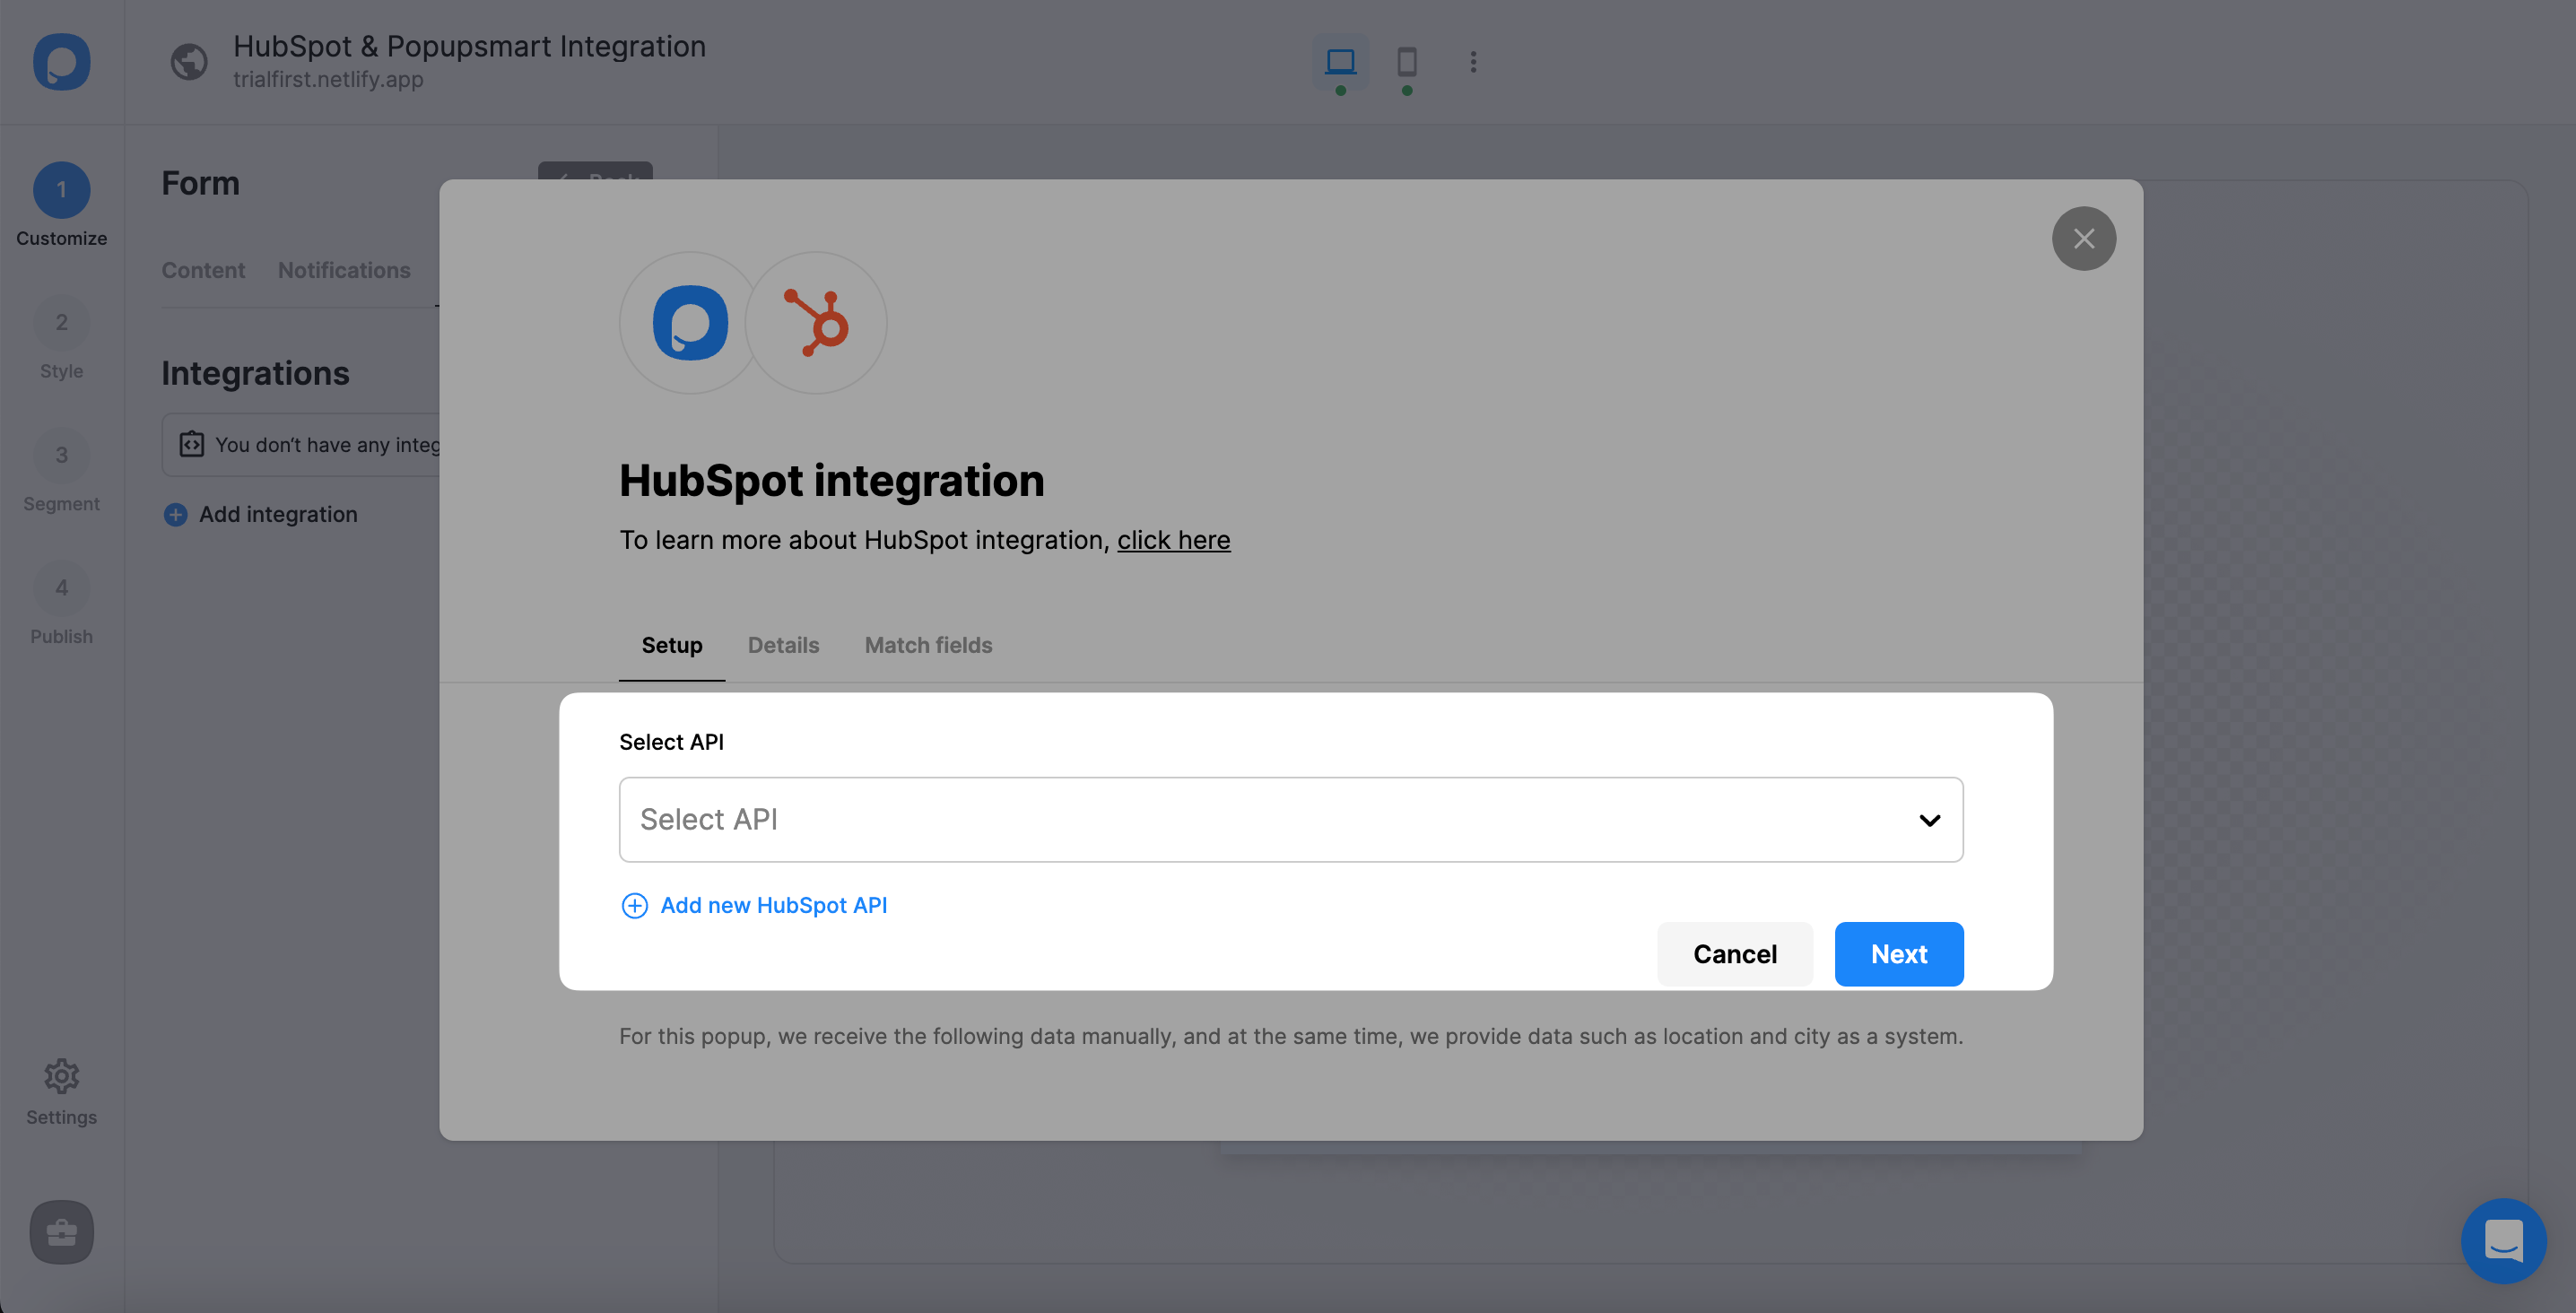
4. On the Setup, you need to select API or add a new HubSpot API.
5. Another window that connects your Popupsmart and HubSpot accounts will show up. You can choose your account on that window and click “Connect Account.”
Then, the system automatically carries you to the Details.
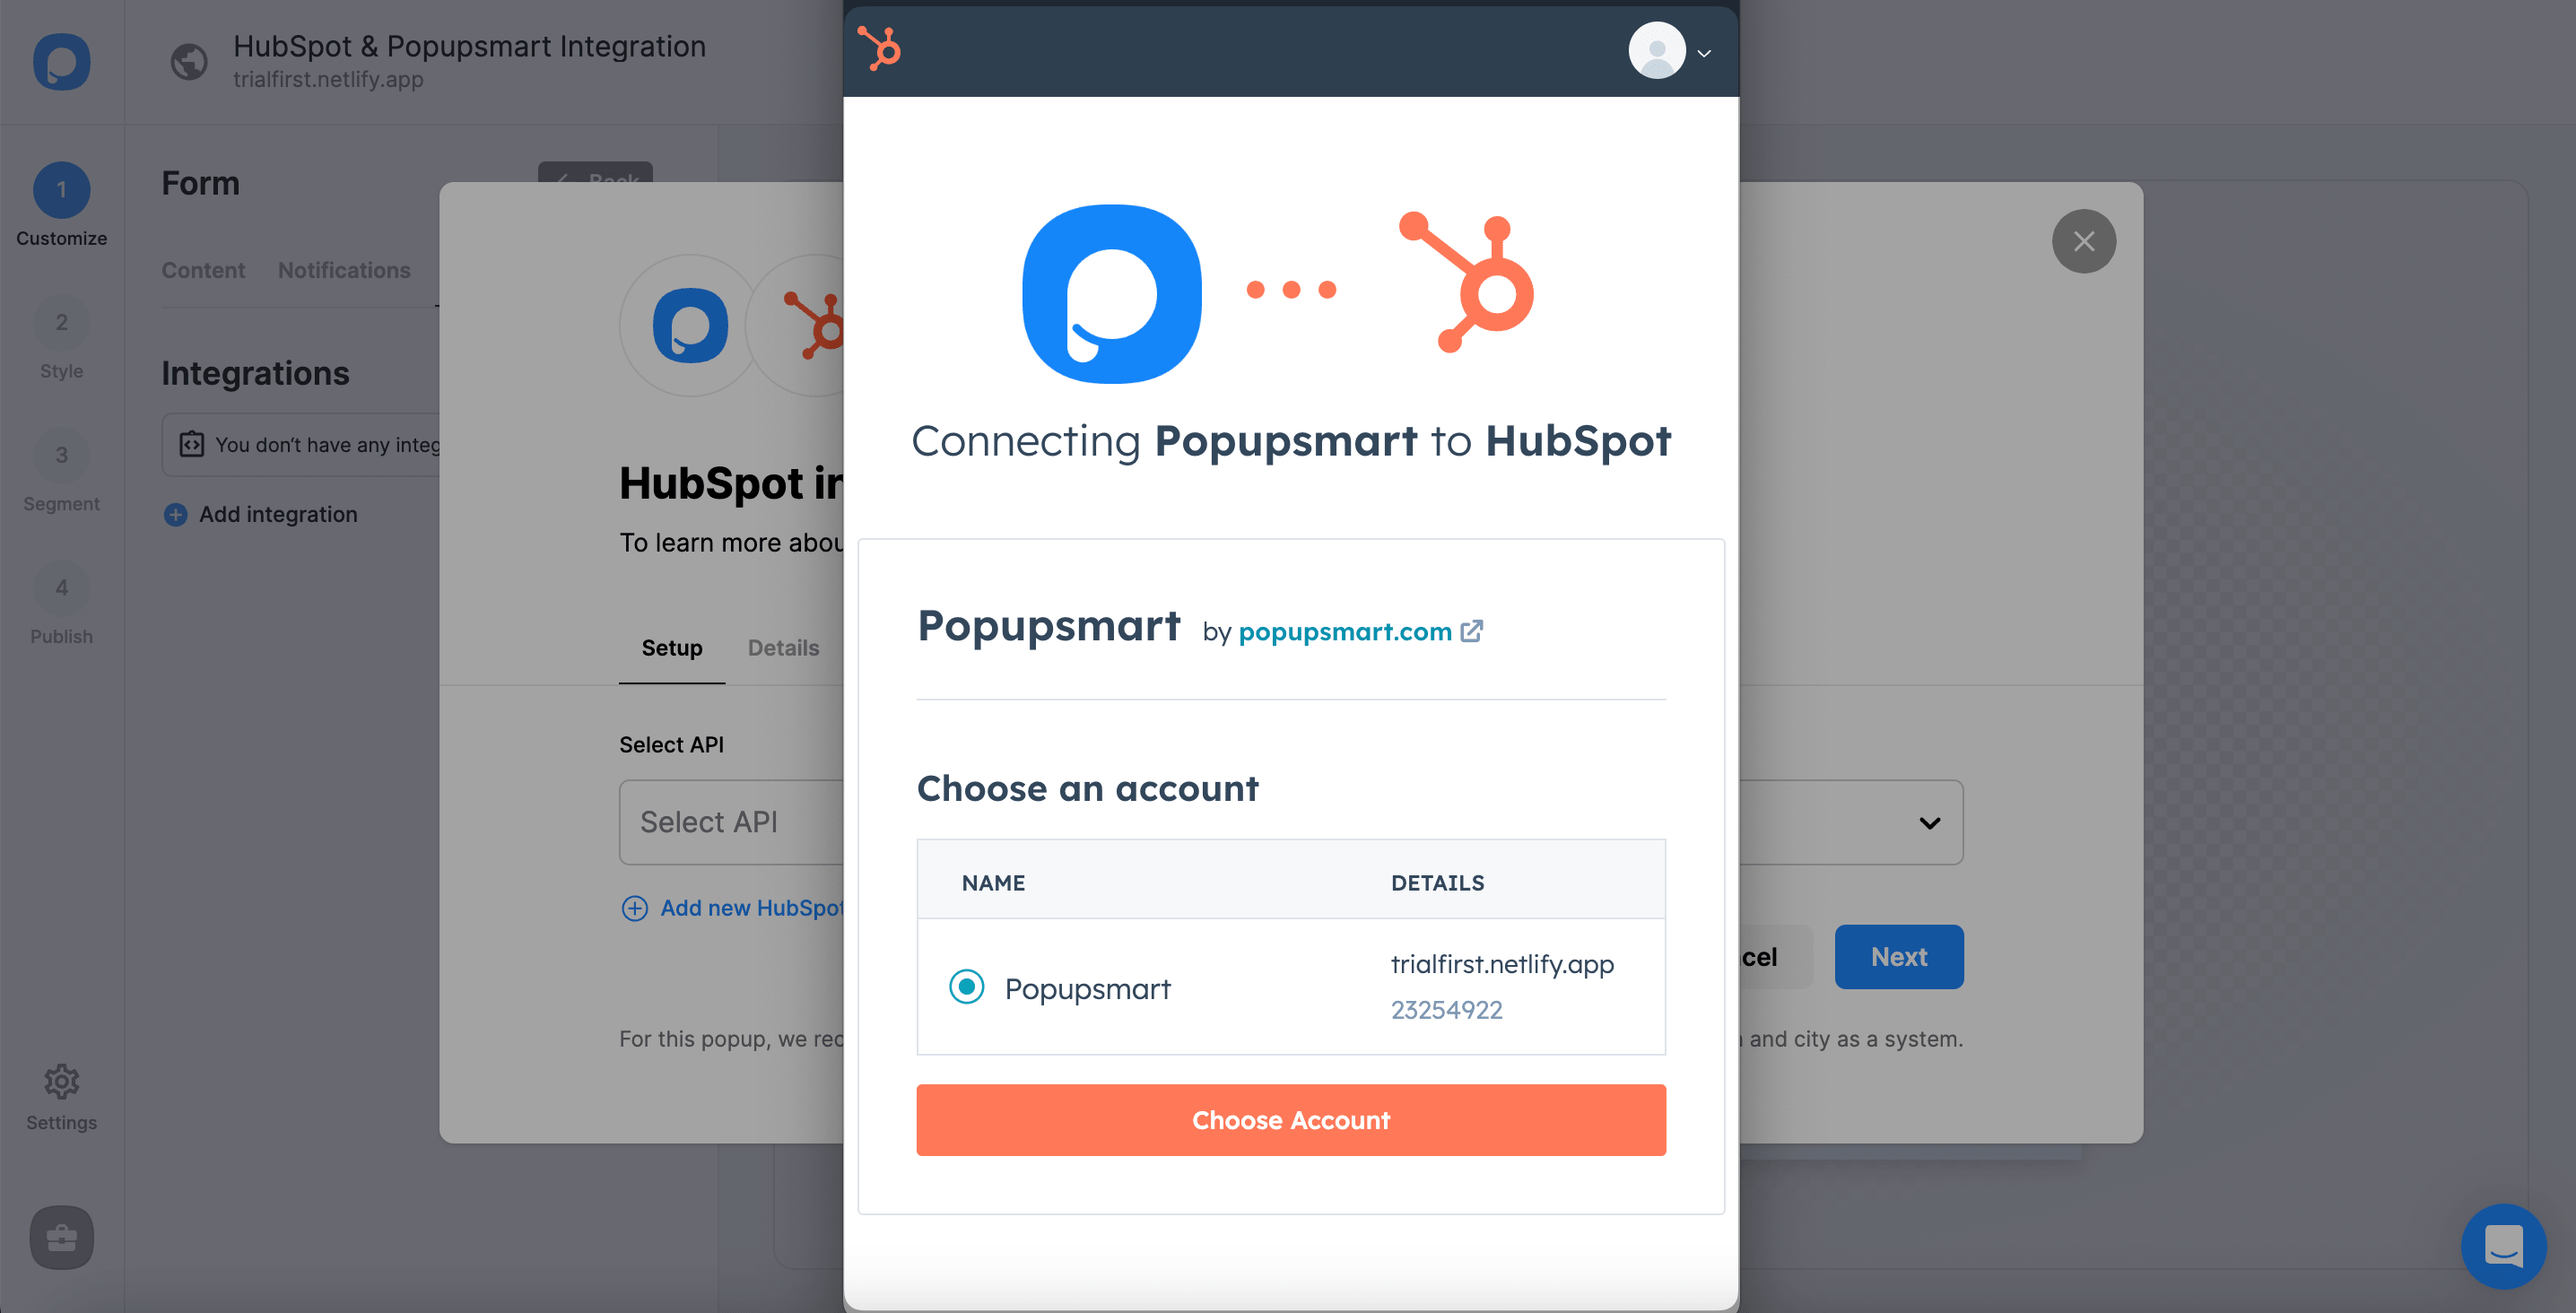
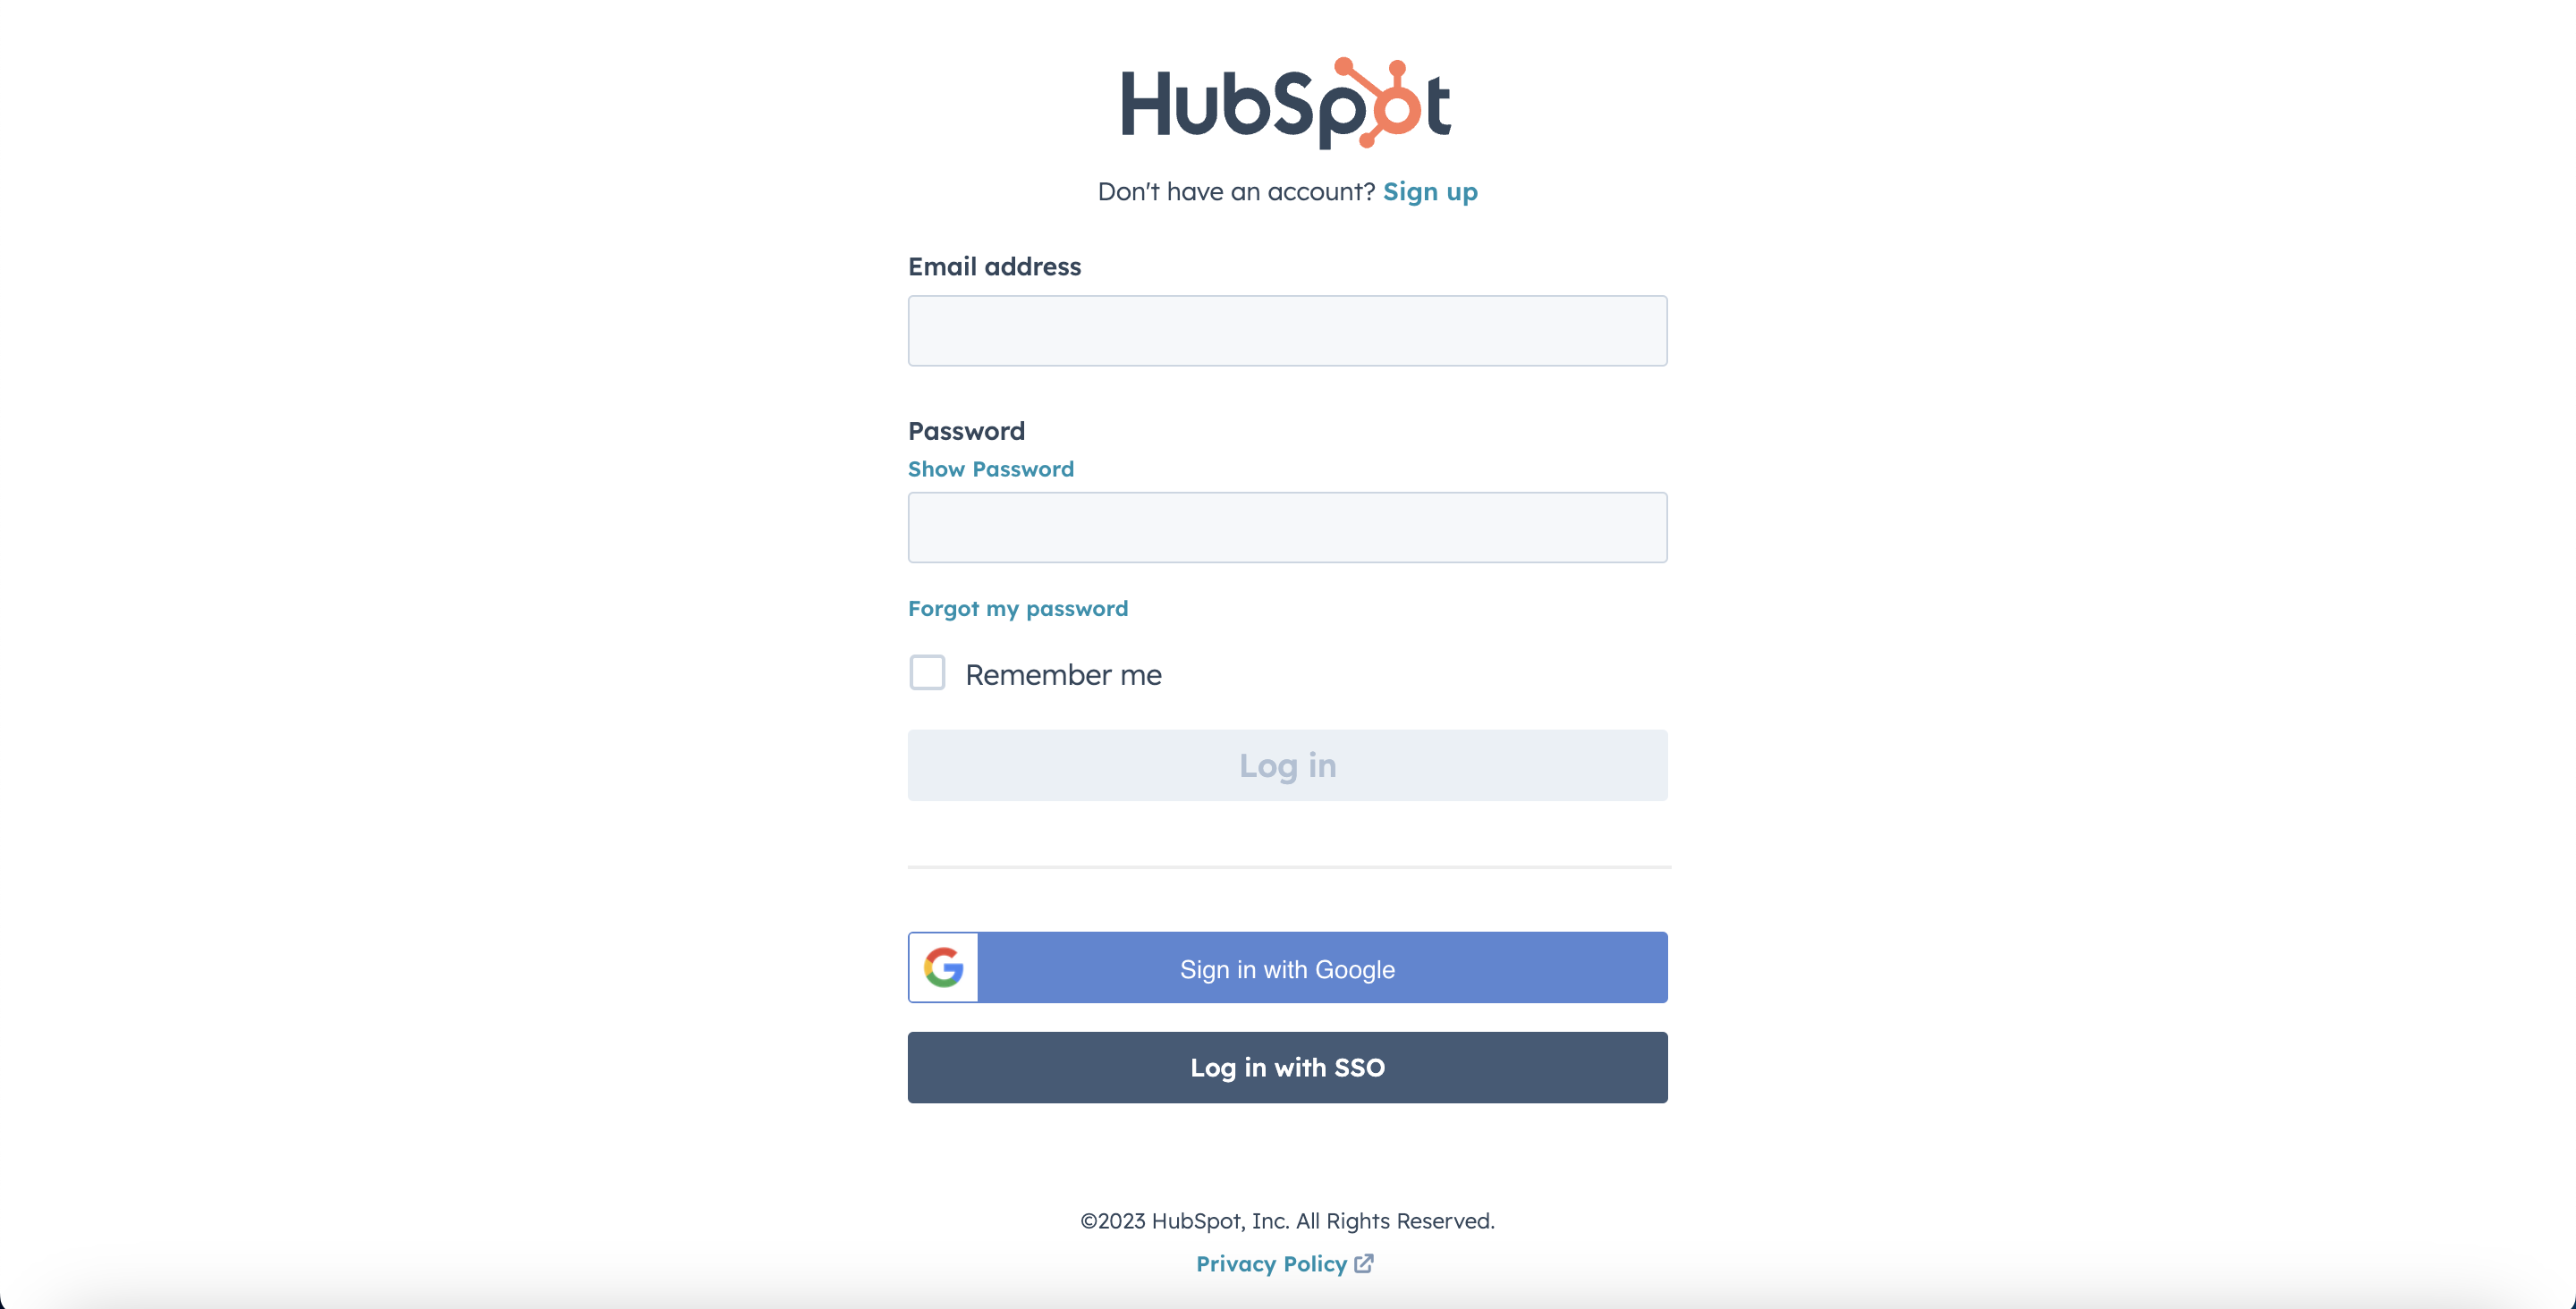
Note: If you connect your accounts for the first time, you must log in to your HubSpot account on your Popupsmart system.
6. On the second step, you need to choose your list on HubSpot on the Details dropdown. We choose a list as the example and click “Next.”
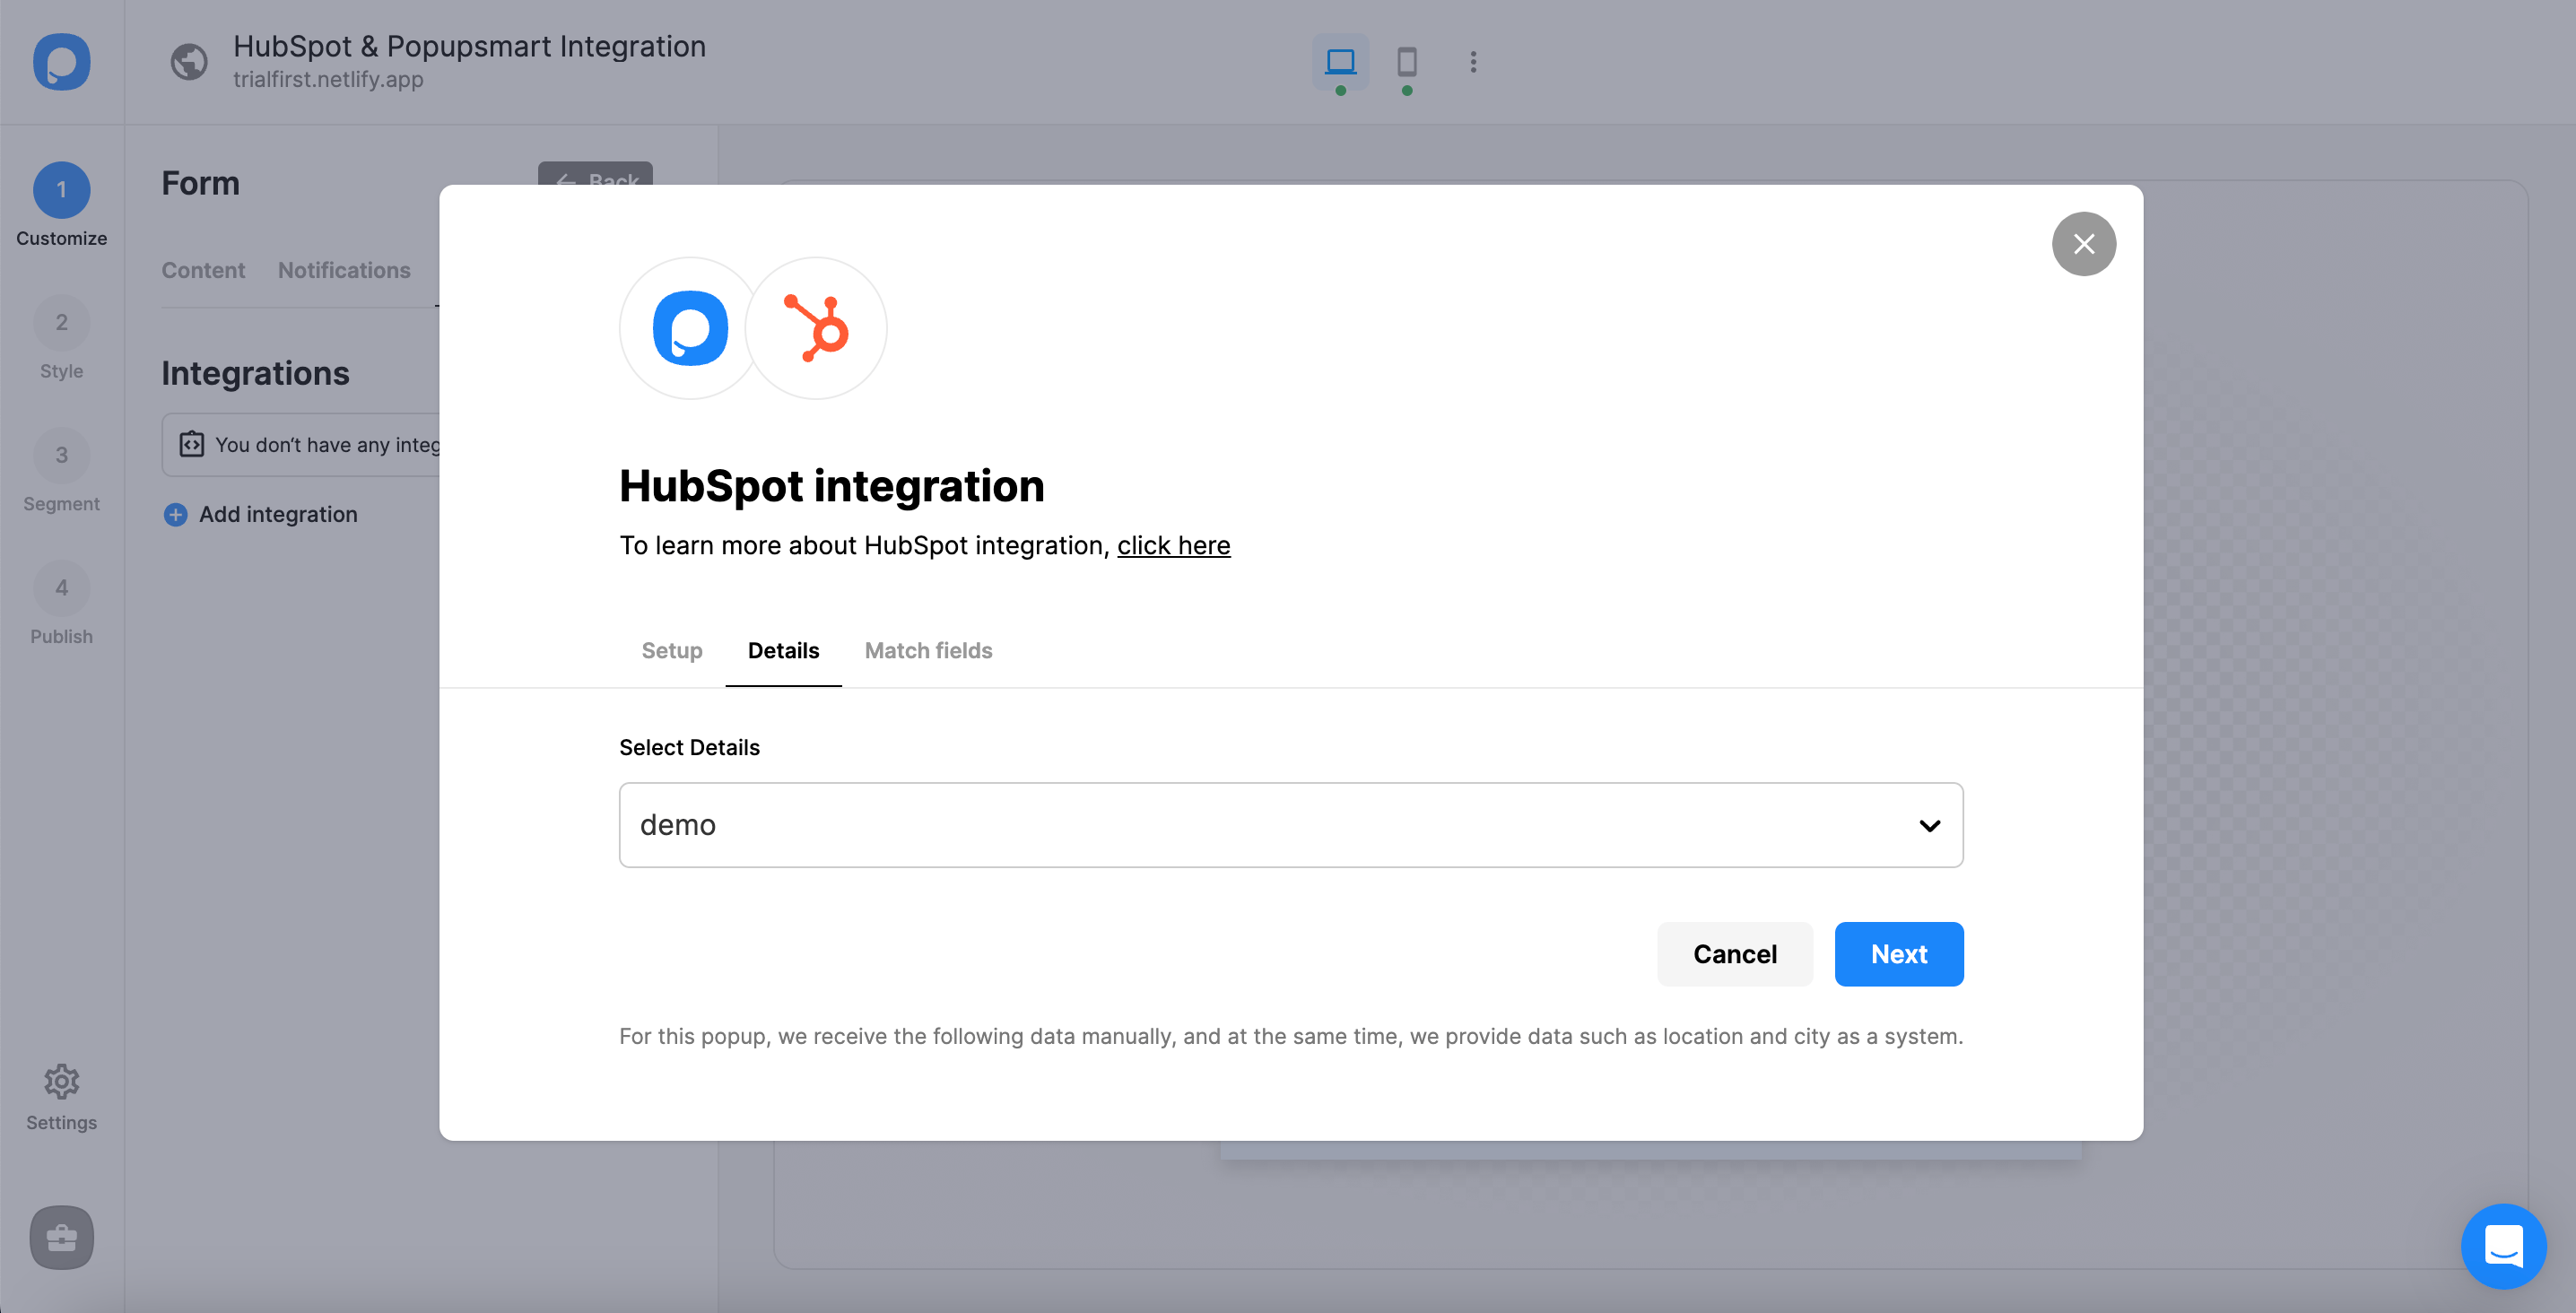
Remember that you need to have a list on your HubSpot account to complete that step, or you can’t see any choice on your dropdown, or you’ll get an error message.
Also, make sure your Hubspot list is static to take data. Otherwise, you will not be able to see your list or collect your leads.
7. After choosing your list, you will be forwarded to the Match Fields part. Choose the data you want based on the elements on your popup.
Click “Save” once you have arranged the details.
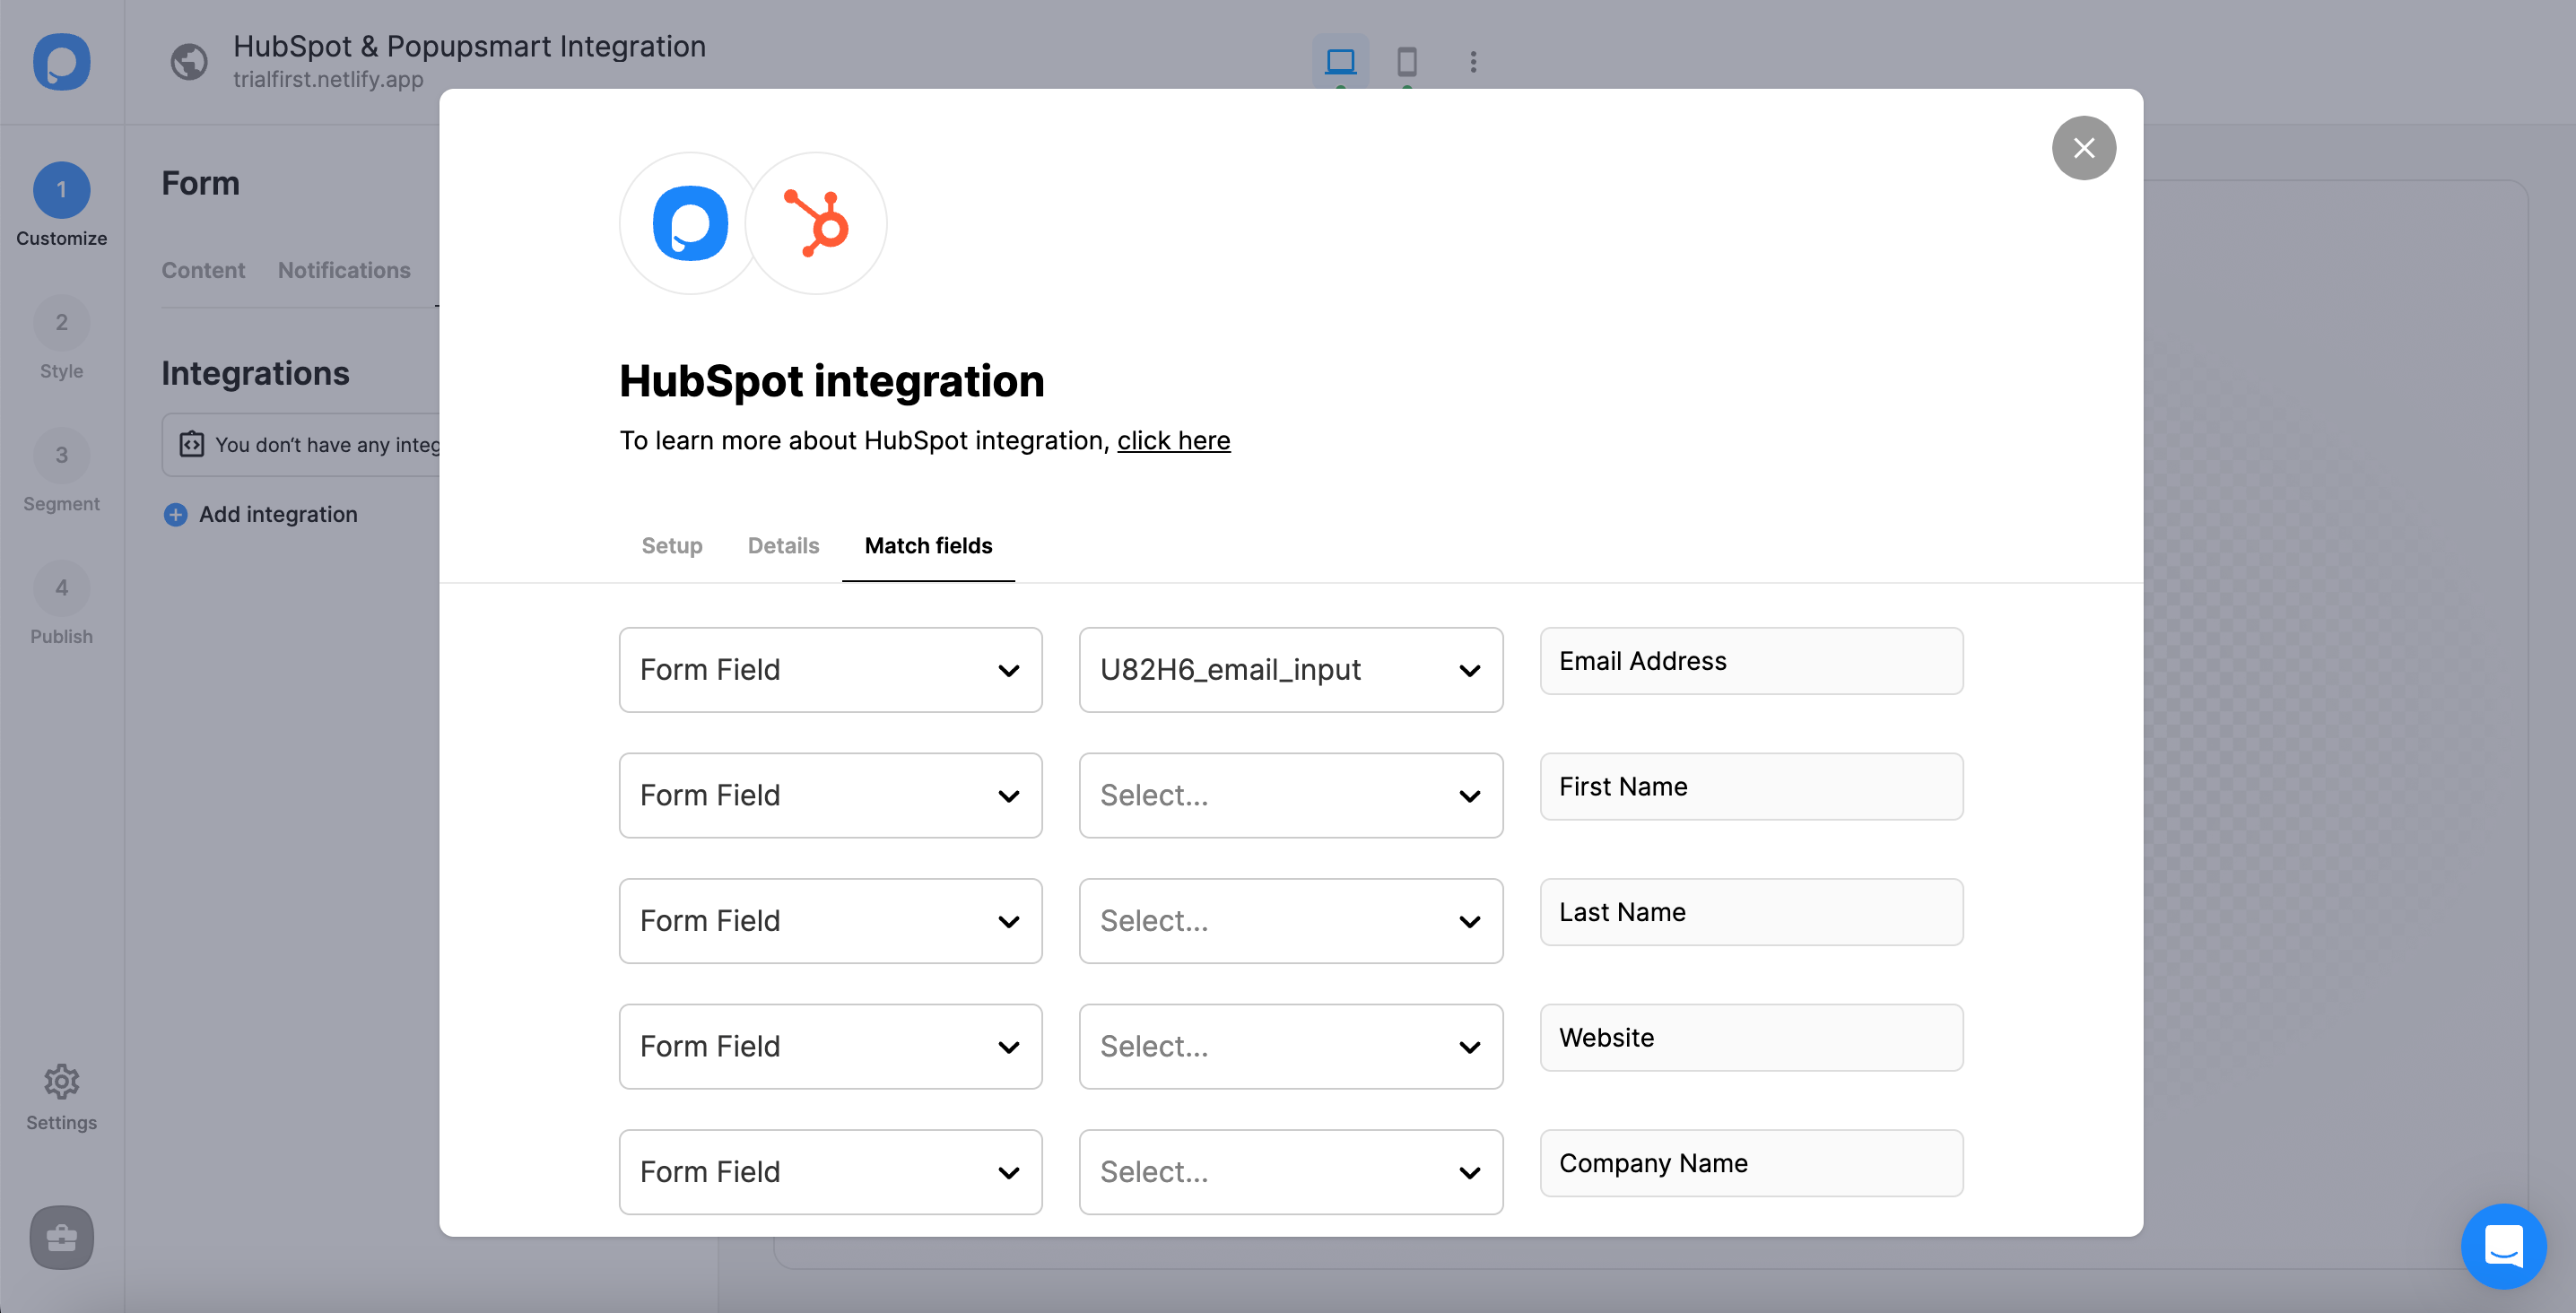
These fields may change according to the elements you include.
✅ Form Field: It is used if you put form elements in your popup. If you don't use any form element, you will see 'No options' on the dropdown.
✅ System Field: You need to choose your option based on what you demand to get as data. For example, you can get the Browsers or Devices of the people who filled the popup.
✅ API Field: You can transfer the data sent to Popupsmart JS API with the integration. You can get your data from your HubSpot account.
✅ Static Field: You need to determine the specific data you want. For example, you may want to have sales or downgrades so that you can put them as 'sales' or 'downgrades'.
And your HubSpot integration is all set! Well done!
The status of your integration will be on by default; you can change it whenever you want on the three-dot.
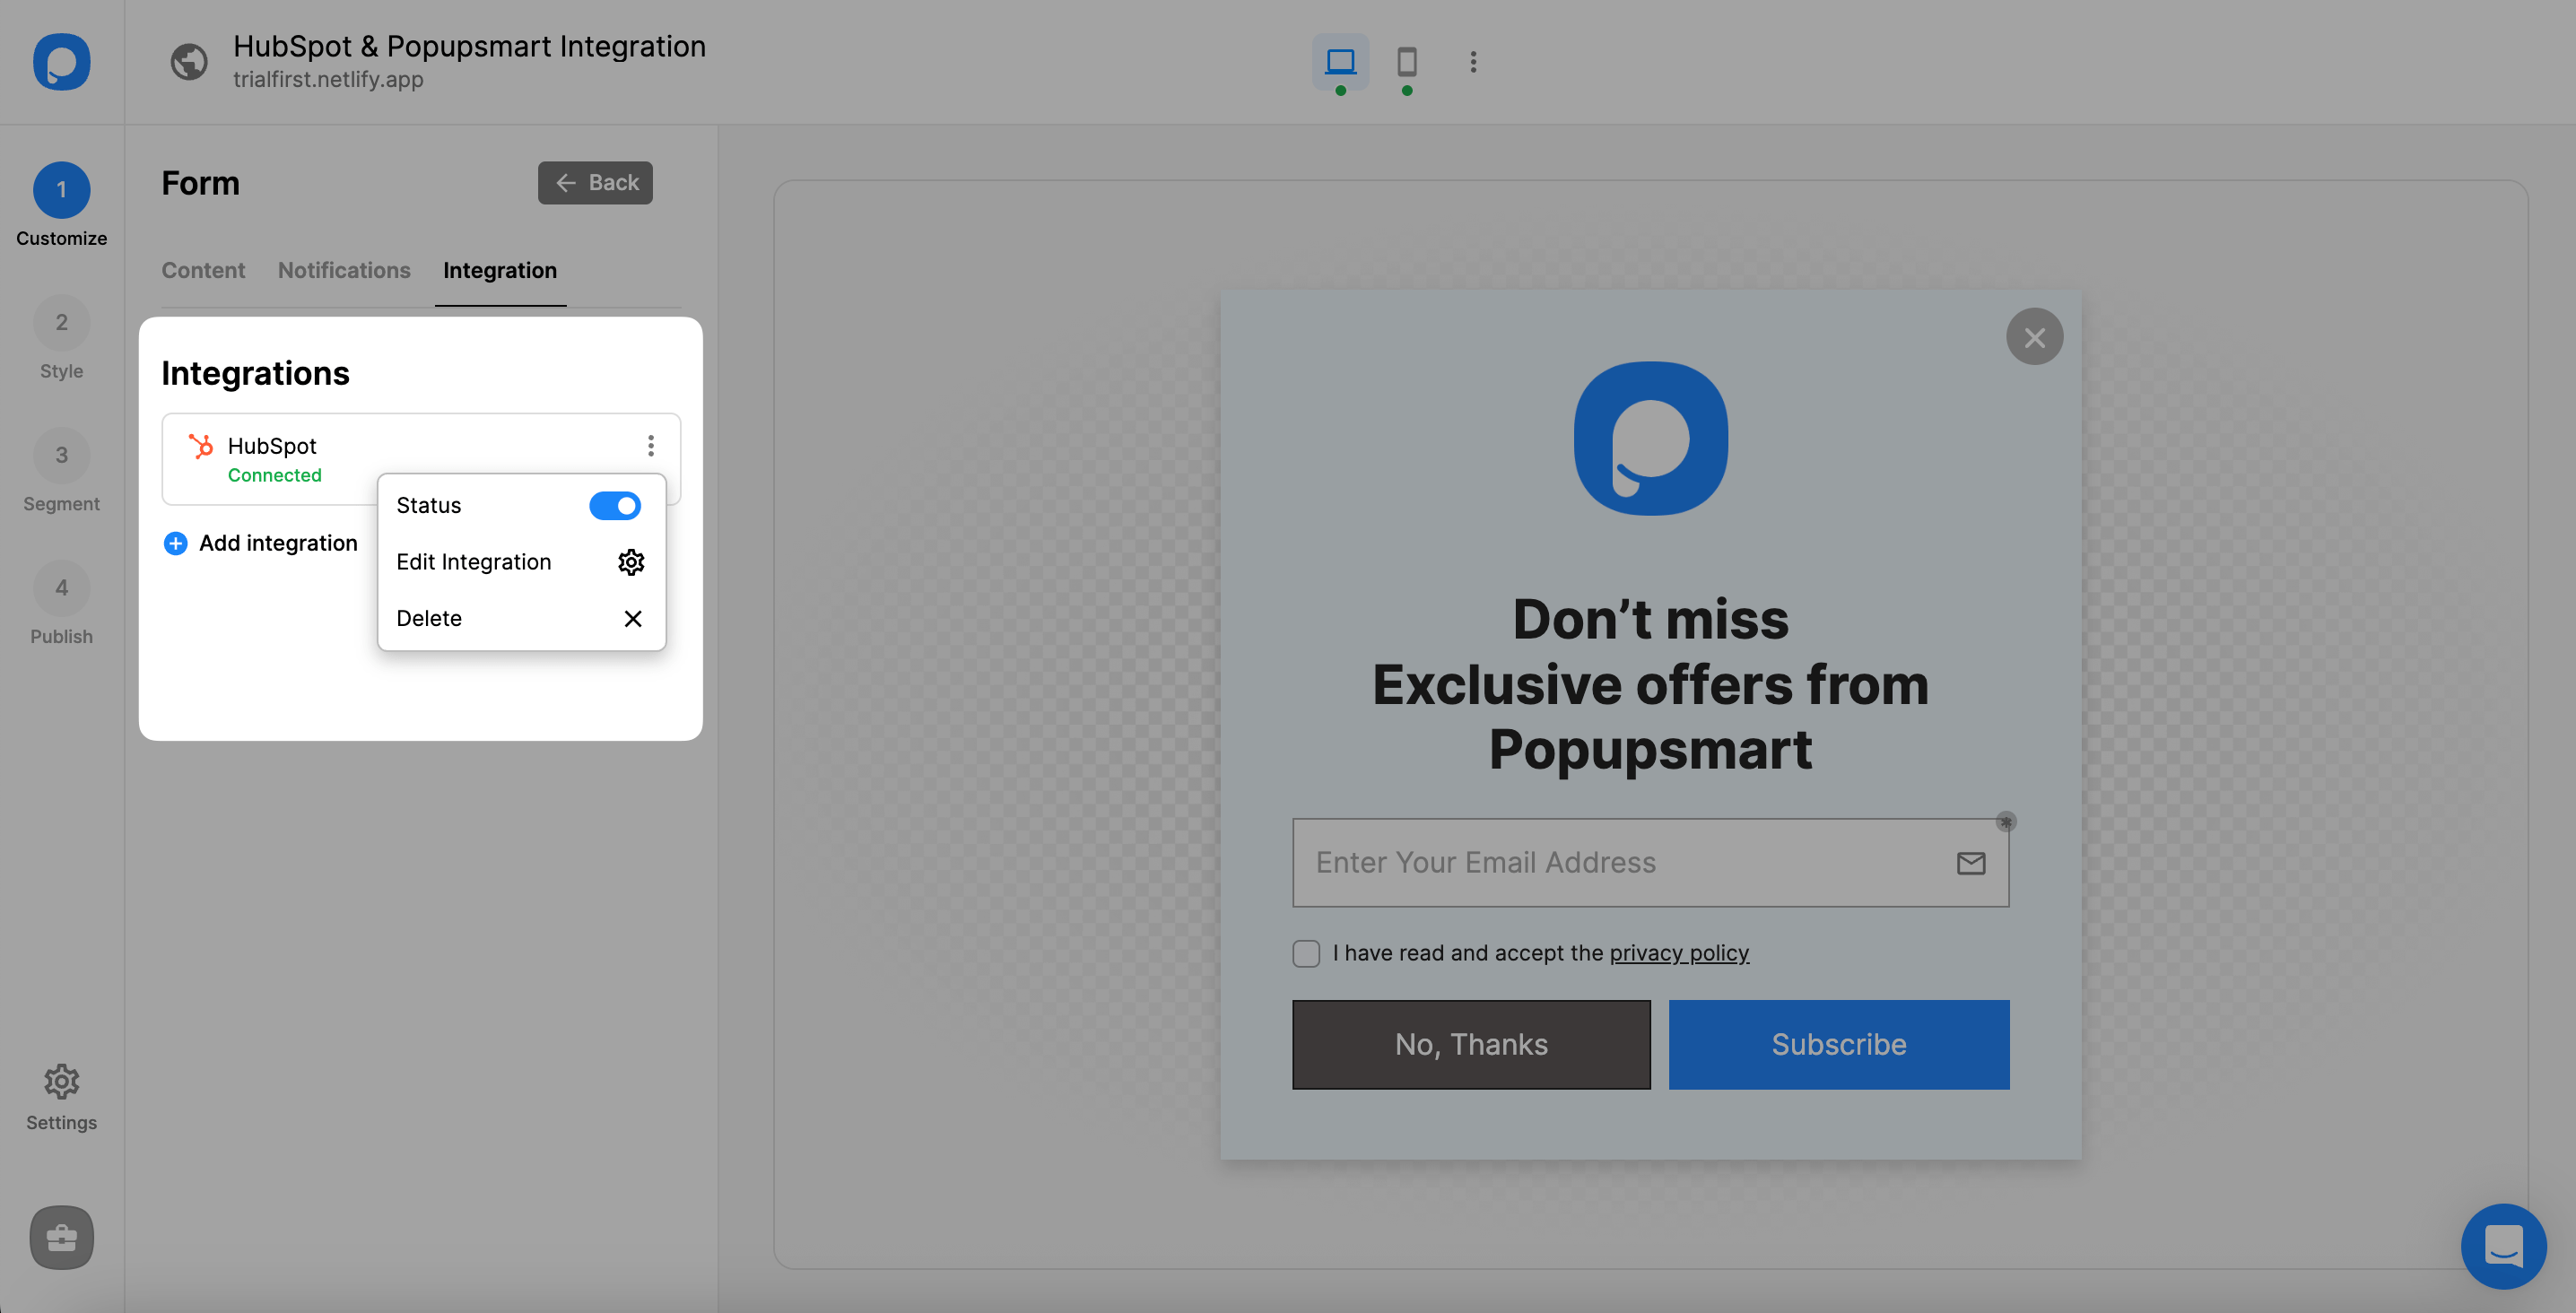
❗️Note: Also, know that you can make this integration on Settings of the Popupsmart dashboard.
If you have questions about HubSpot integration and the process, feel free to mail us!


