Increase Sales Conversion
Can’t turn your site traffic into sales?
Reduce Cart Abandonment
Your customers abandoning their carts?
Promote Products & Offers
Make potential customers notice special offers.
Collect Form Submission
Struggling to collect form submissions?
Get More Phone Calls
Let them call you directly via popups.
Grow Email List
Having trouble growing your email list?
Gamify Your Campaign
Choose your offer and let the game begin.
Make Announcement
Make sure important news unmissed.
Increase User Engagement
Keep visitors & customers on your site longer.
Collect Feedback & Surveys
Can’t draw attention to your surveys?
Facilitate Social Sharing
Grow social media followers and likes!
# How to Integrate Popupsmart with Drip
Drip is one of the most useful marketing tools you can integrate easily with Popupsmart.
We share this guide to tell you step-by-step integration of Drip with Popupsmart.
To start the integration process, you need to have some default features:
• You need to have a Drip account.
• You need to verify your website on your Popupsmart account.
1. Sign in to your Popupsmart account and create a new campaign to choose a proper popup template for your campaign. You need to have a form input element to add integration.
By adding a form input element, you’ll be able to take the related data to your Drip account.
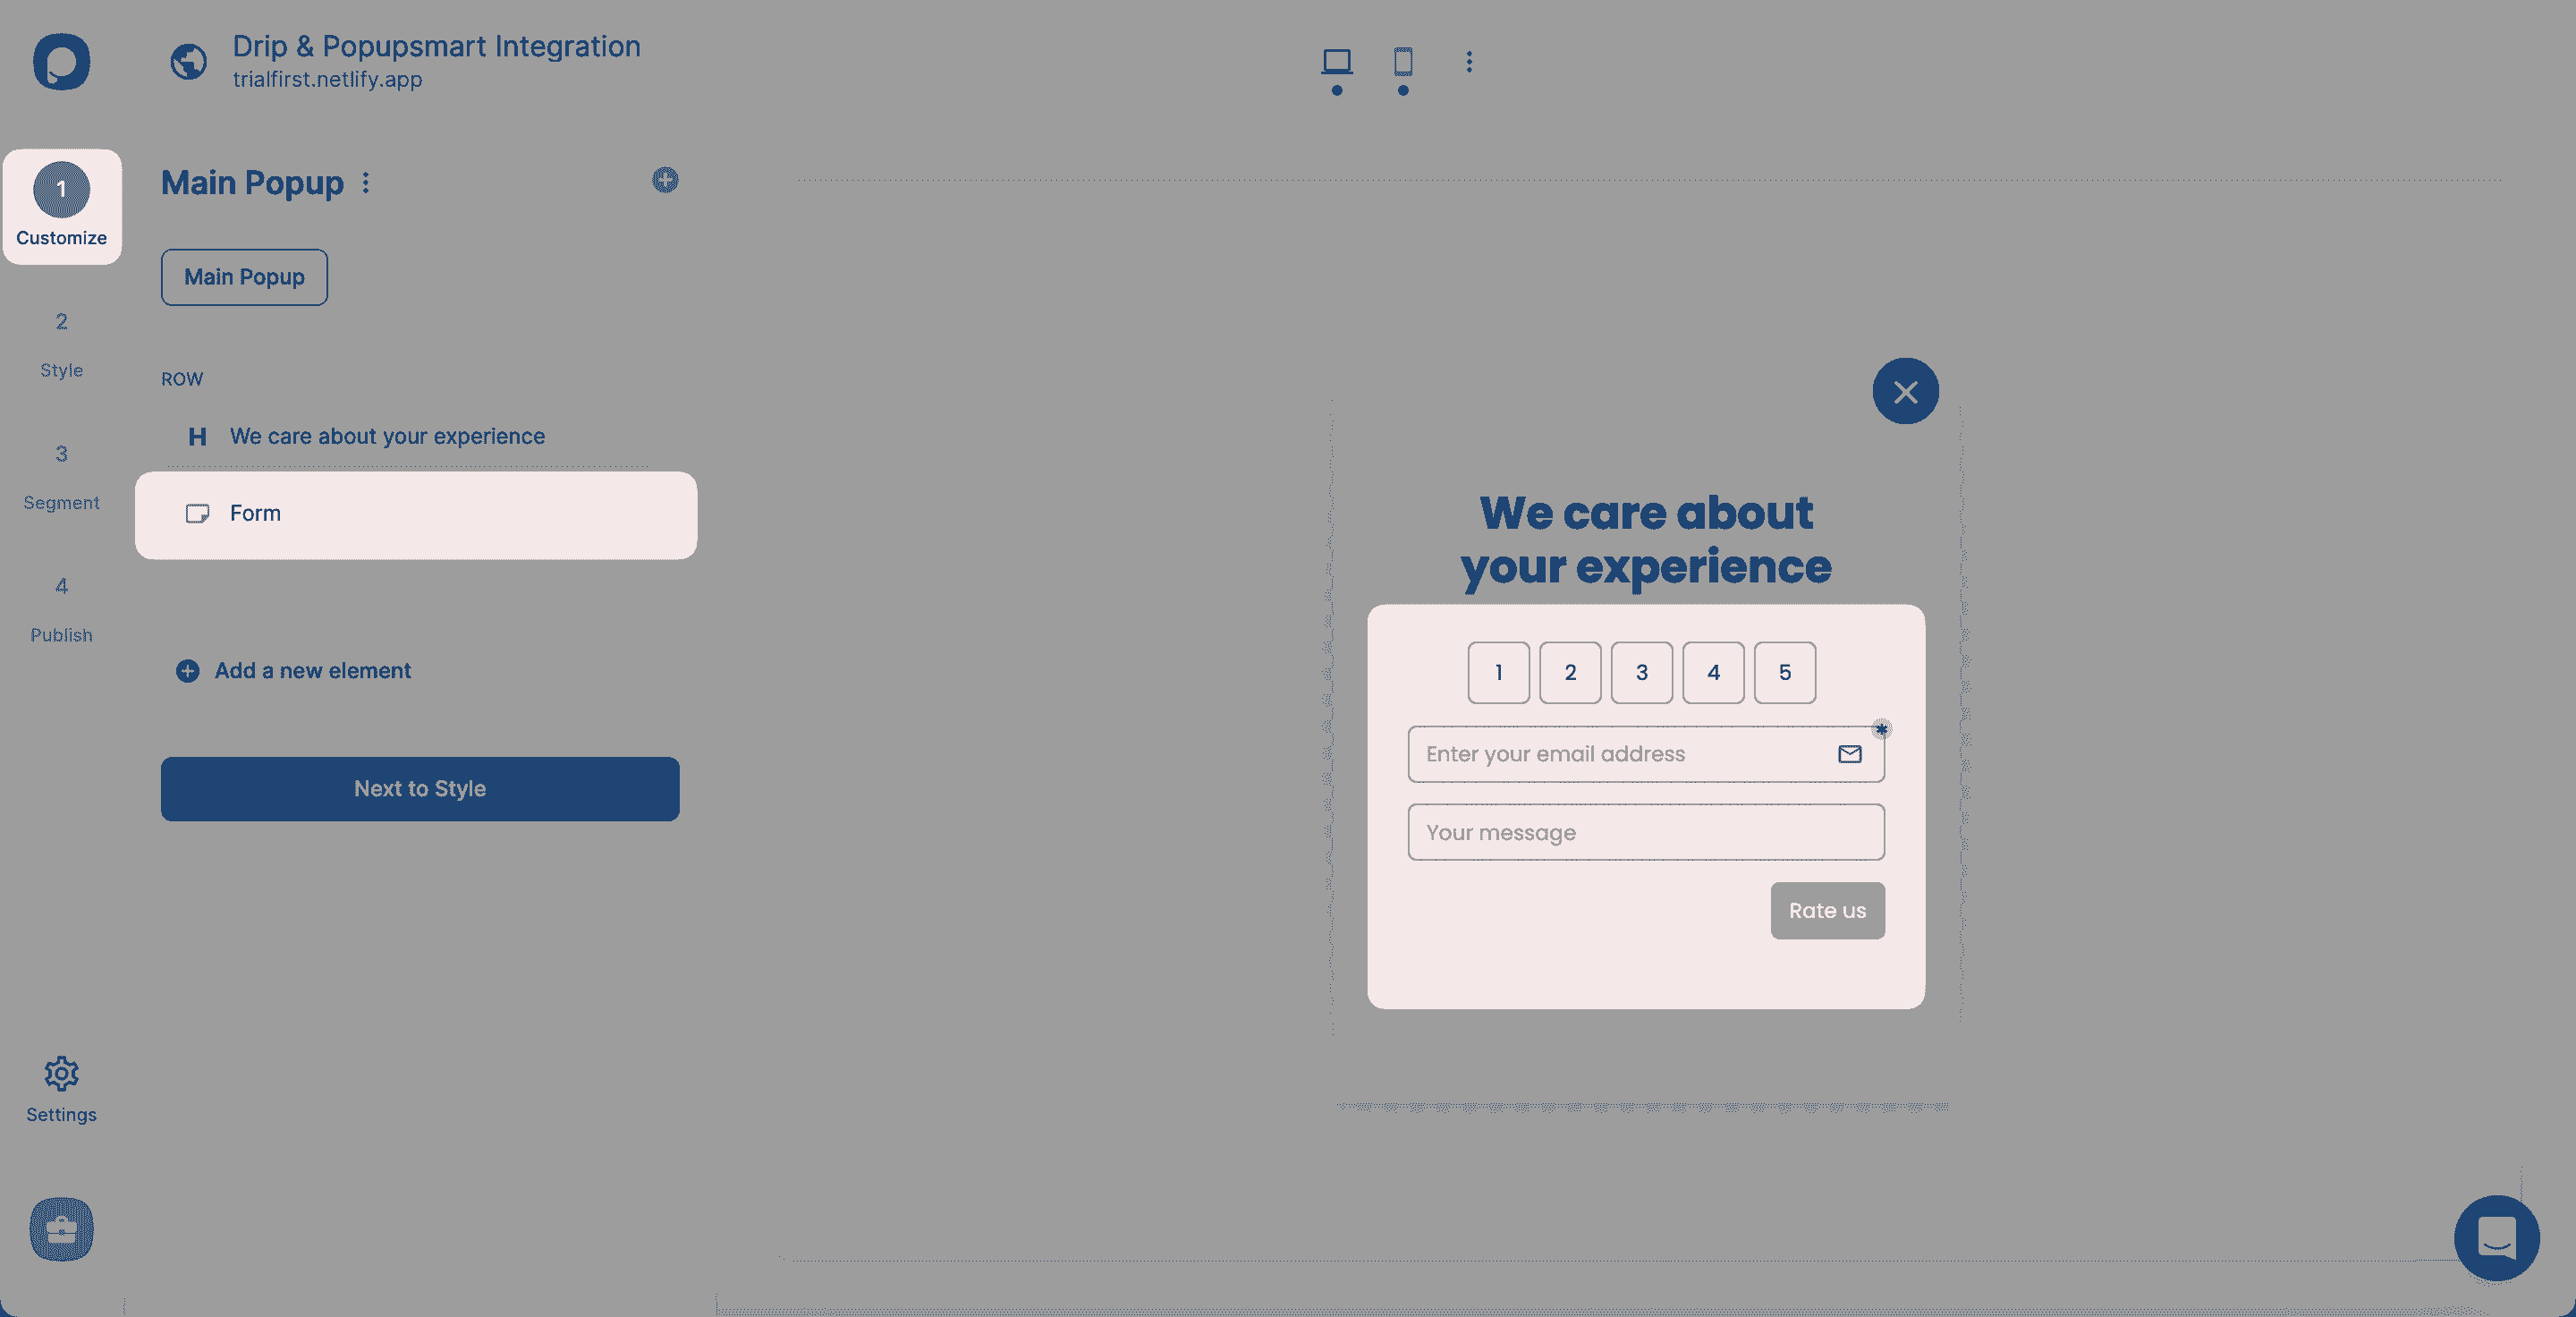
You can decide which form input you want to use after choosing the form element.
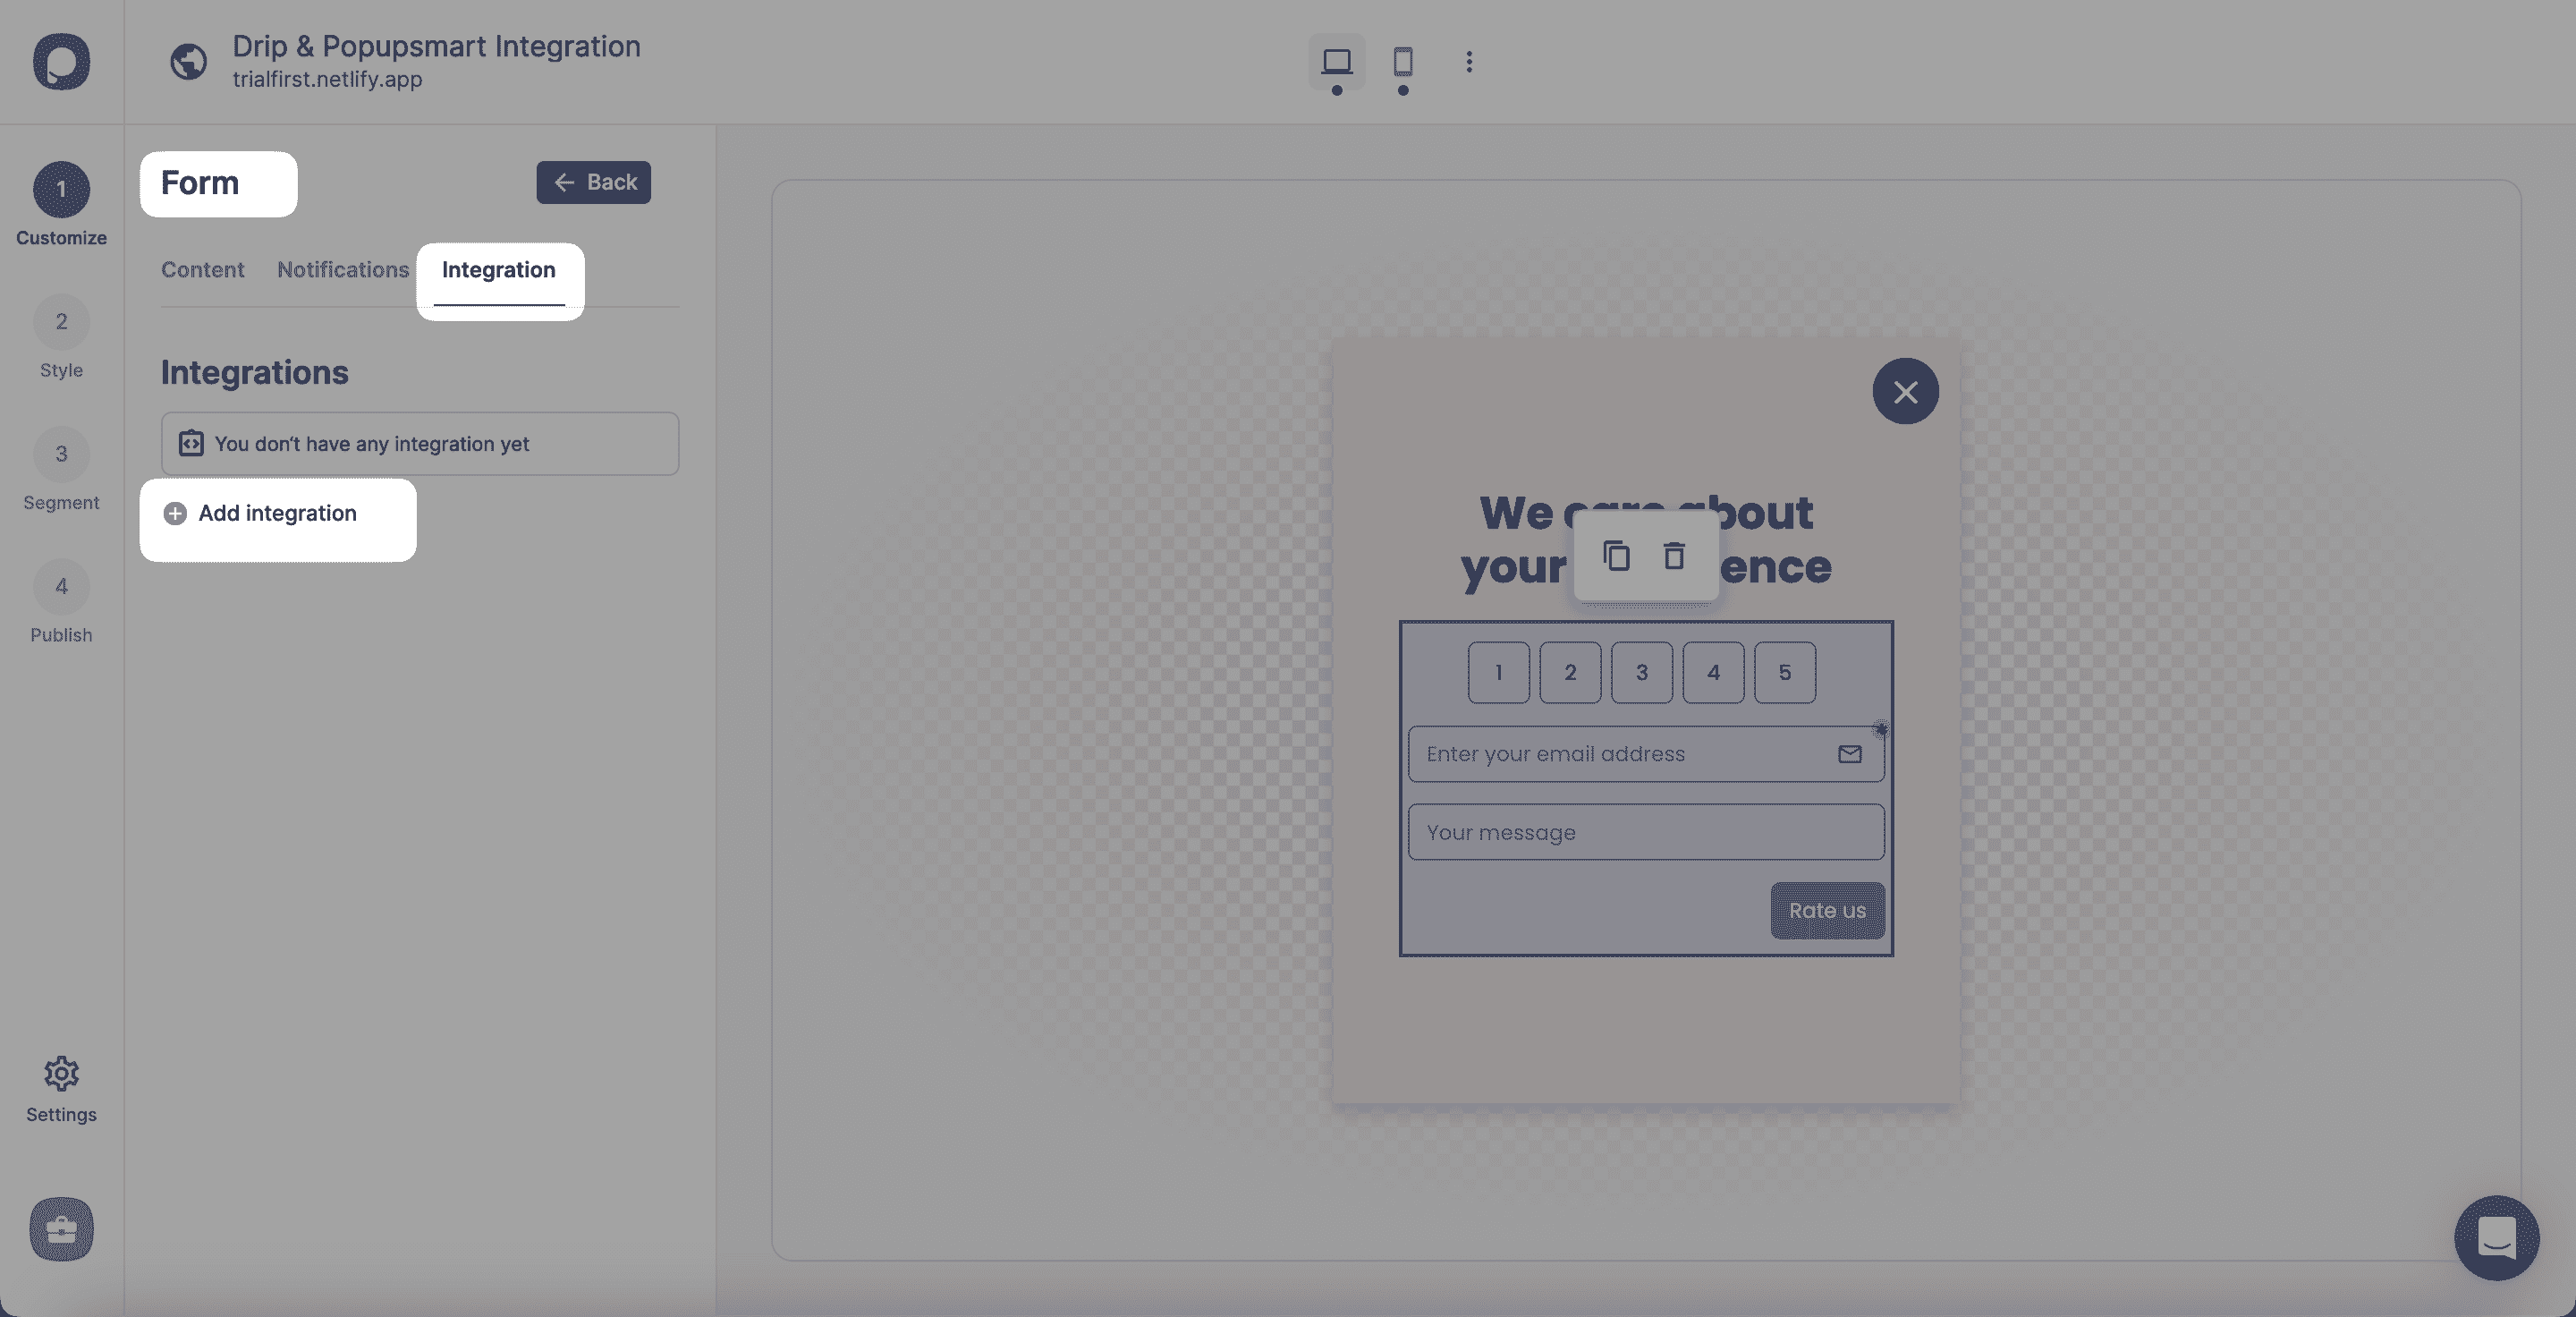
2. After clicking the form element, you should choose Integration to add integration.
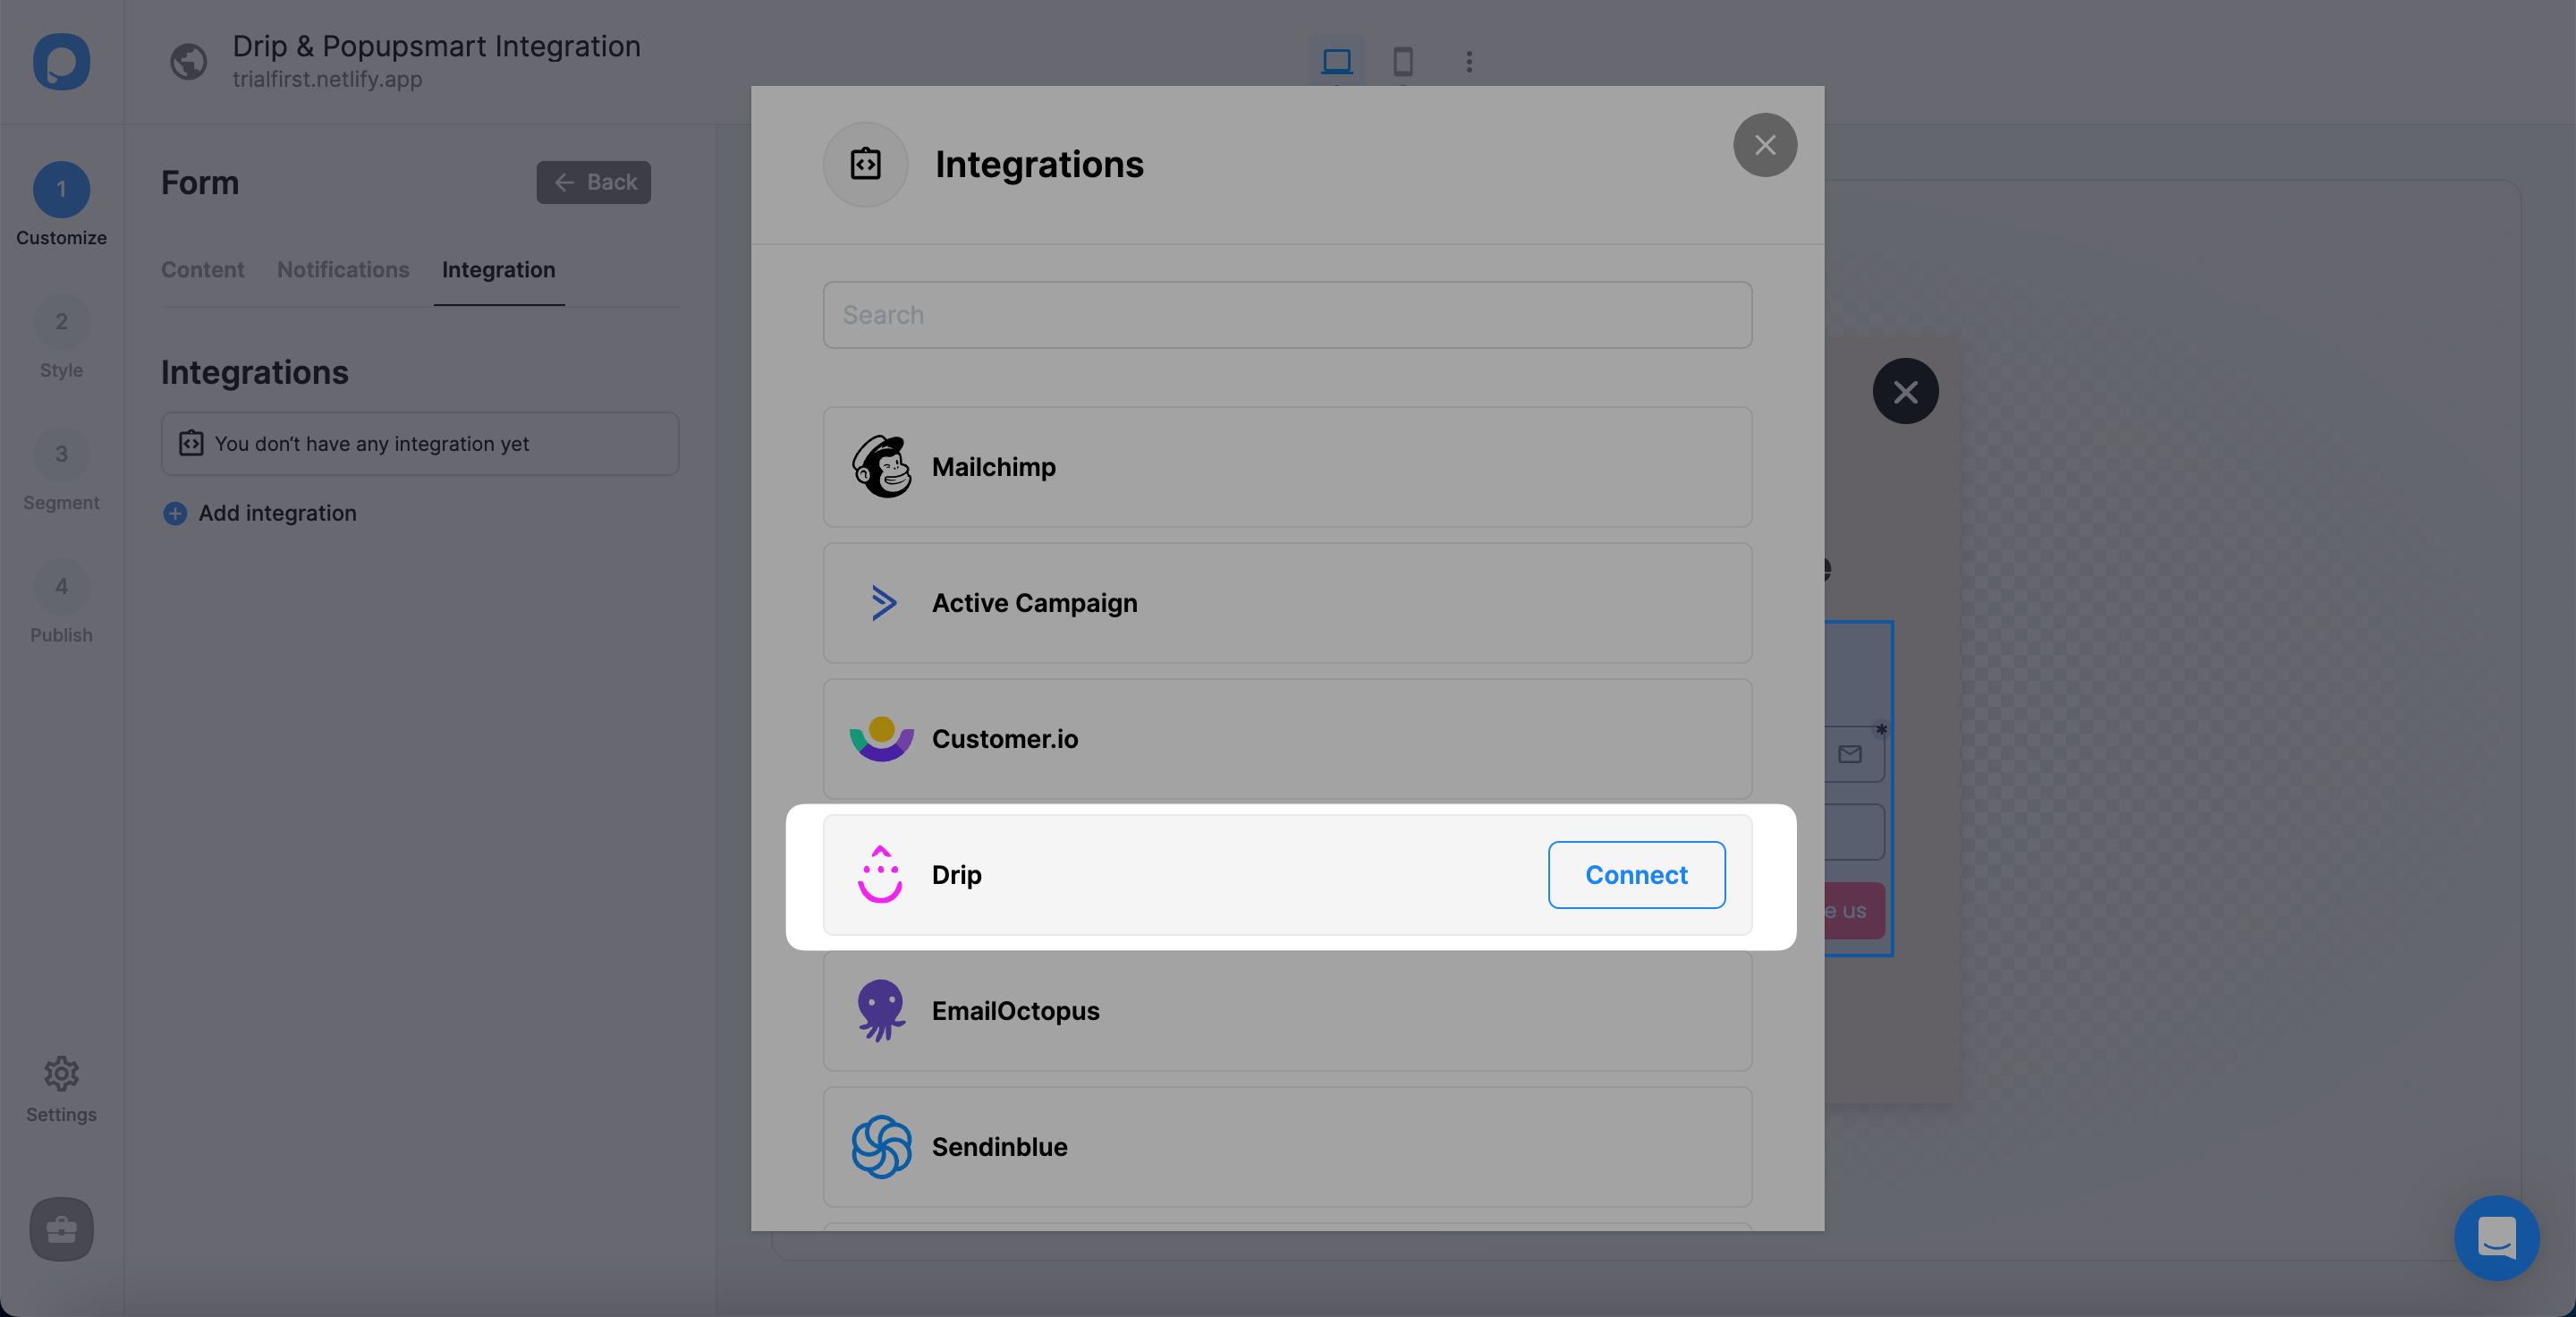
3. “Connect” Drip for the integration.
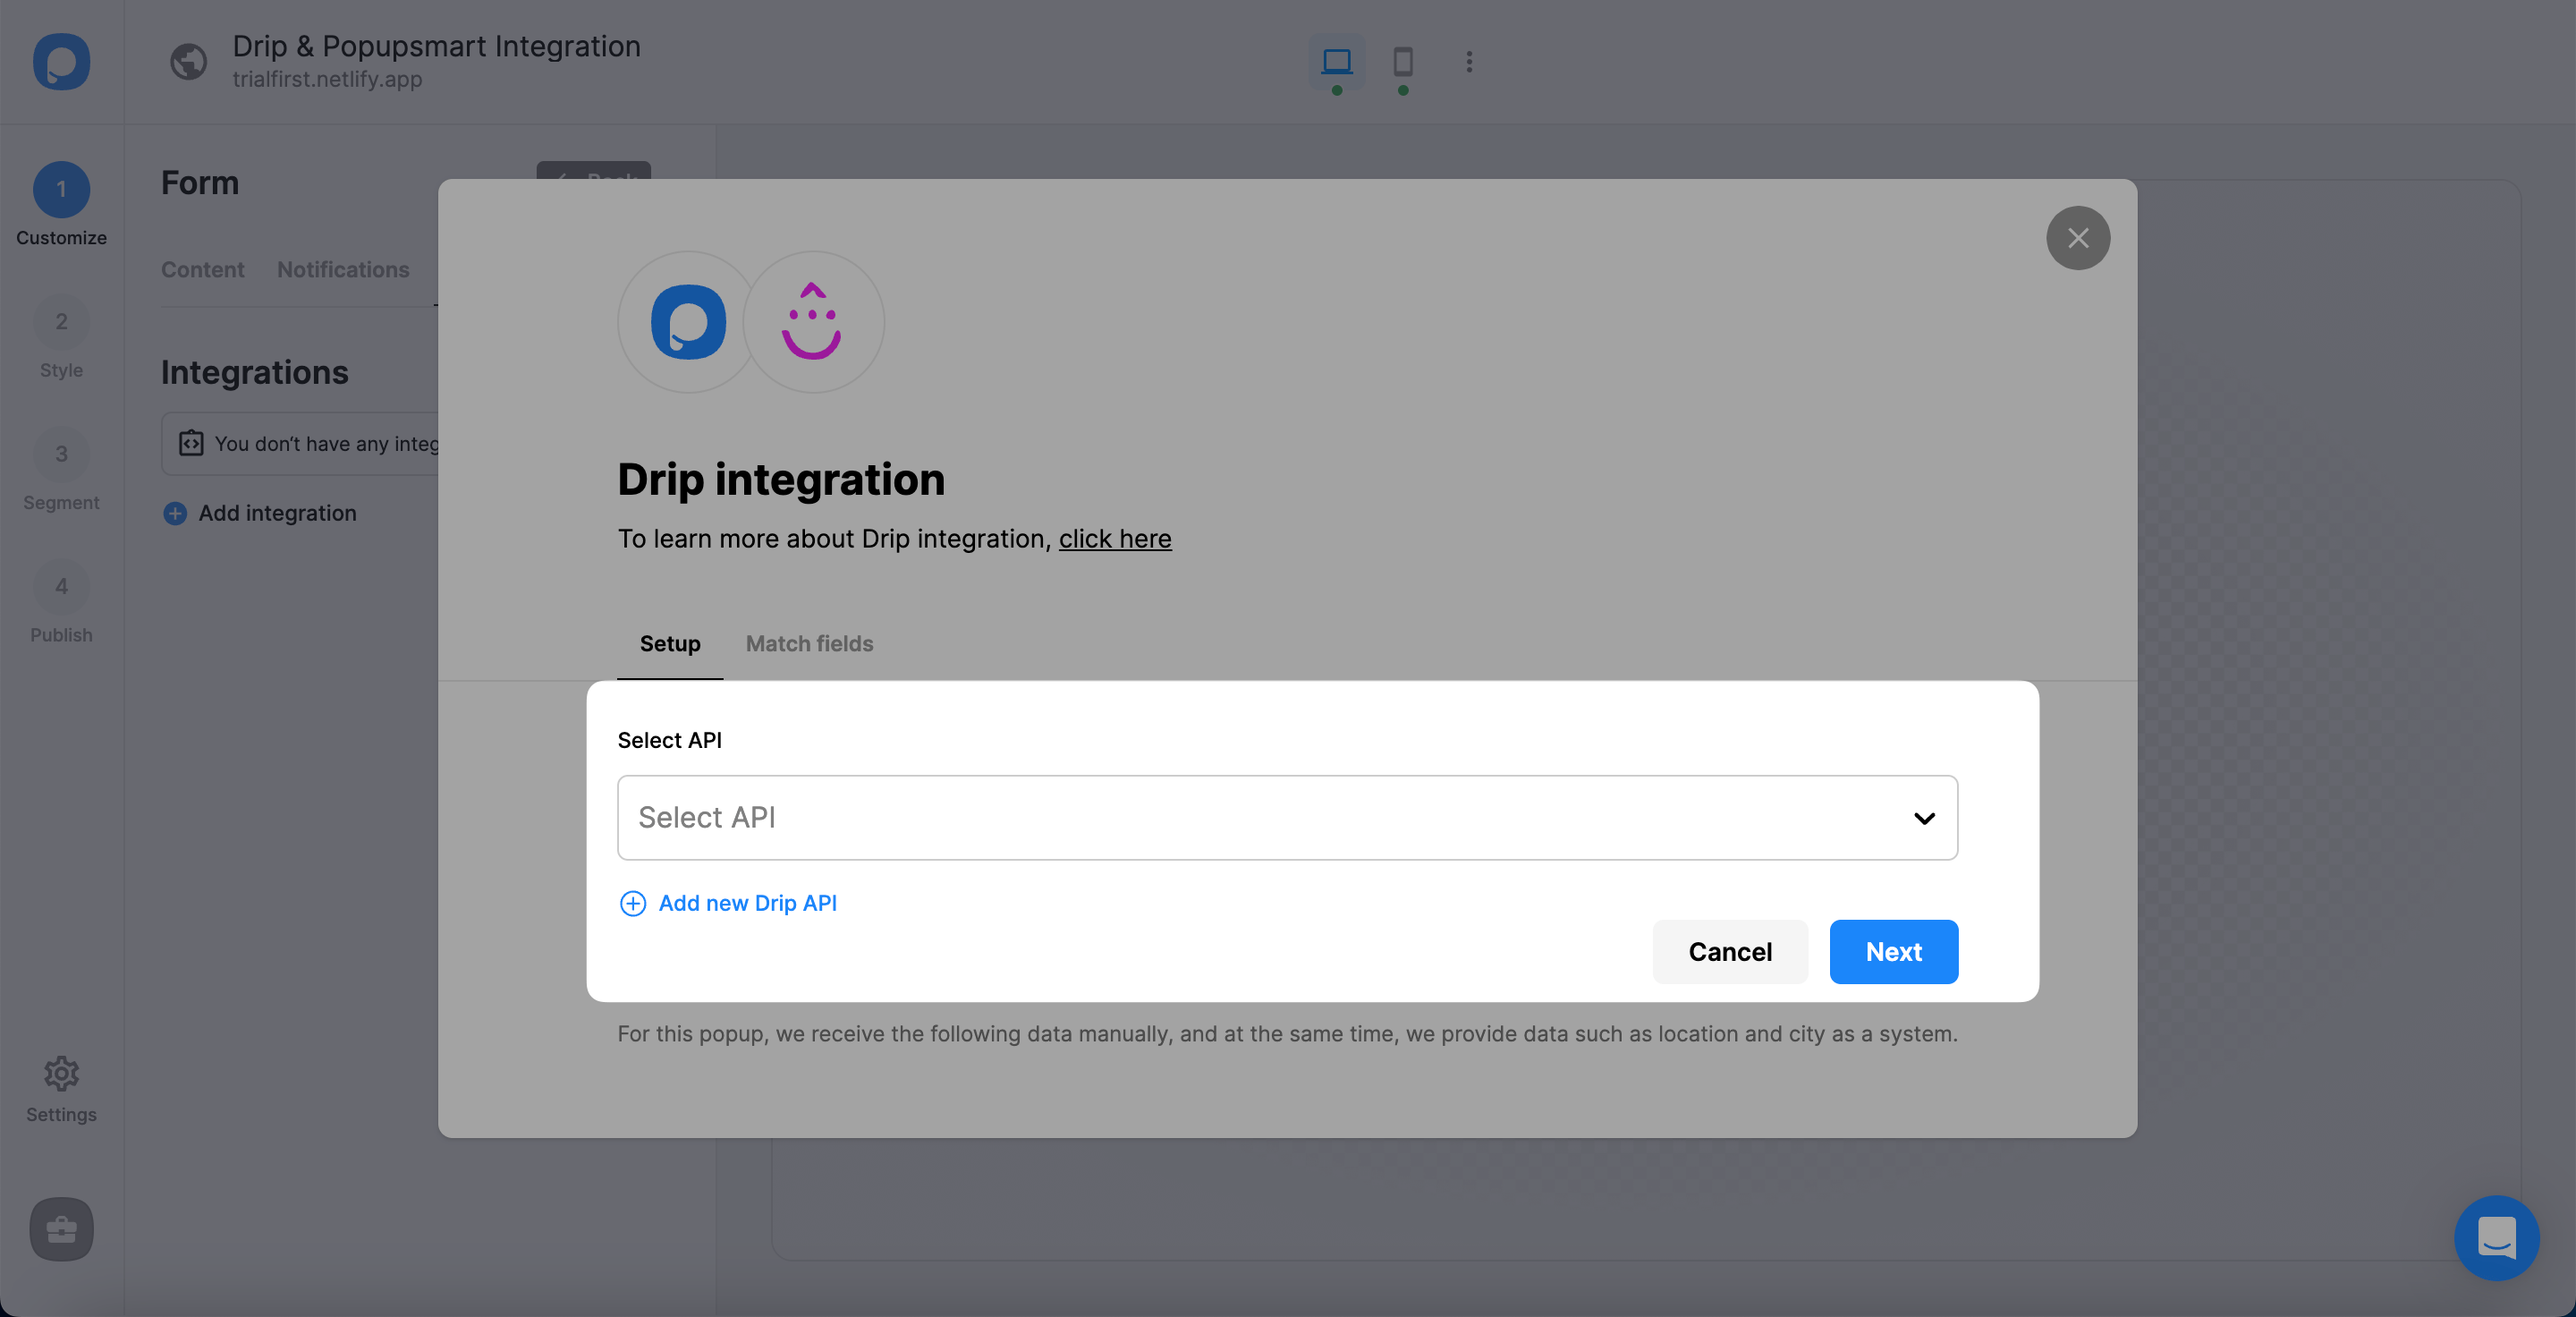
4. For the Setup, you need to either choose API from the dropdown or add a new Drip API if this is the first time you make the integration.
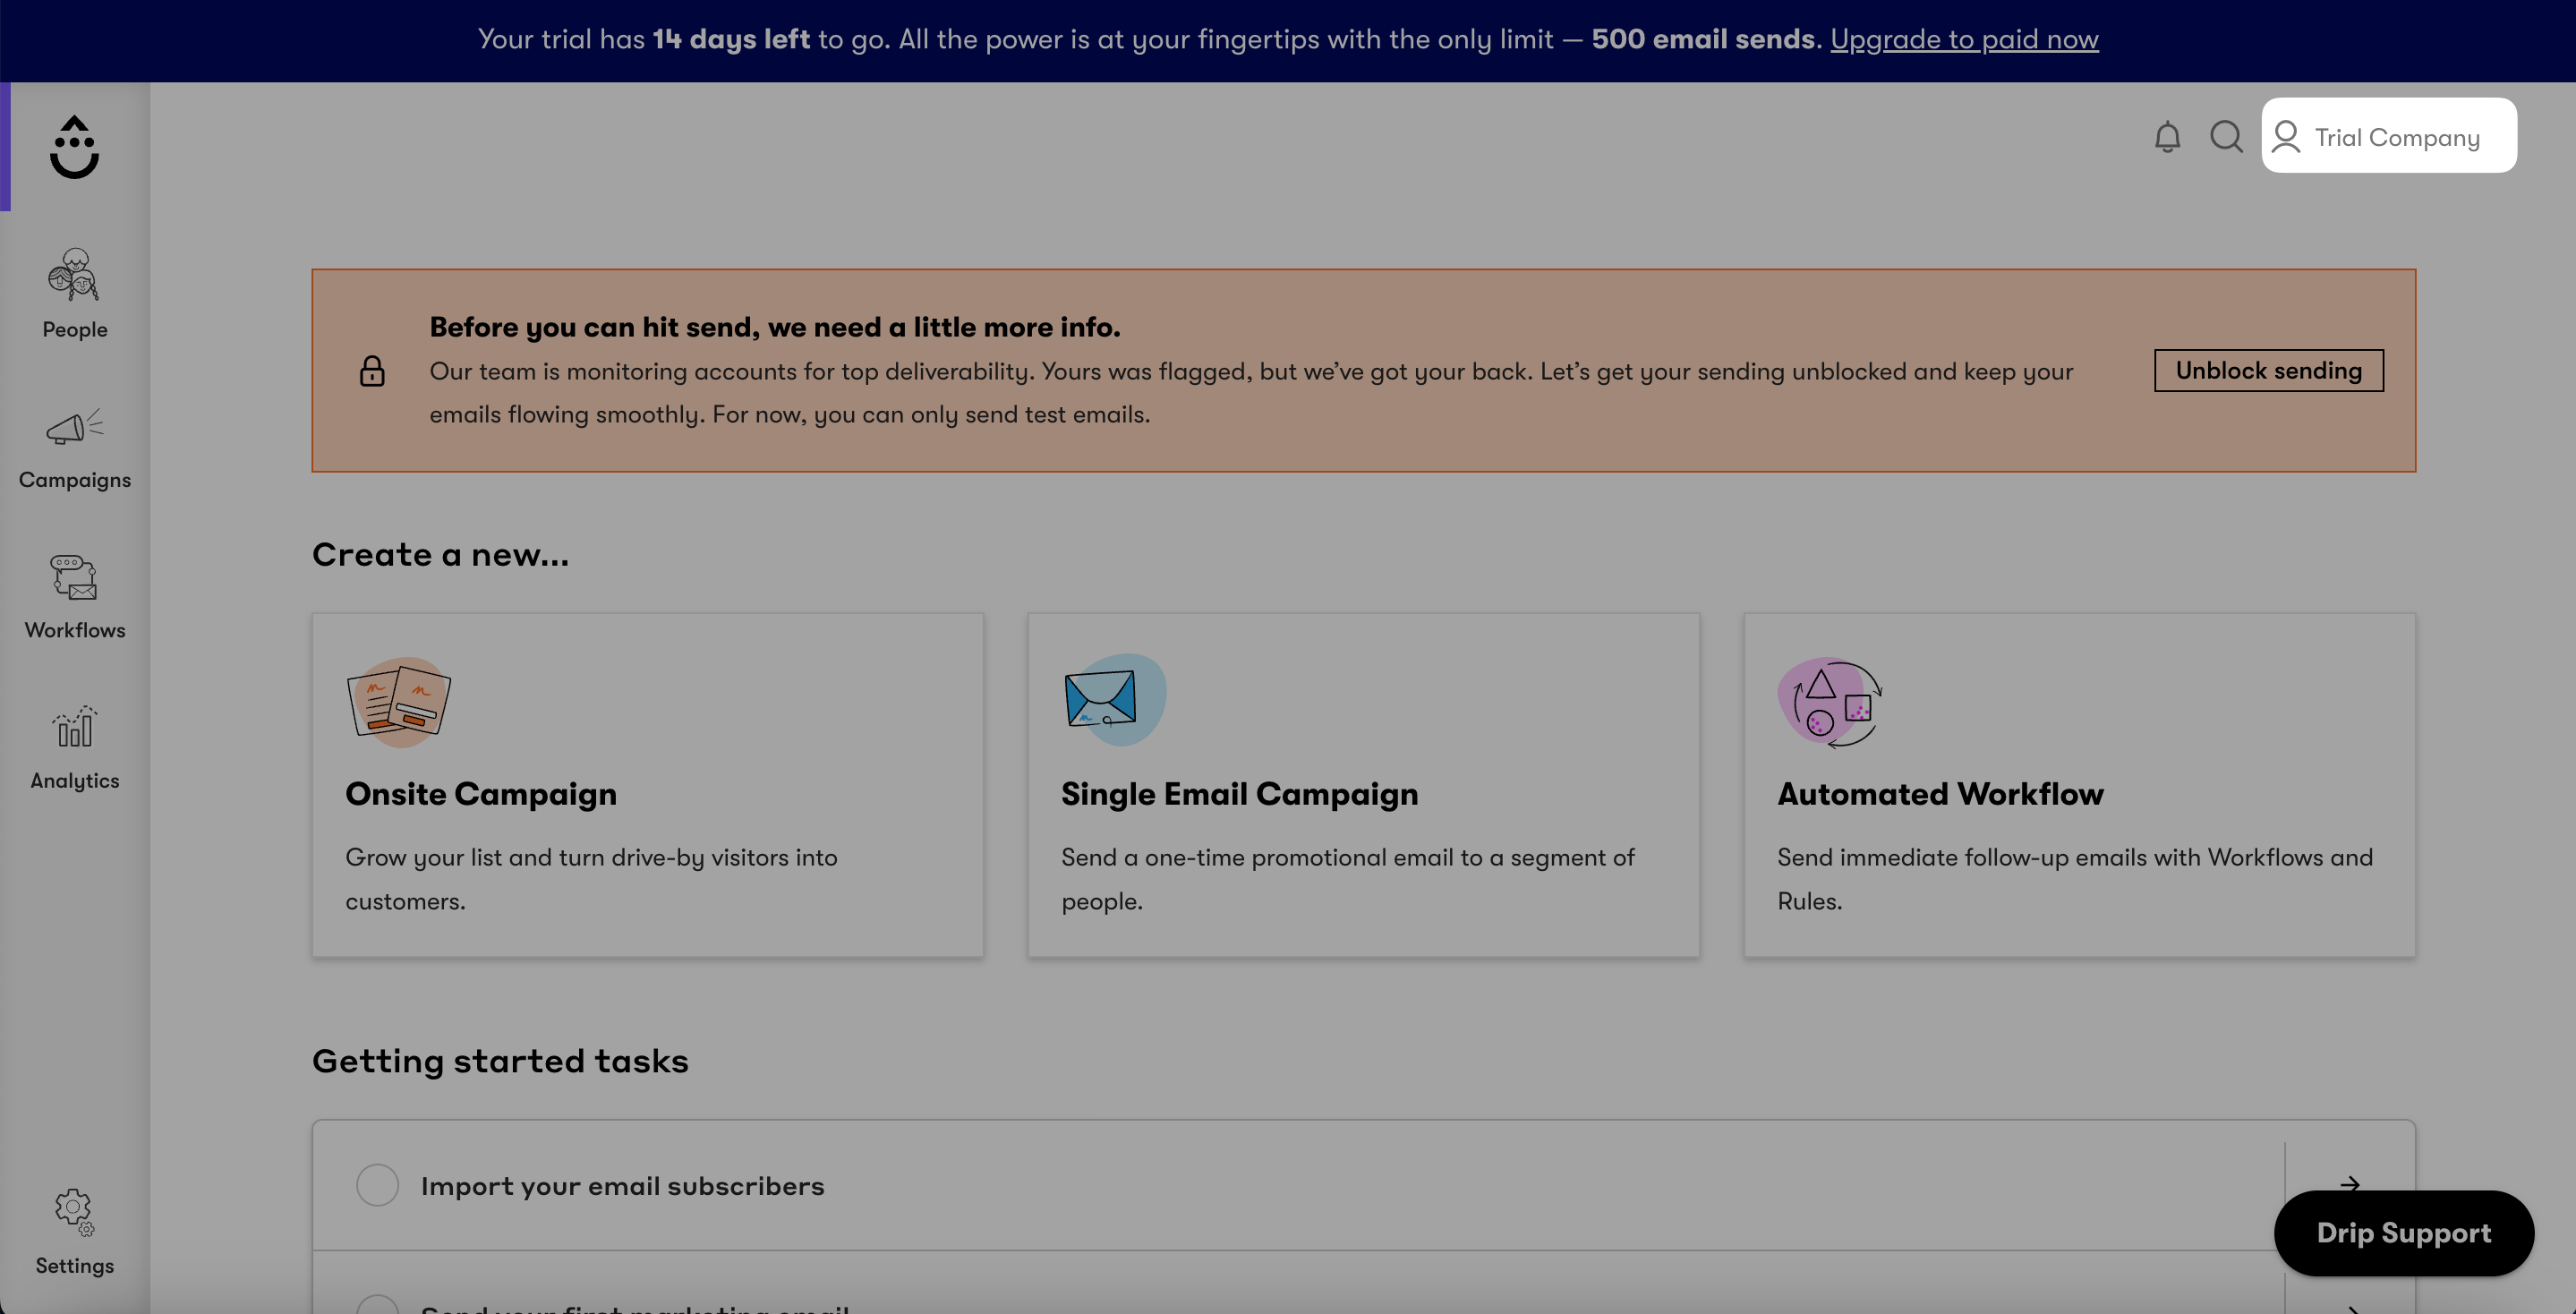
5. After logging in to your Drip account, click the account icon on the top right of the page. The account's name will be your company name. In this guide, we use "Trial Company."
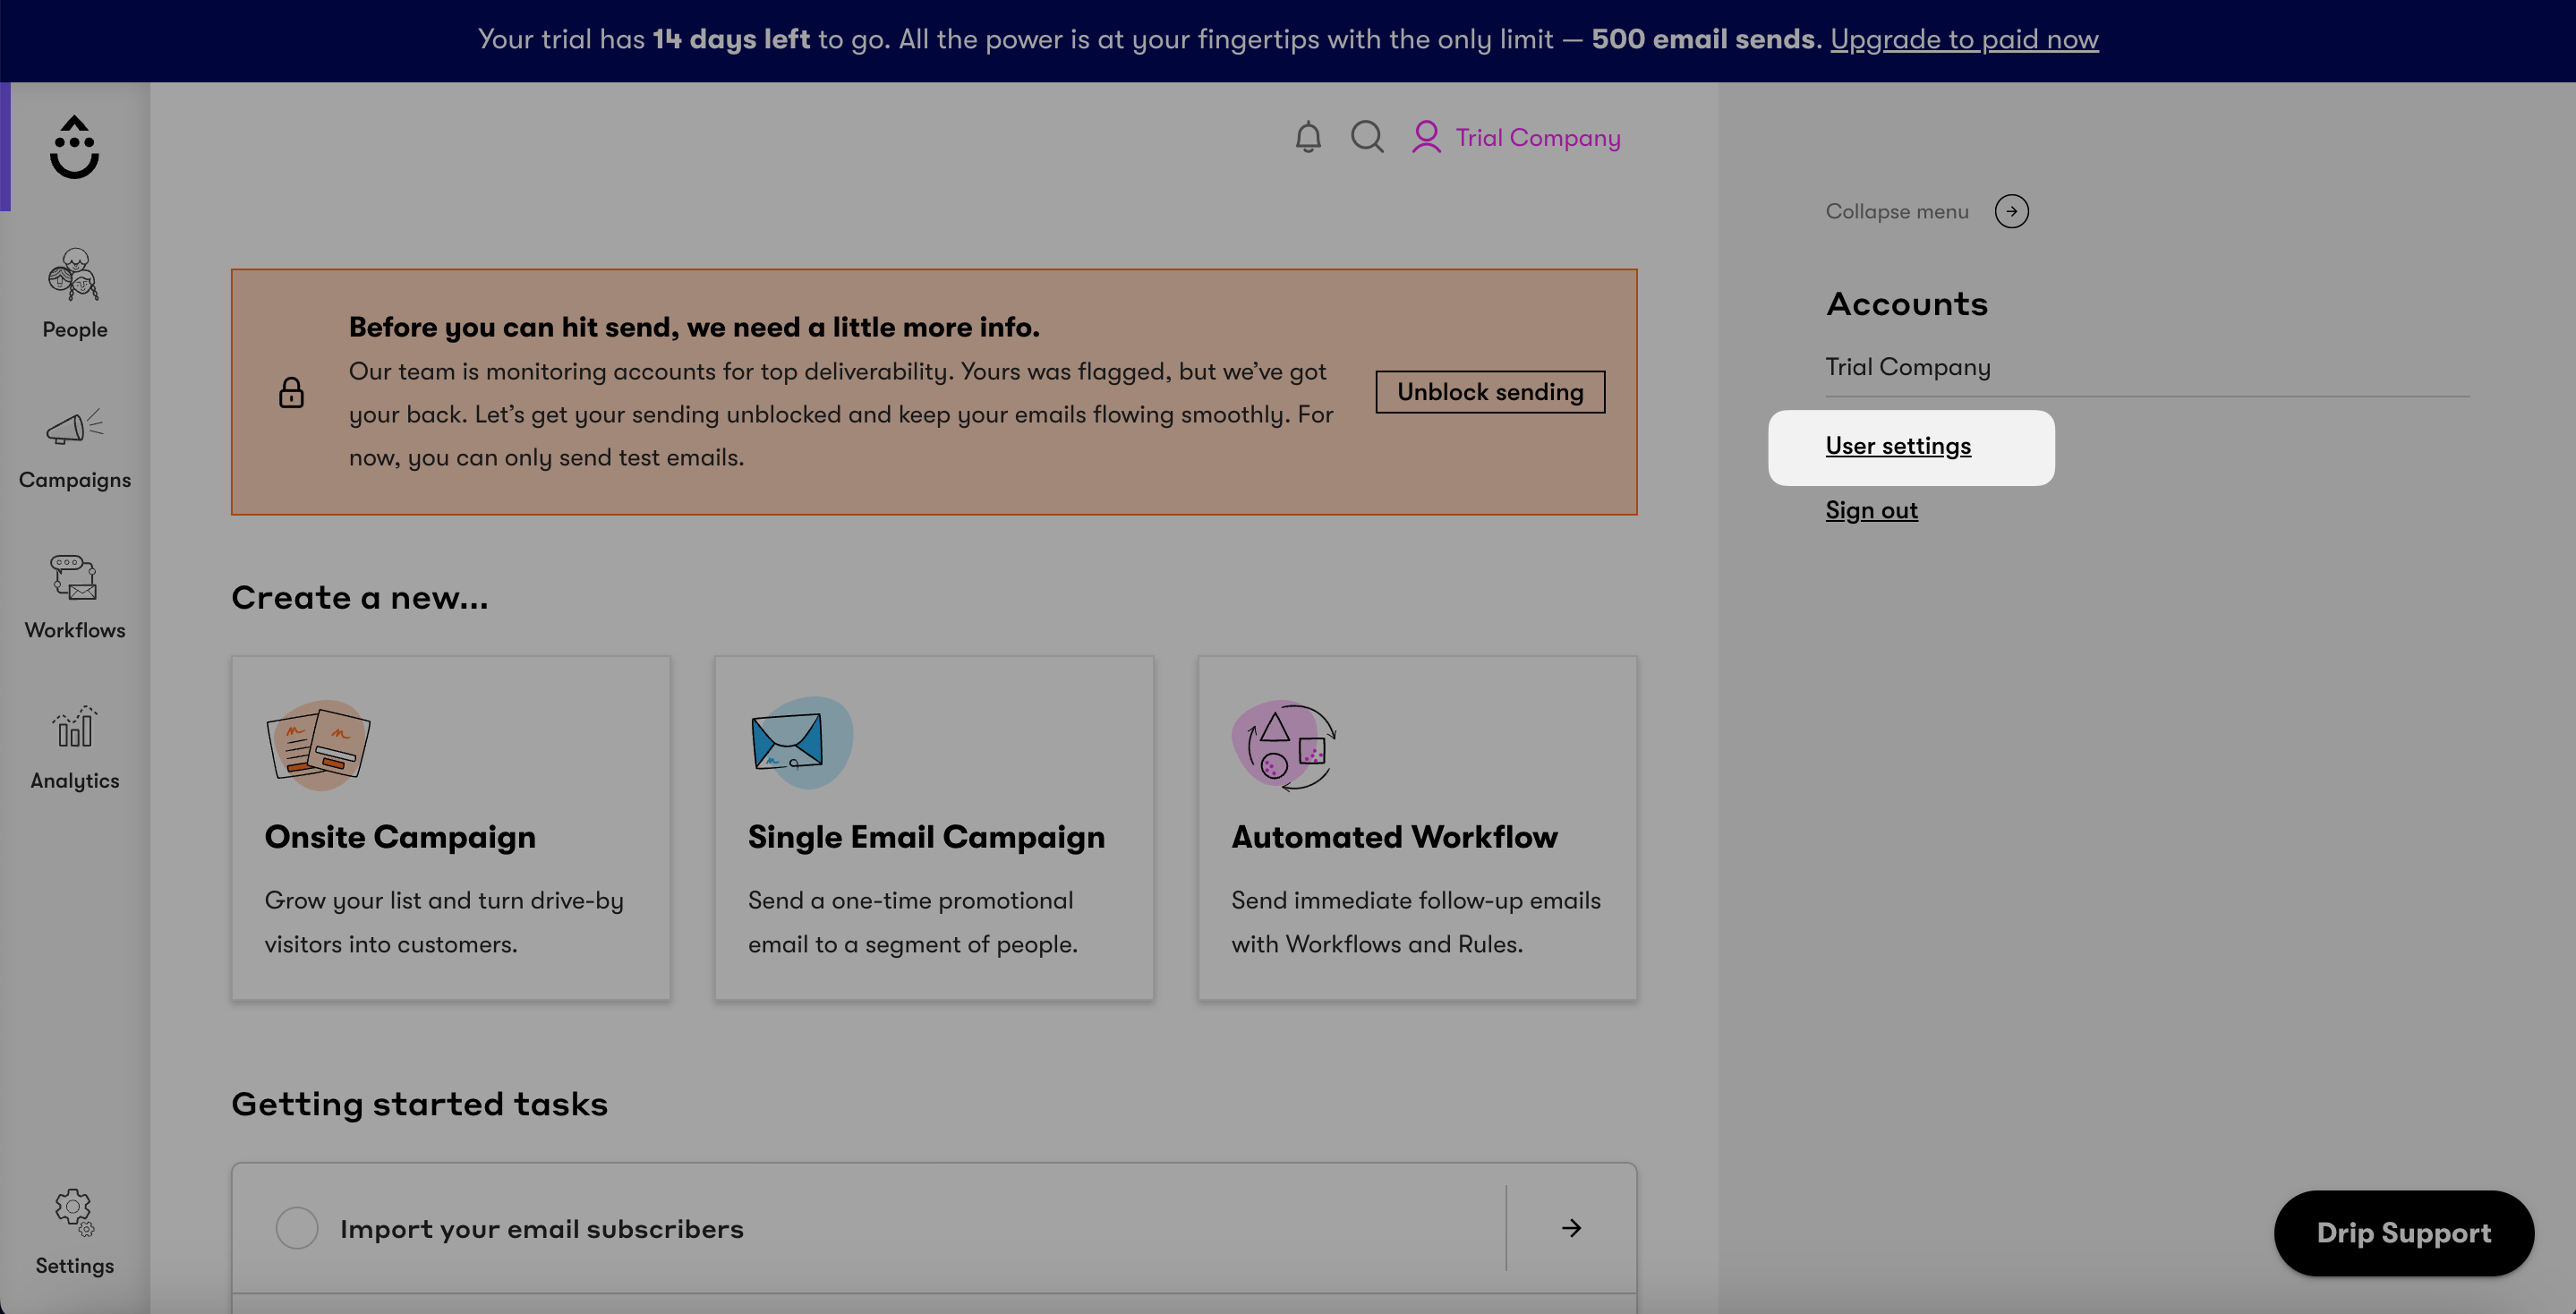
6. Click "User Settings" under the 'Accounts' title.
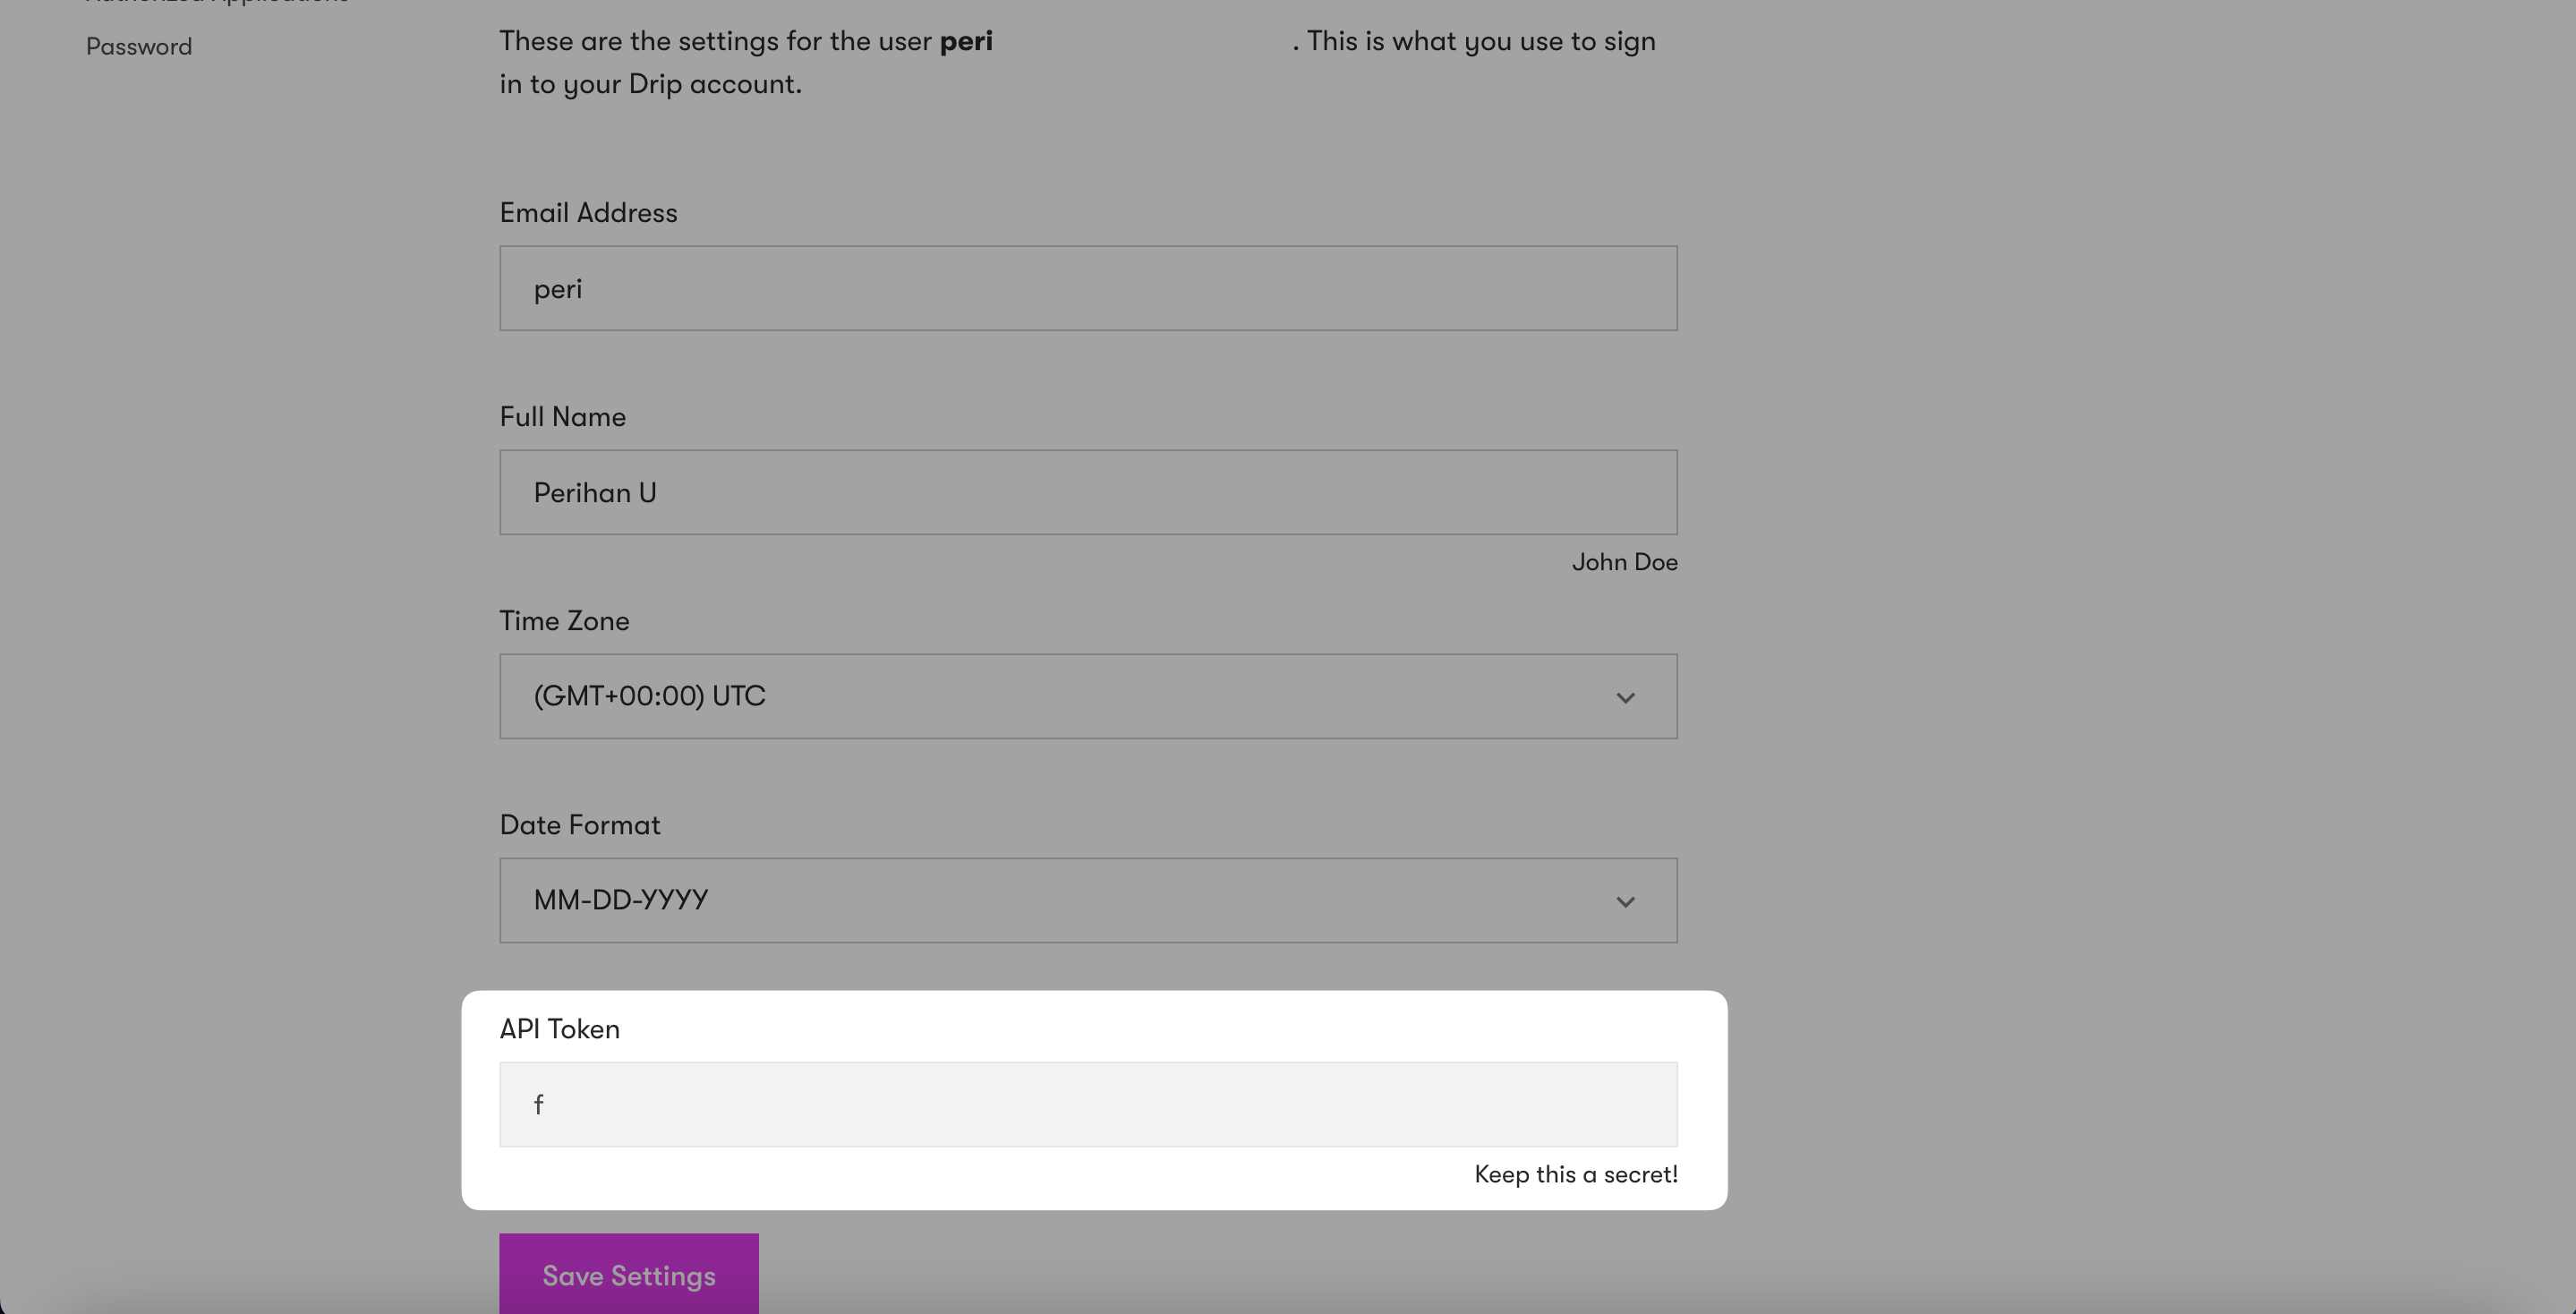
7. User Settings will lead you to the 'User Info' page, where you will find your API token.
You can copy this API Token.
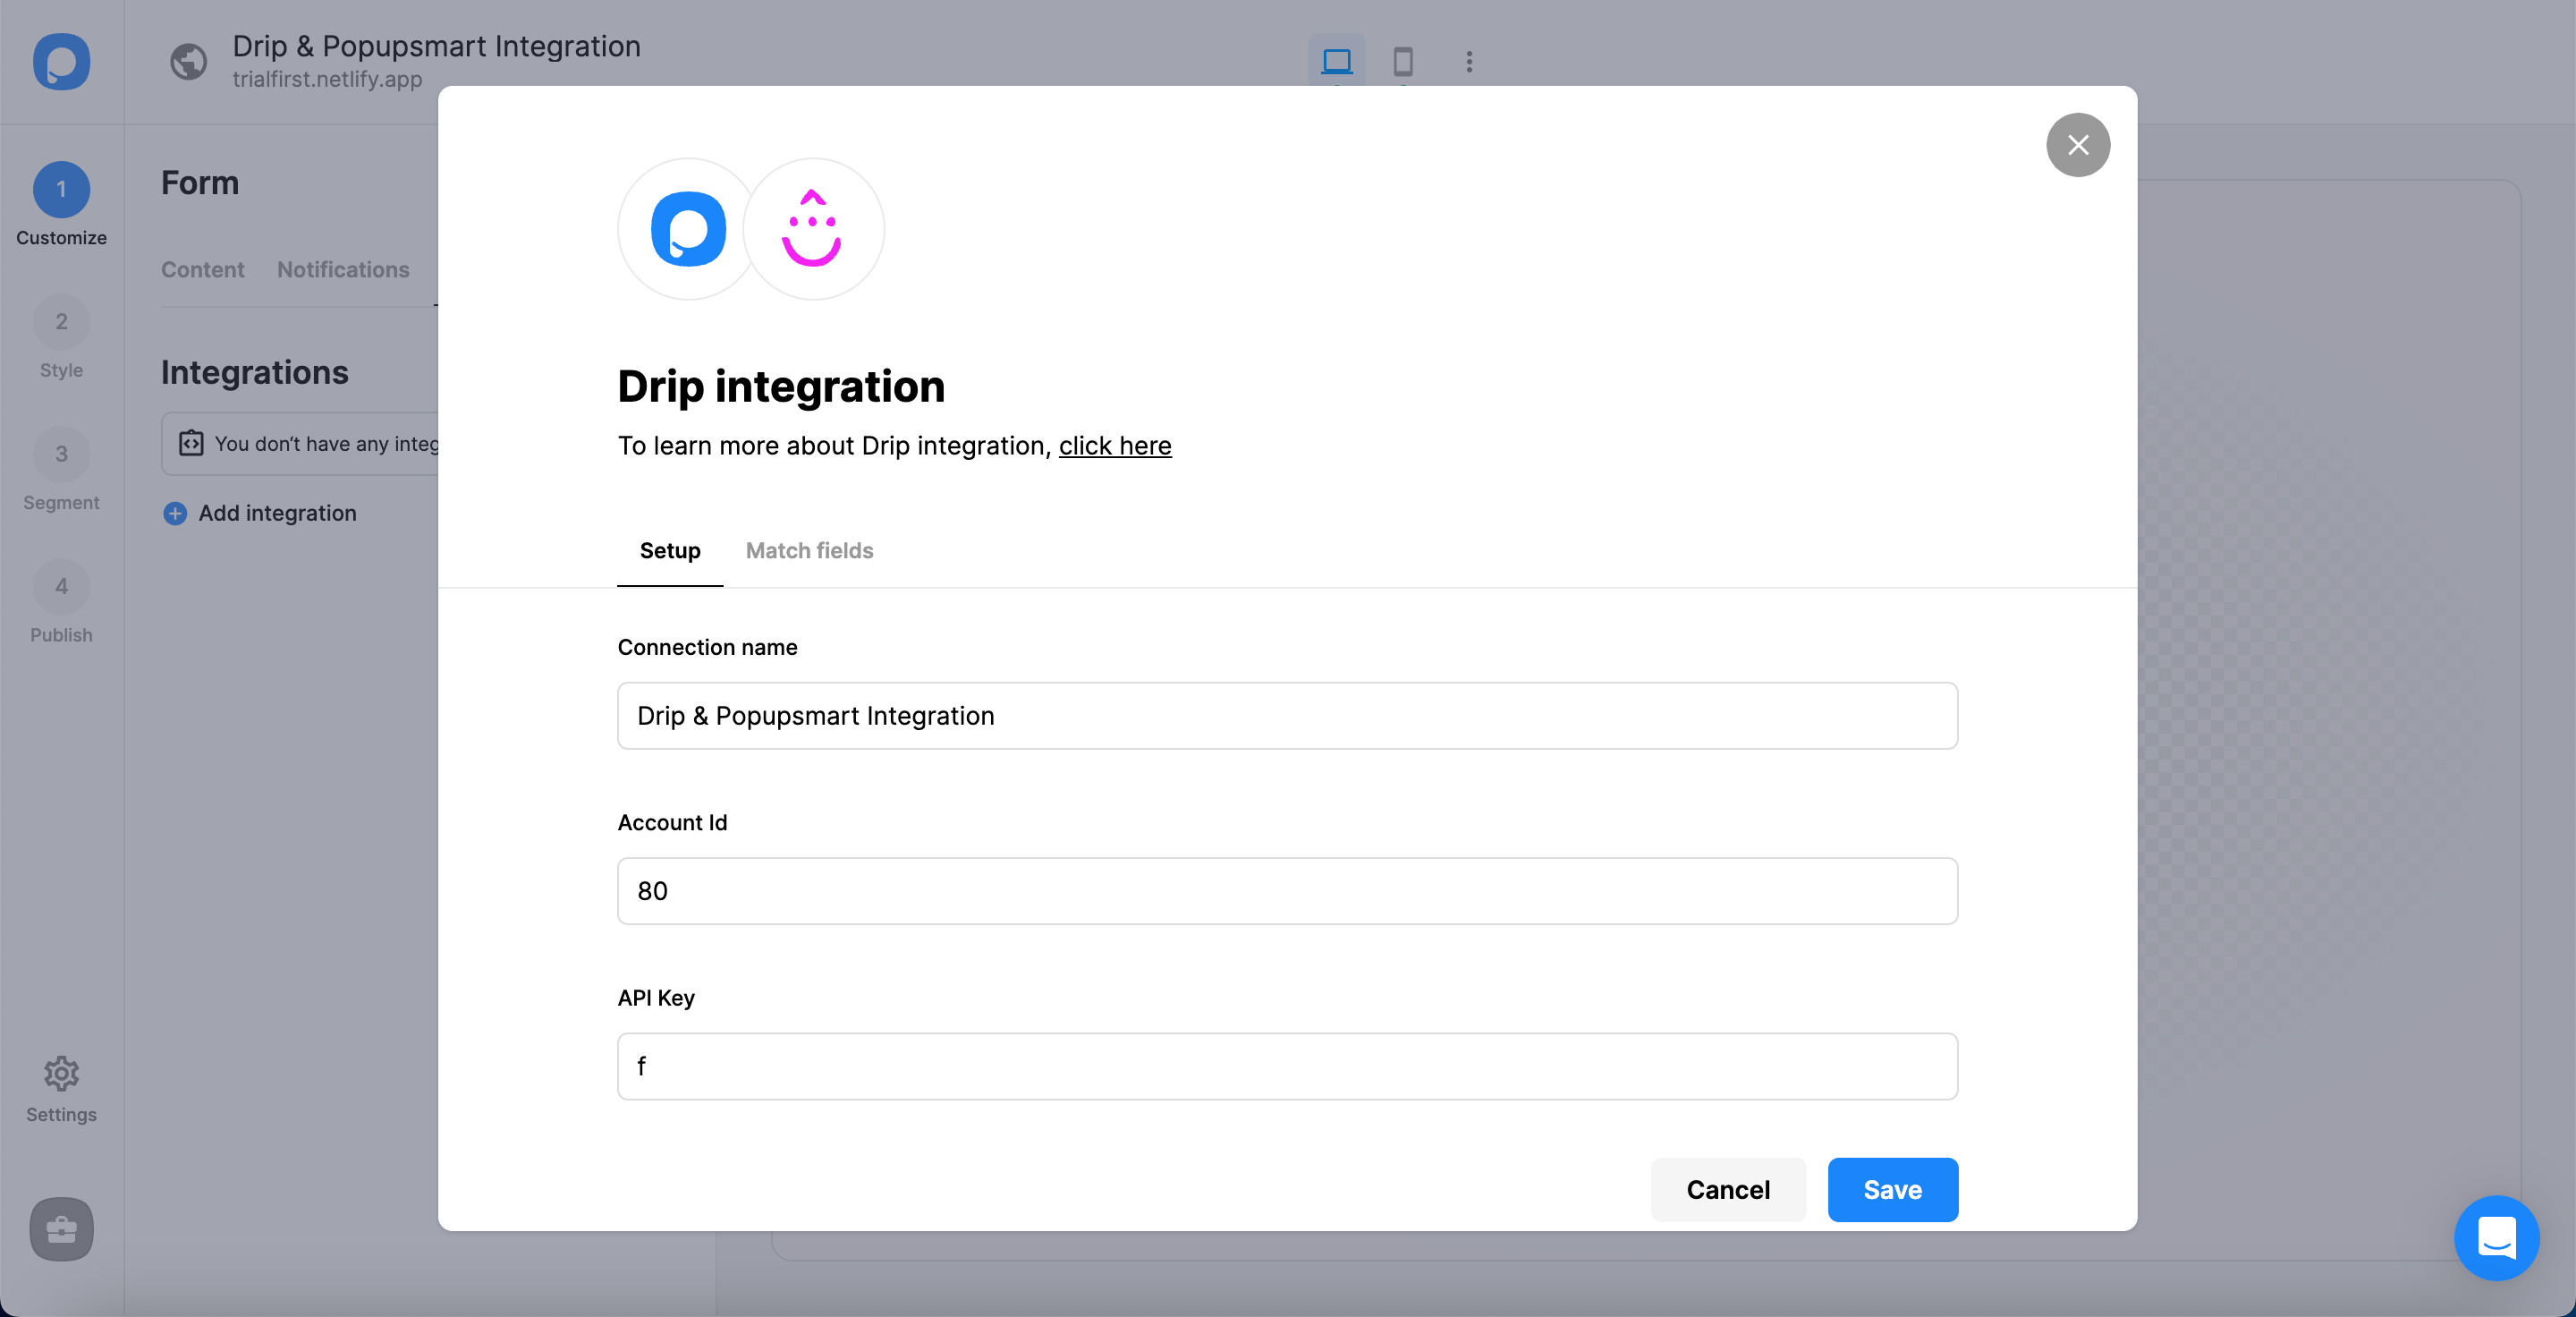
8. There are three steps to fill in:
•1 Name your connection.
•2 Write your Drip's 7-digit Account ID number. You can click the profile icon, then the company name on Drip, to find your account ID at the end.
•3 Paste the API token that you have copied.
Now, you can "Save".
9. In the 'Match fields', you should fill them according to the data you want to have. After you have completed it all, you can click "Save".
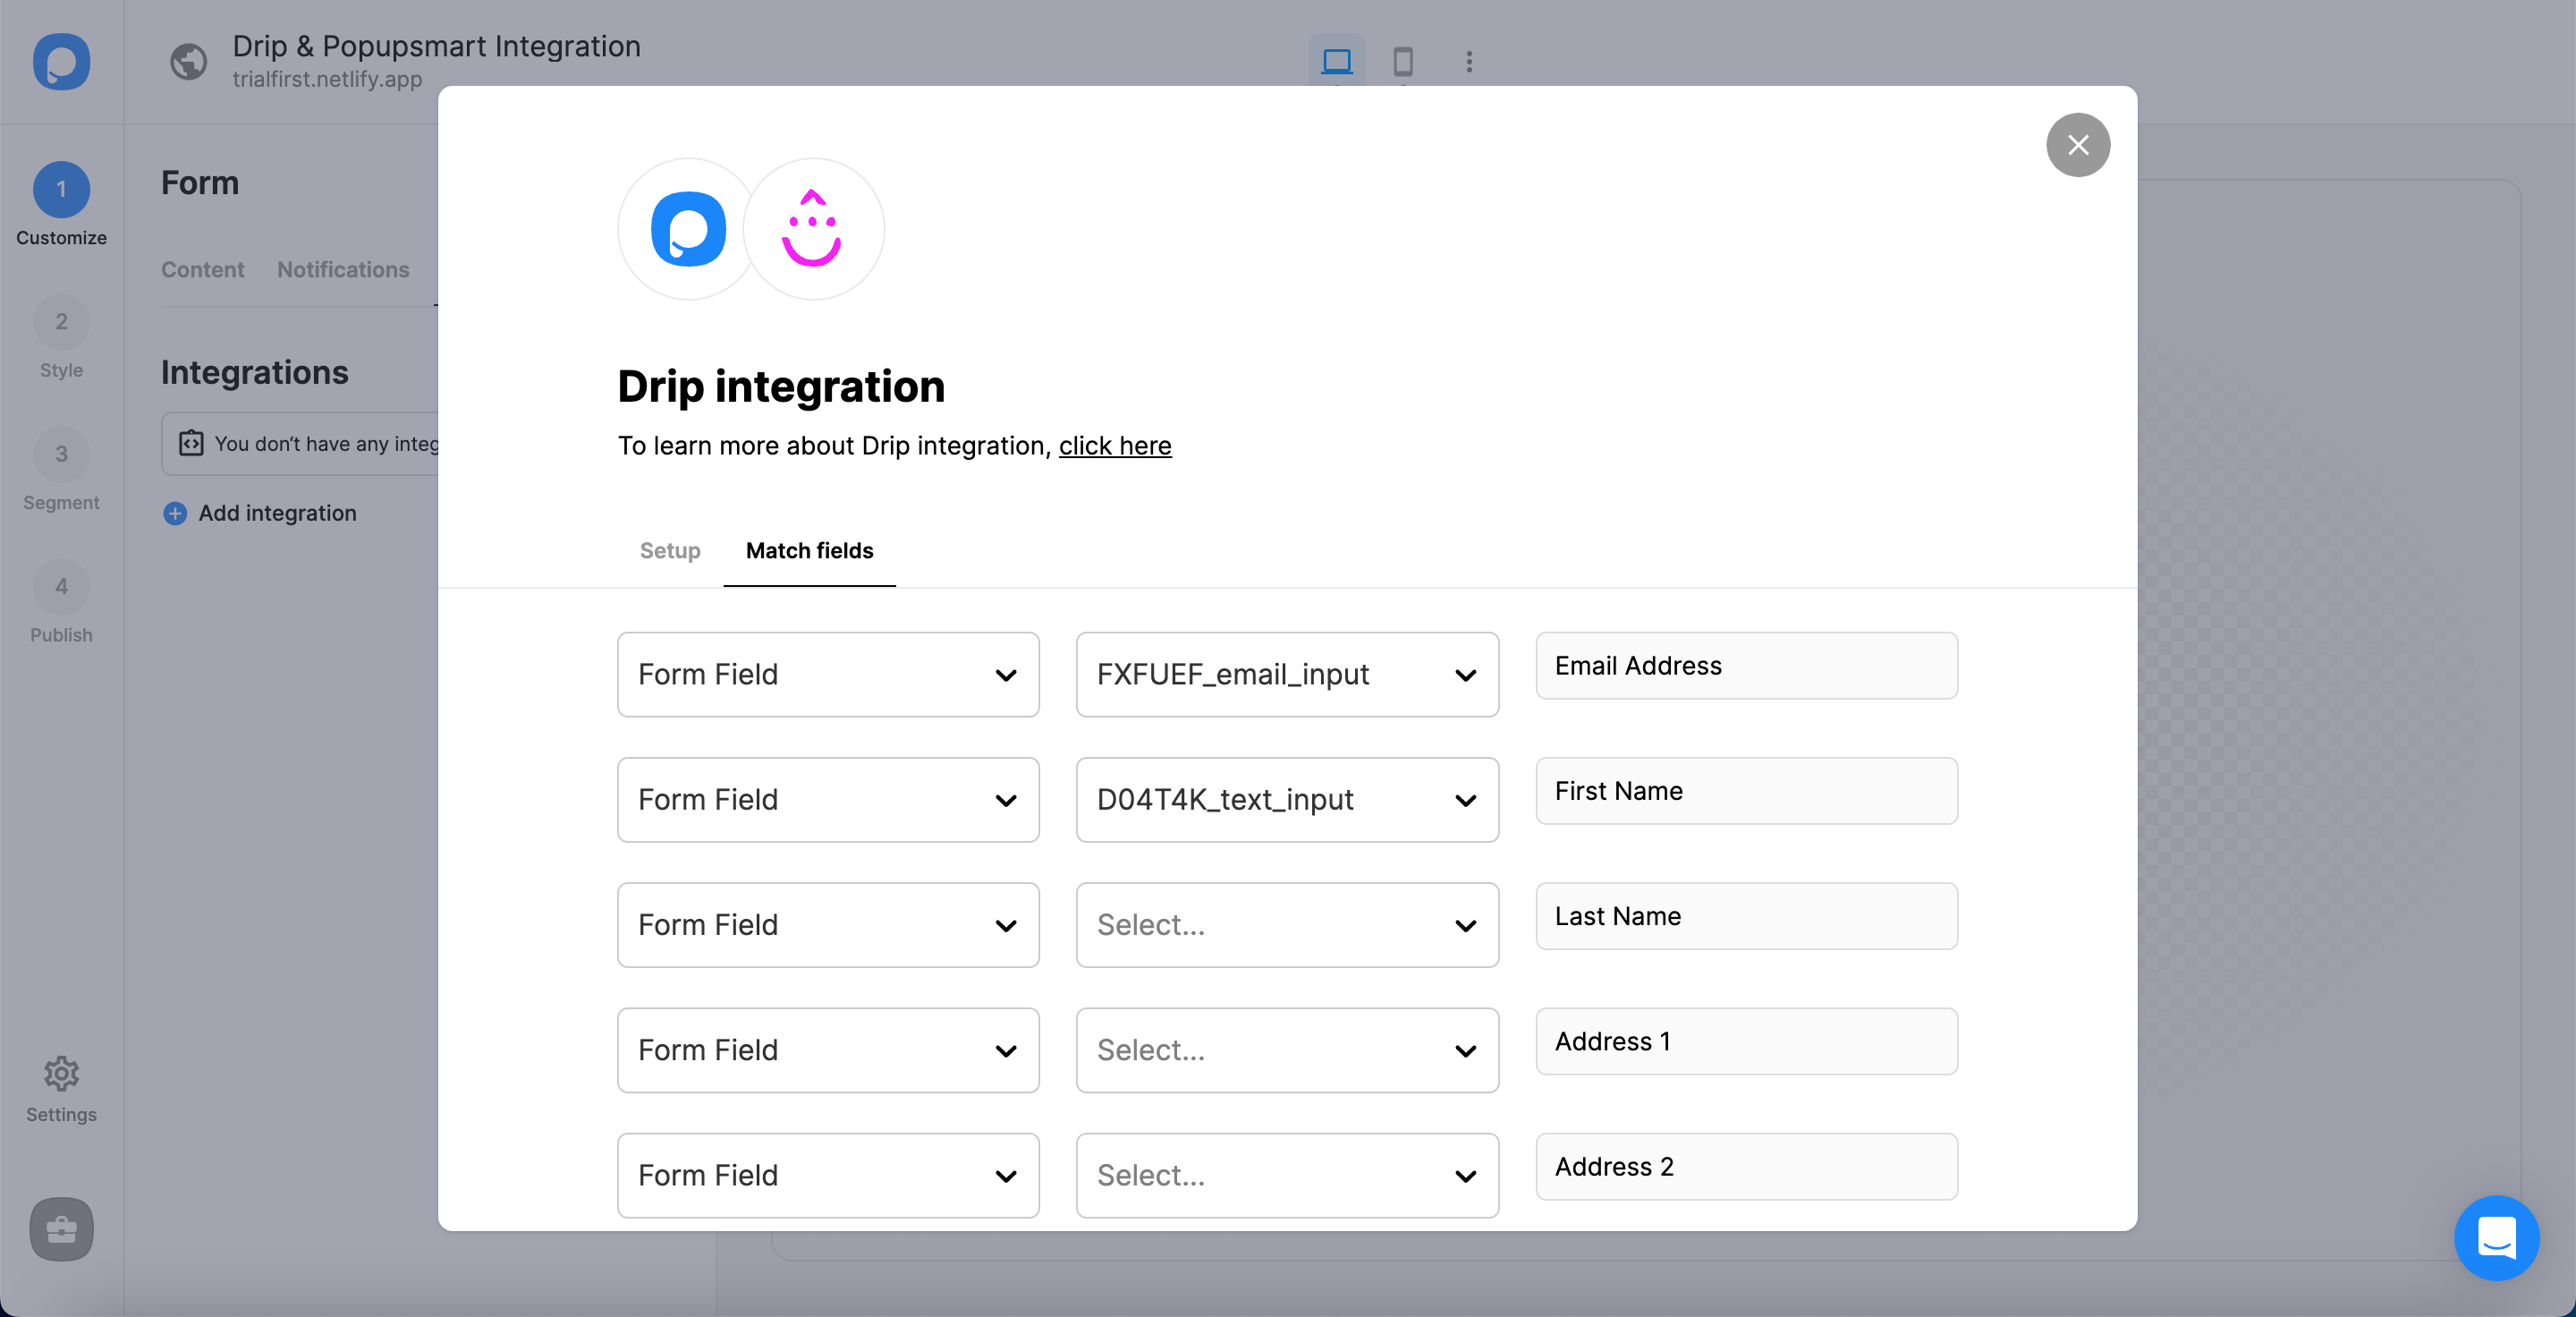
These fields may change according to the elements you include.
✅ Form Field: It is used if you put form elements in your popup. If you don't use any form element, you will see 'No options' on the dropdown.
✅ System Field: You need to choose your option based on what you demand to get as data. For example, you can get the Browsers or Devices of the people who filled the popup.
✅ API Field: You can transfer the data you sent to Popupsmart JS API with the integration again. You can get your data from your Drip account.
✅ Static Field: You need to determine the specific data you want. For example, you may want to have sales or downgrades, so you can put them as (sales) or (downgrades).
That's all!
You have completed your Drip integration successfully!
When you complete your Drip integration, the status will be on by default. You can change the status with the three-dot only by toggling it on and off.
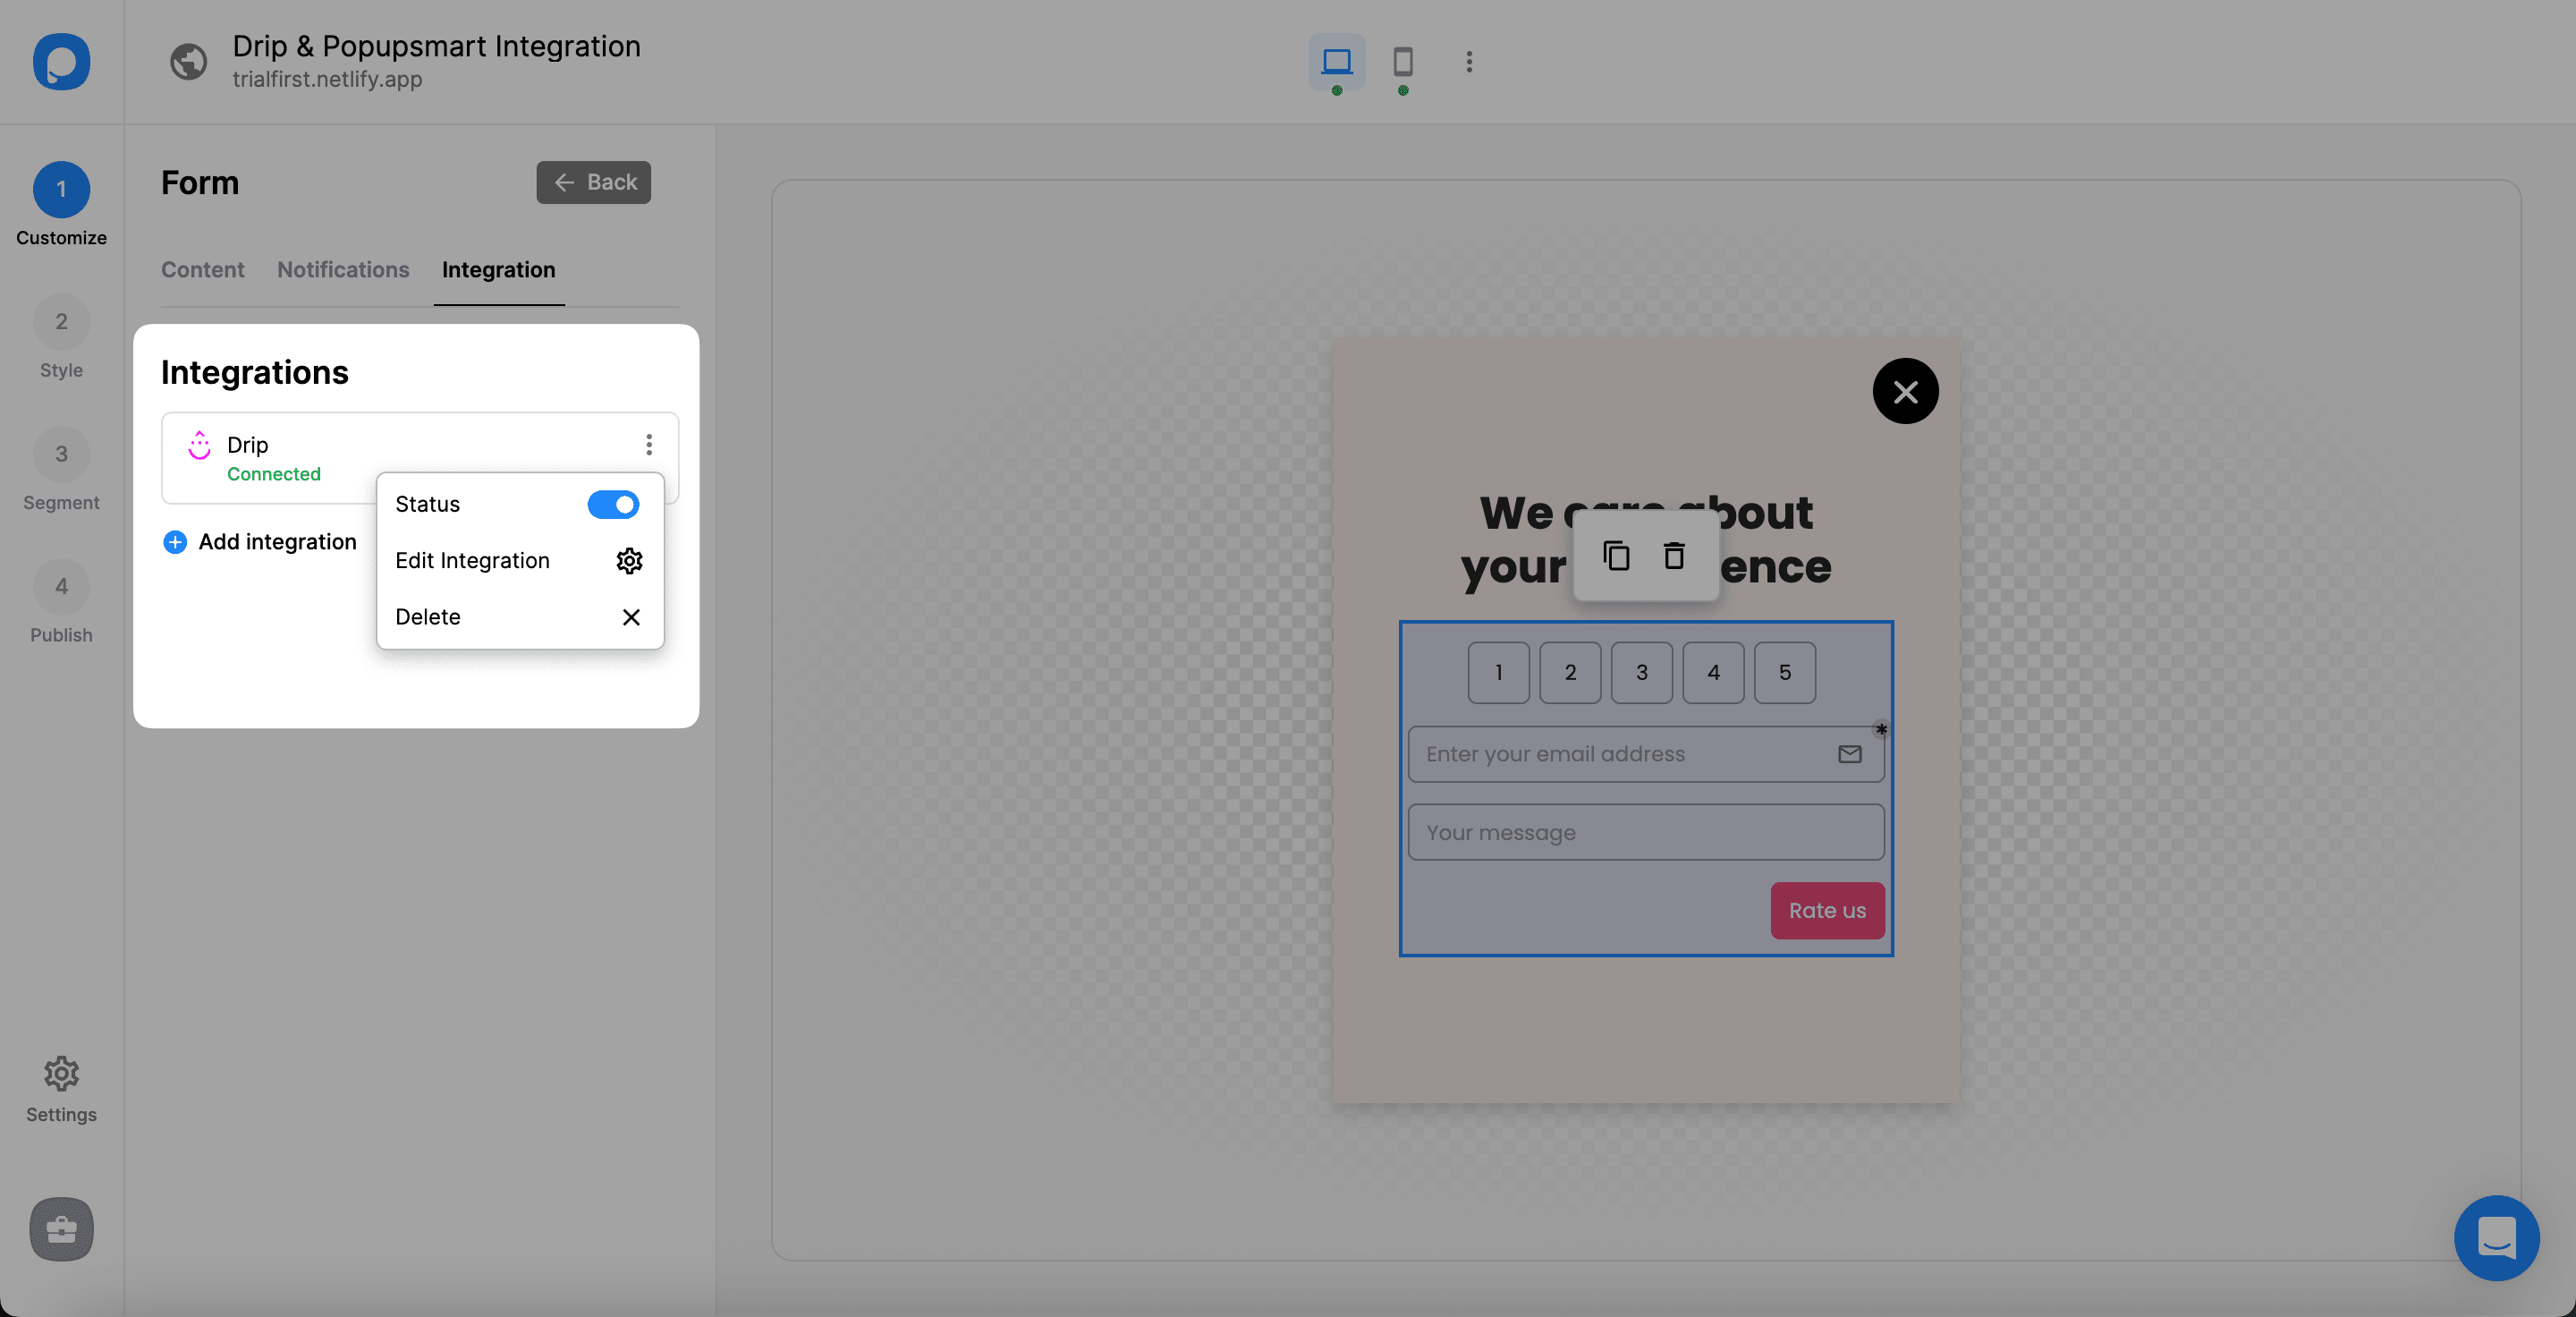
❗️Note: You can also make the Popupsmart & Drip integration on Settings, where you can configure all your settings.
If you have any other questions about Drip integration, feel free to mail us!


