Increase Sales Conversion
Can’t turn your site traffic into sales?
Reduce Cart Abandonment
Your customers abandoning their carts?
Promote Products & Offers
Make potential customers notice special offers.
Collect Form Submission
Struggling to collect form submissions?
Get More Phone Calls
Let them call you directly via popups.
Grow Email List
Having trouble growing your email list?
Gamify Your Campaign
Choose your offer and let the game begin.
Make Announcement
Make sure important news unmissed.
Increase User Engagement
Keep visitors & customers on your site longer.
Collect Feedback & Surveys
Can’t draw attention to your surveys?
Facilitate Social Sharing
Grow social media followers and likes!
# How to Adjust Popup Style
Popupsmart offers highly customizable popups for its users. By customizing your popup independently, you can get the best results from your campaigns.
To learn how to adjust your popup’s layout easily, watch or read this quick guide:
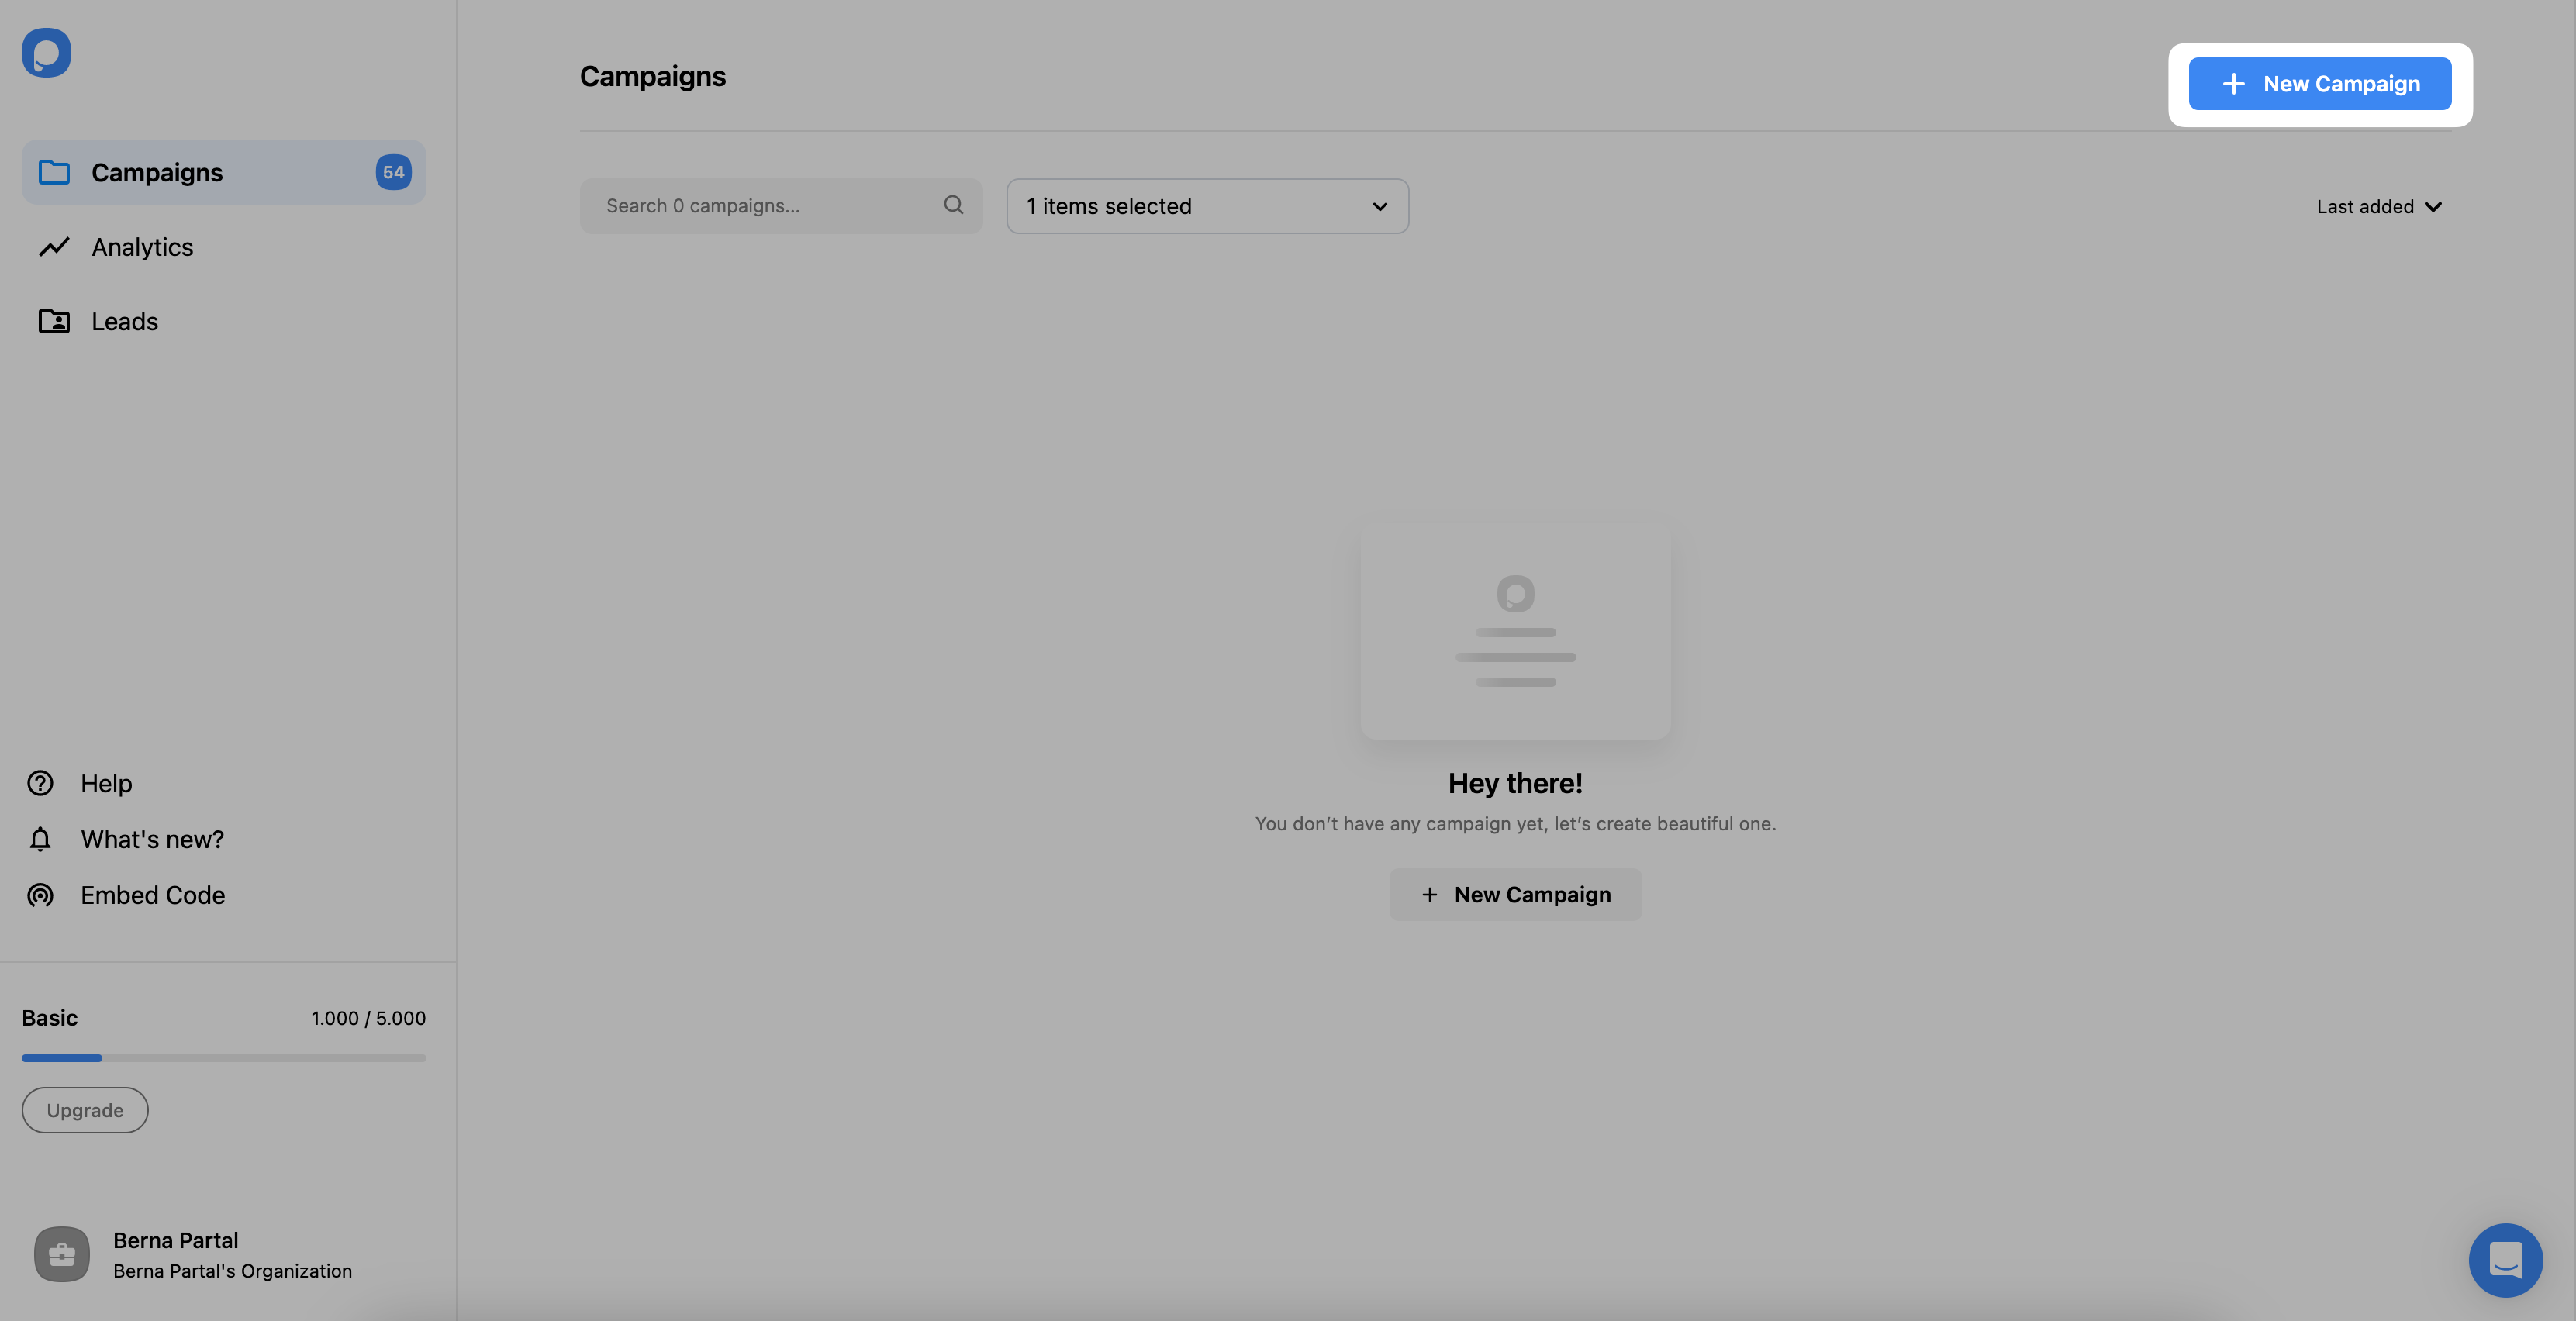
1. Click “New Campaign” to create your popup & choose a template.
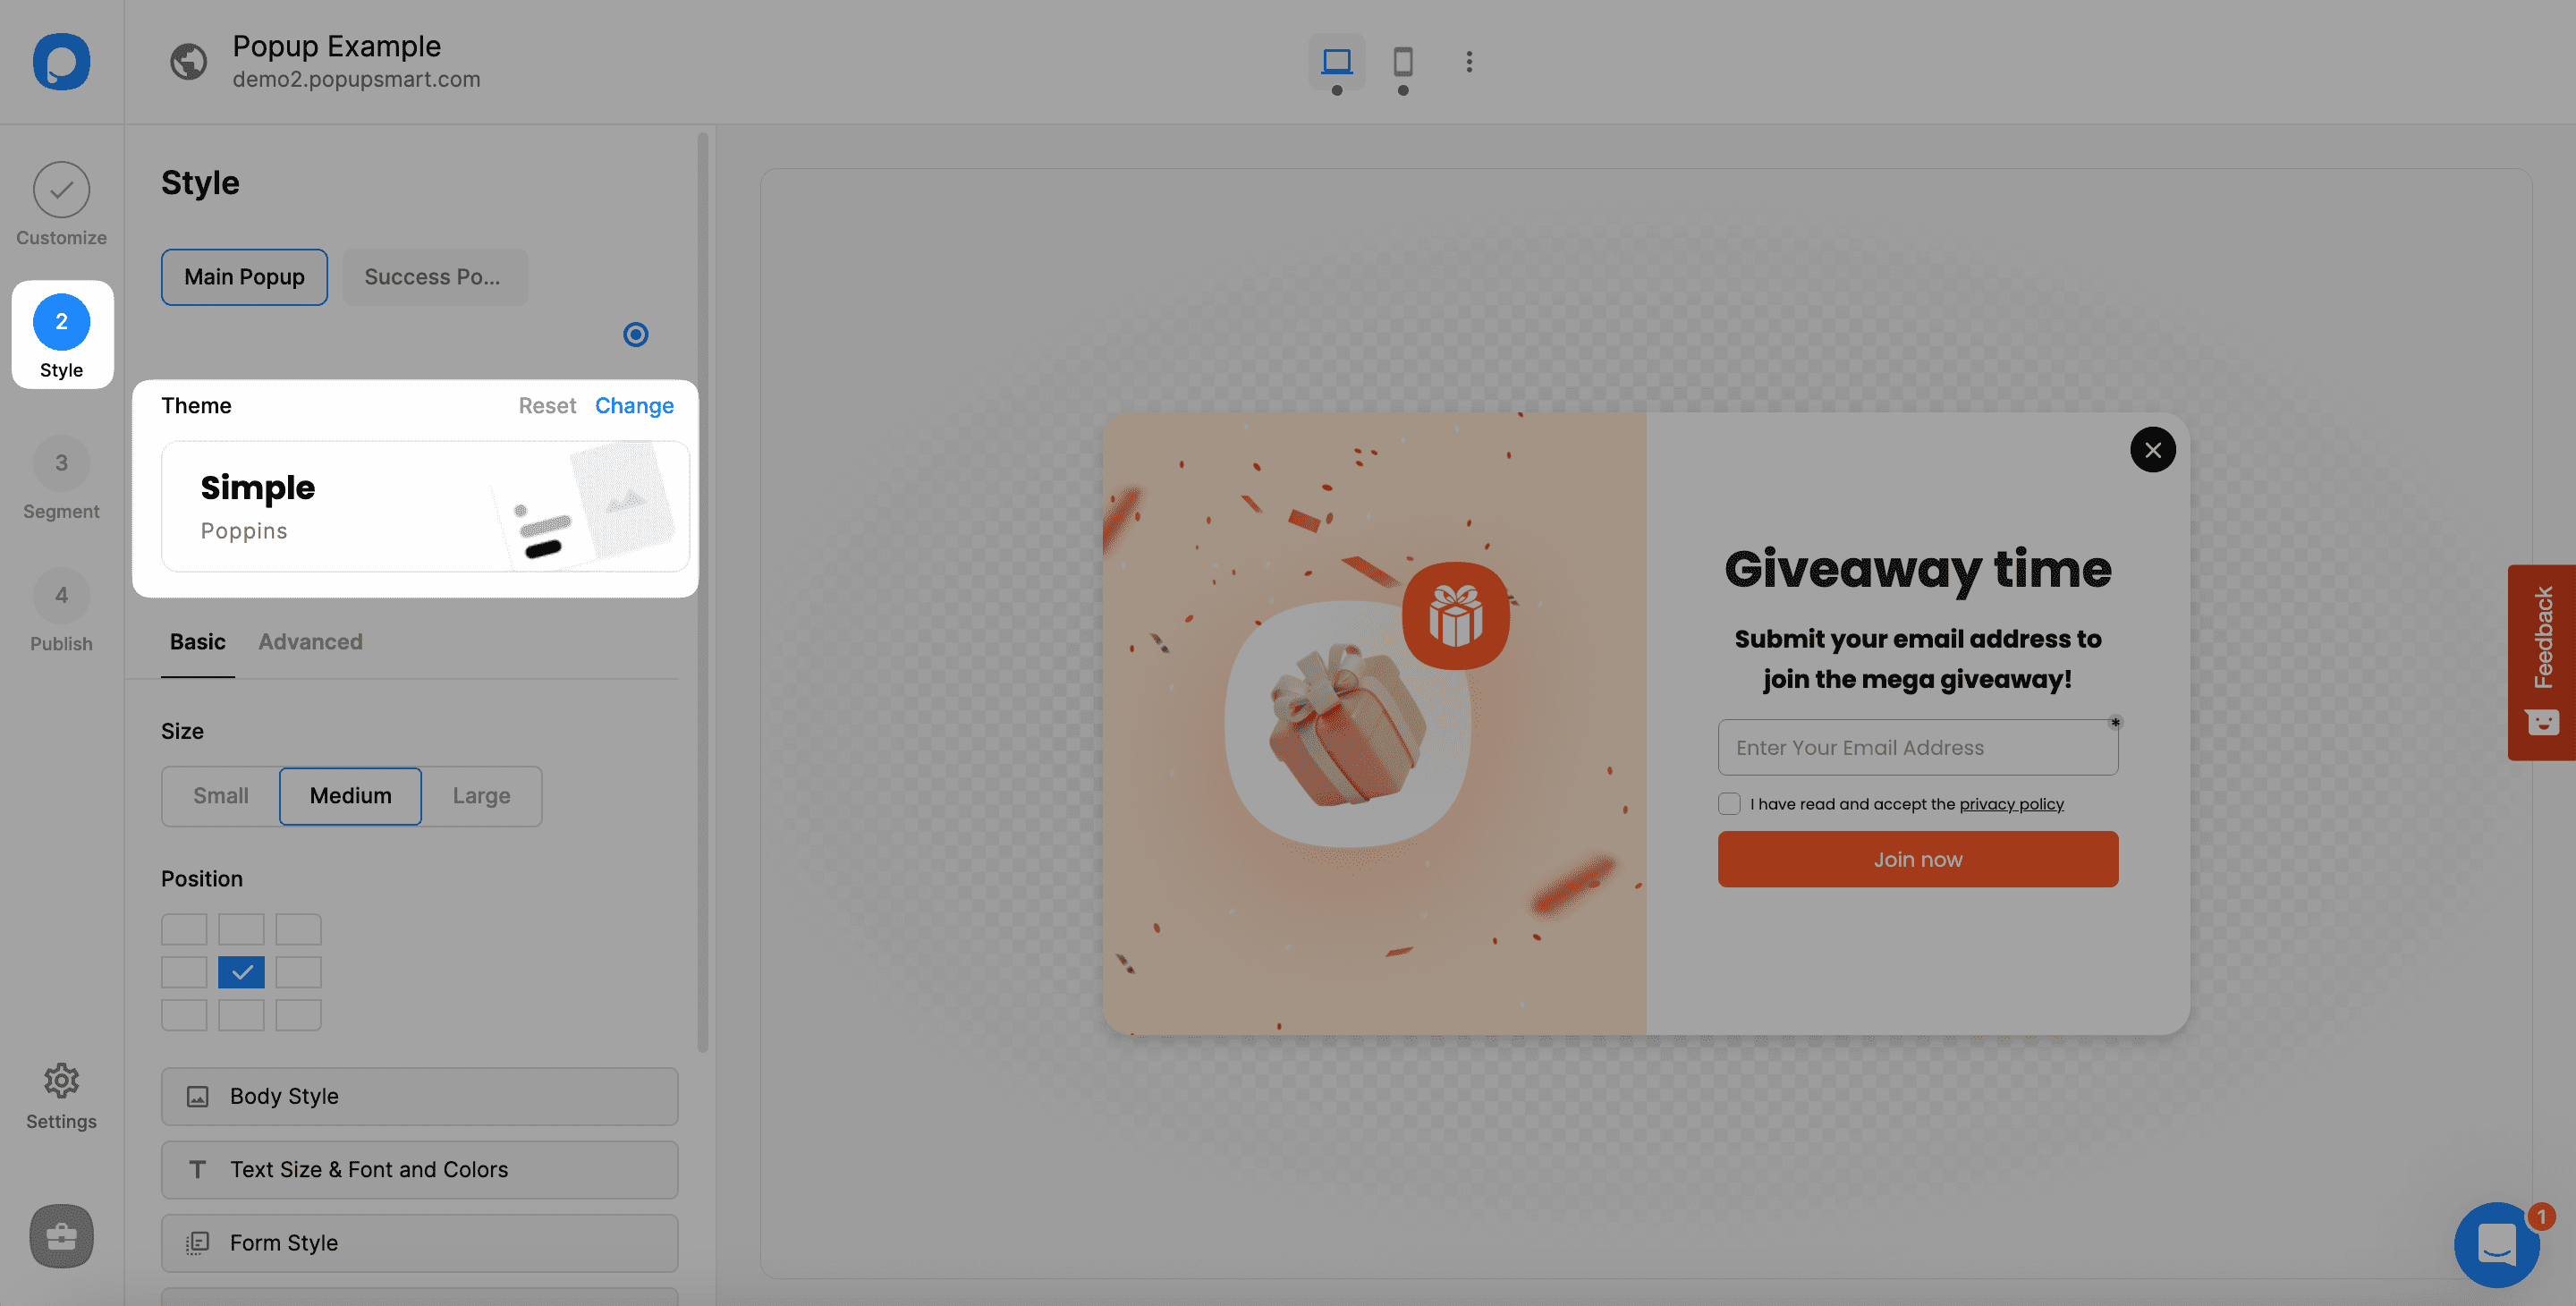
2. Then, you will be redirected to the “Customize” section. Go to the “Style” step. From the “Theme” part, click “Change” to select your popup layout’s theme among well-designed and ready-to-use themes.
3. From the "Size" part under the Basic, you can quickly determine your popup’s size from the small, medium, and large options.
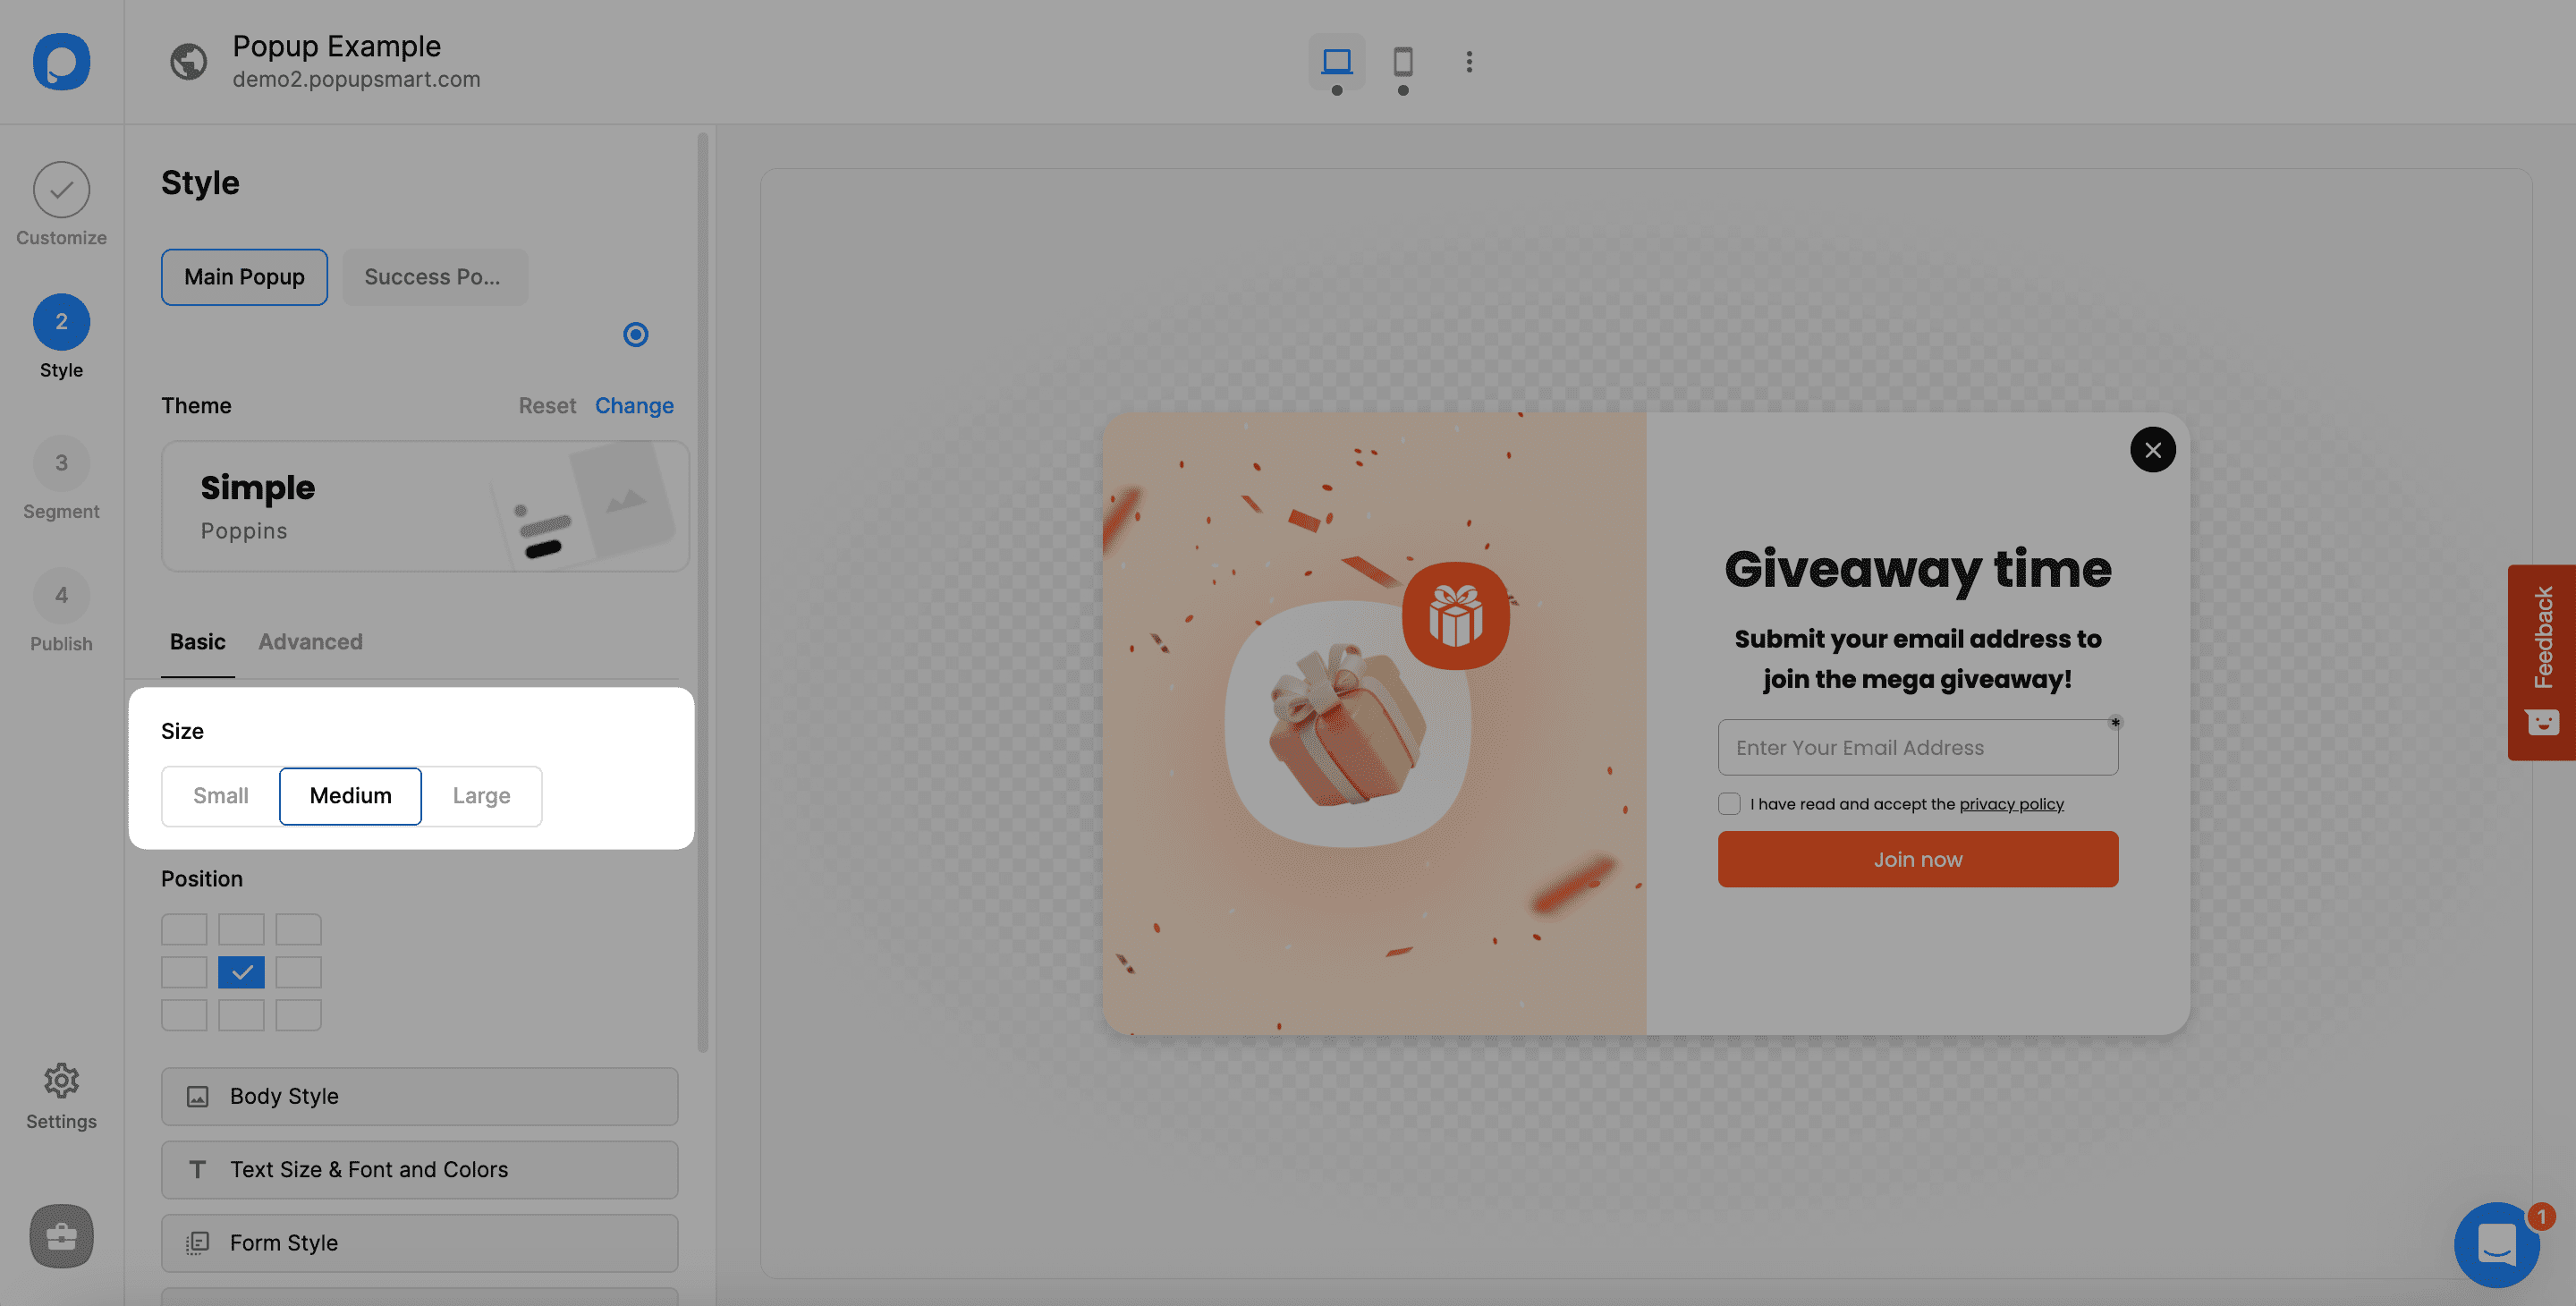
Customizing your popup’s size is excellent for adjusting how it looks according to your website’s needs.
4. You can determine the position of your popup on the website by choosing the related part.

5. From the “Body Style” part, you can select a background color for your popup or add a background image. It’s possible to add a Lottie animation for the background.
Besides, you can determine the popup’s shape and opening effect for your popup from the dropdowns.
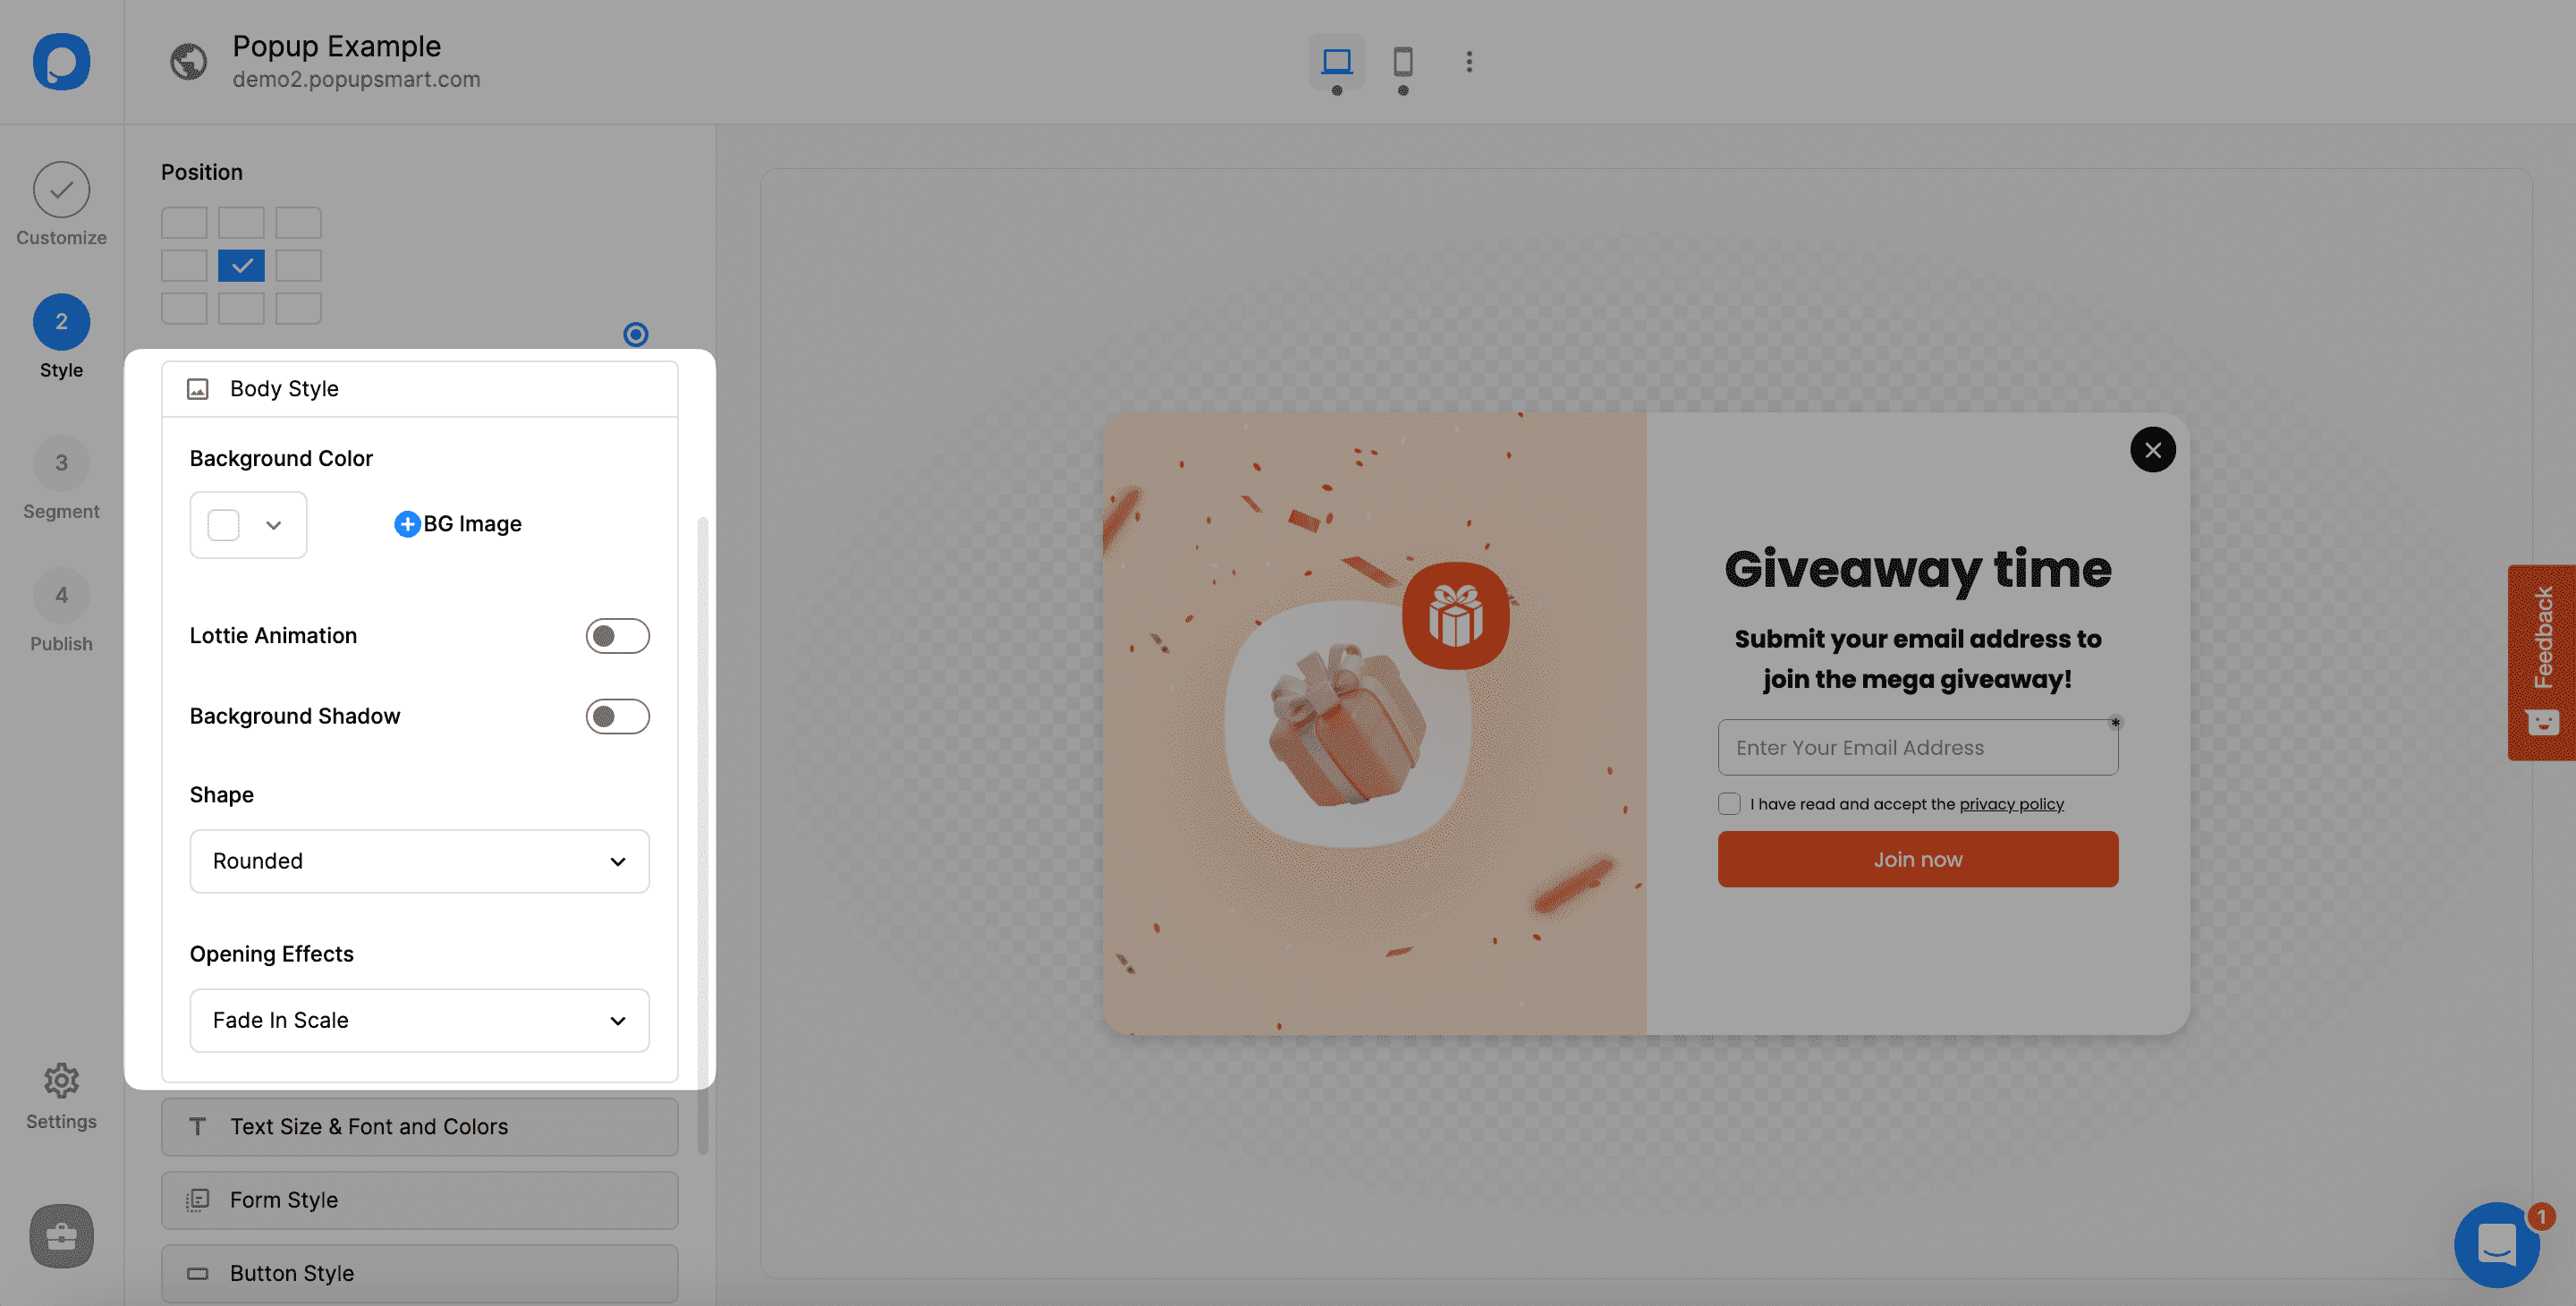
You can also add background shadow, overlay color, and opacity from this part.
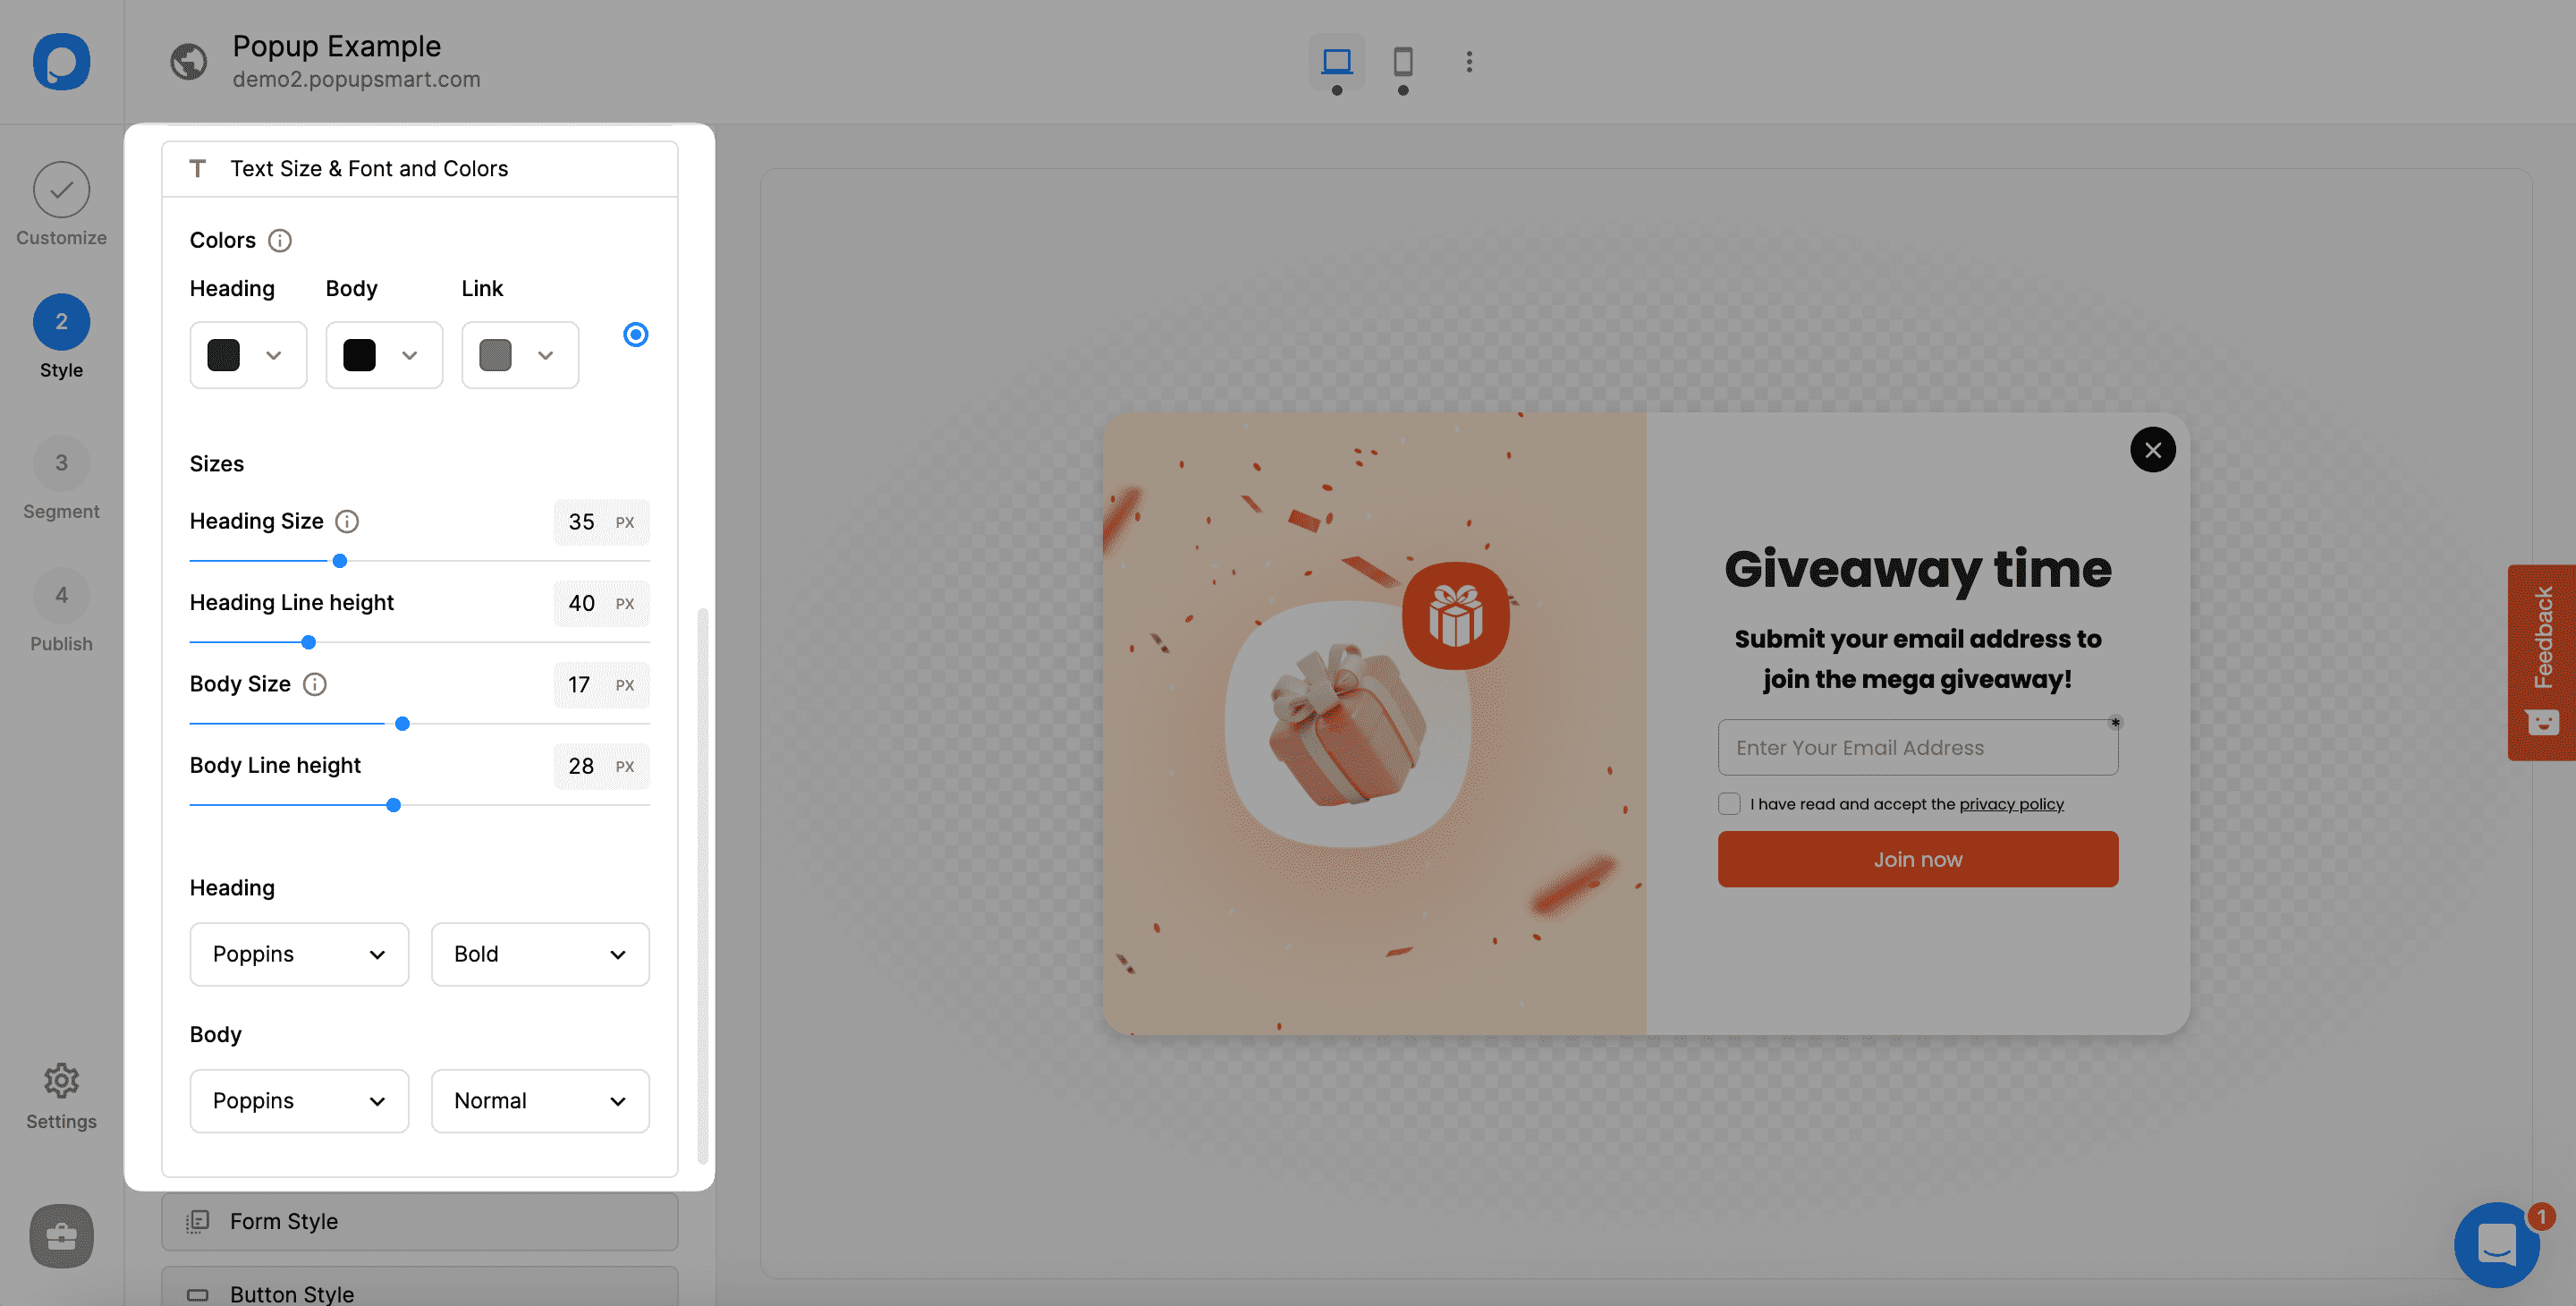
6. Apart from these, you can set your popup style’s fonts, text size, and colors from the “Text Size & Font and Colors” section. Here are what you can edit:
• The colors of the heading, body, and link texts on the “Colors” part,
• The heading size, heading line height, body size, and body line height on the “Sizes” part,
• The fonts and font weights of the heading and body on the “Heading” and “Body” parts.
✳️ Tip: If you want to add more fonts in this section, you can click on “More fonts” and choose fonts from Google Fonts.
Click on the font you want to add to your campaign and close the Google Fonts window.
Then, the fonts you selected will appear in your Fonts section.
See the "How to Add Fonts" article for further details.
7. By going to the “Form Style” part, you can adjust the form elements’ style.
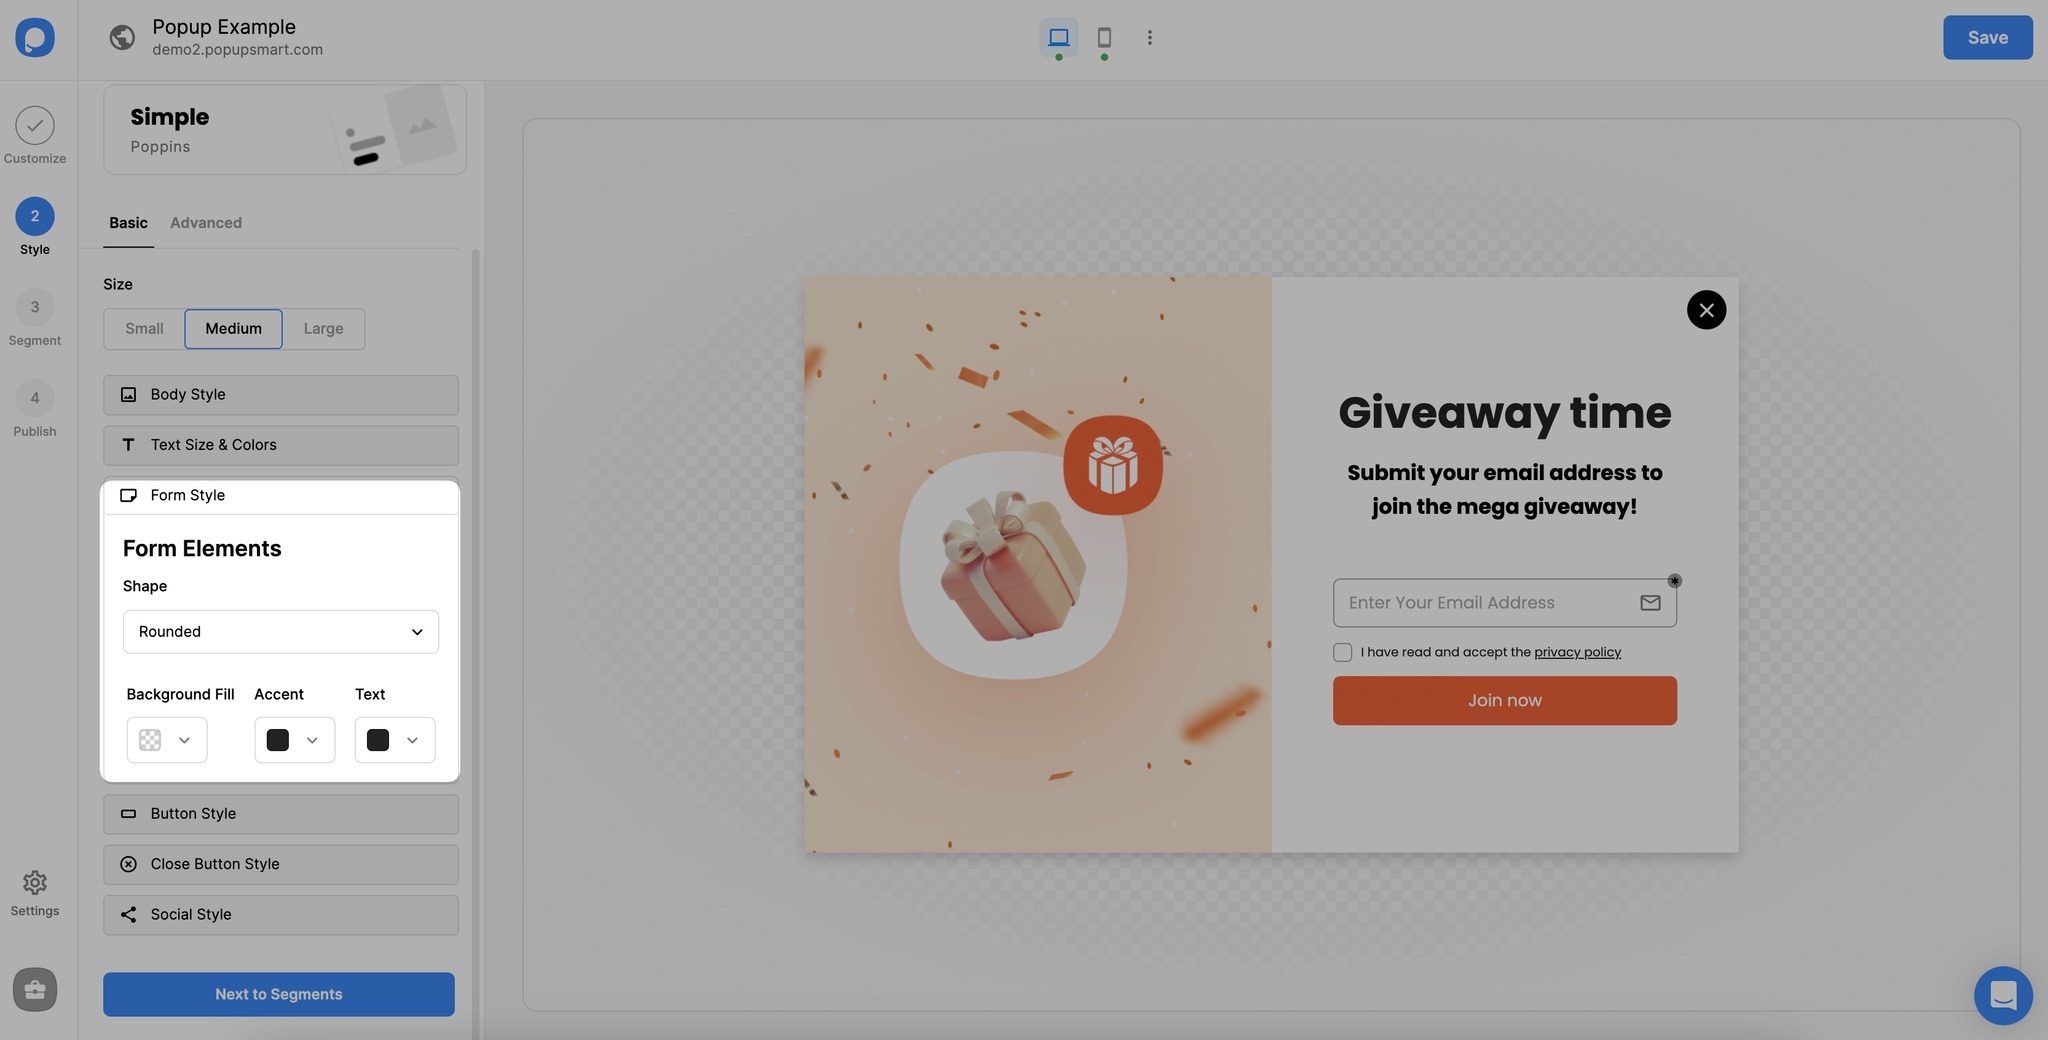
You can change the form elements’ shape, background fill, accent, and text on this part.
8. From the “Button Style” part, you can adjust the shape and colors of your popups’ buttons.

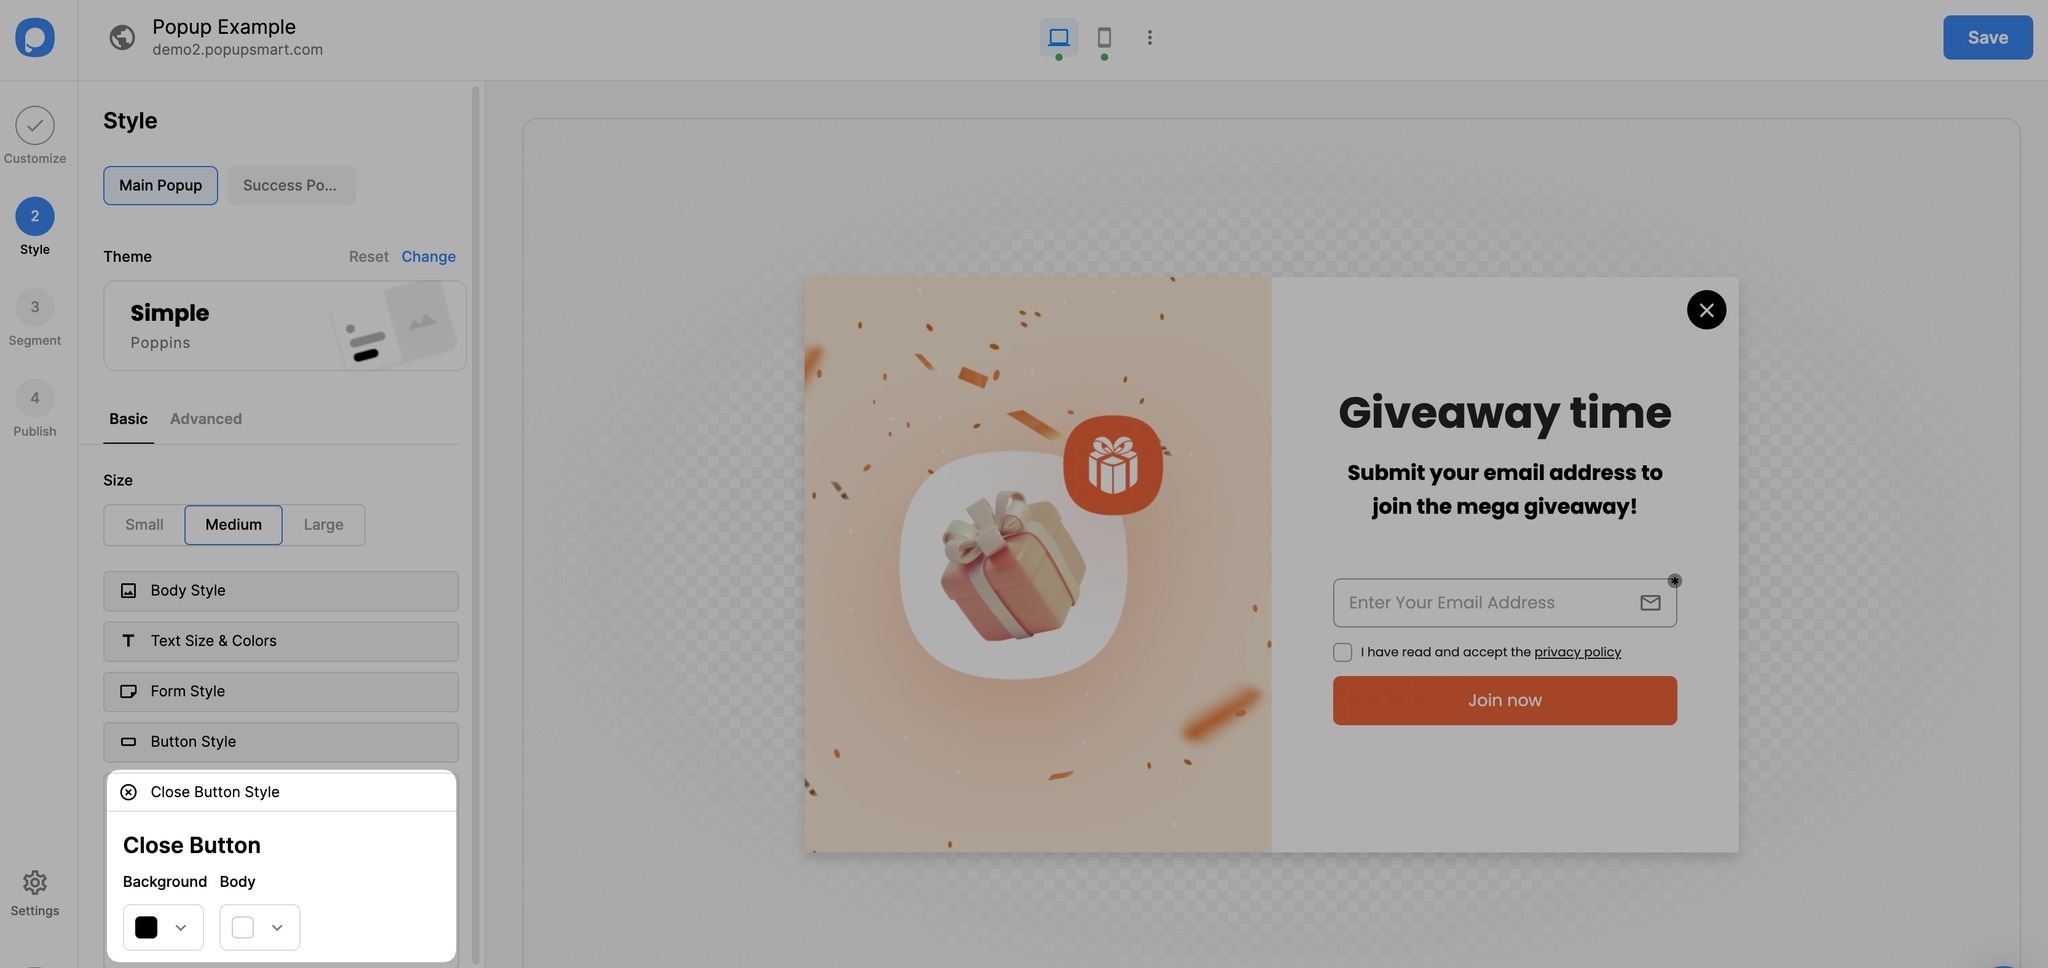
9. By going to the “Close Button Style” part, you can select its background and body colors.
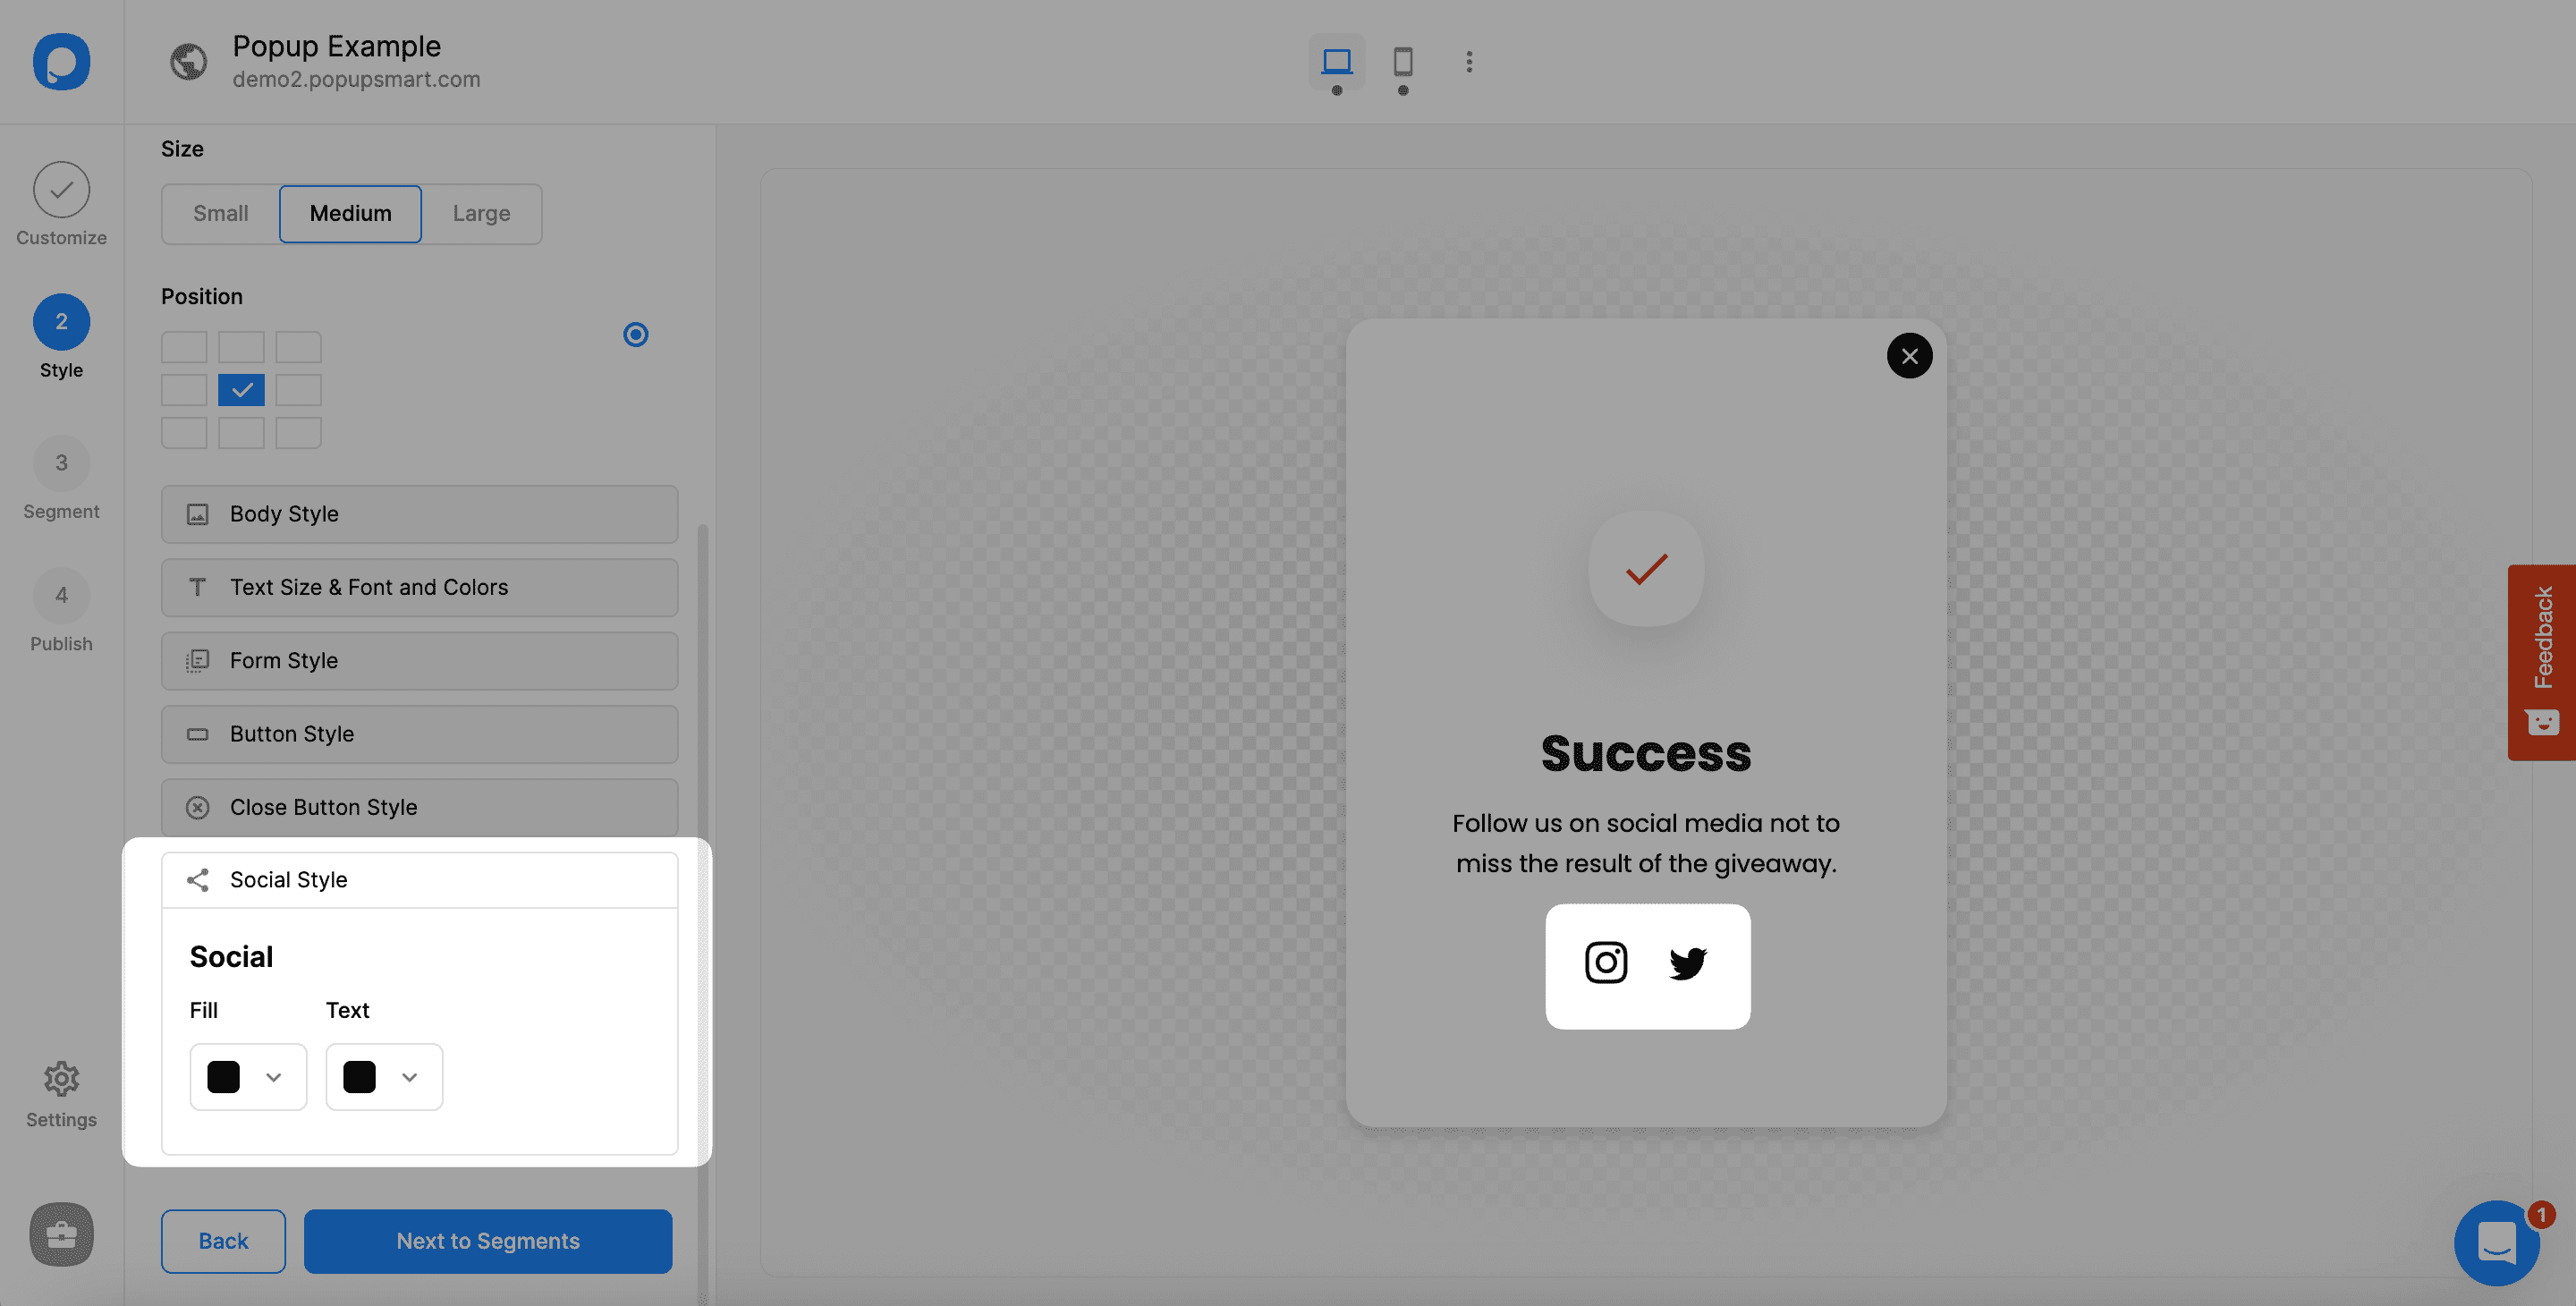
10. When there is an extra element on the Success popup, you can adjust its style here as well. For example, since there are social elements on the success popup, you can adjust its Fill and Text colors.
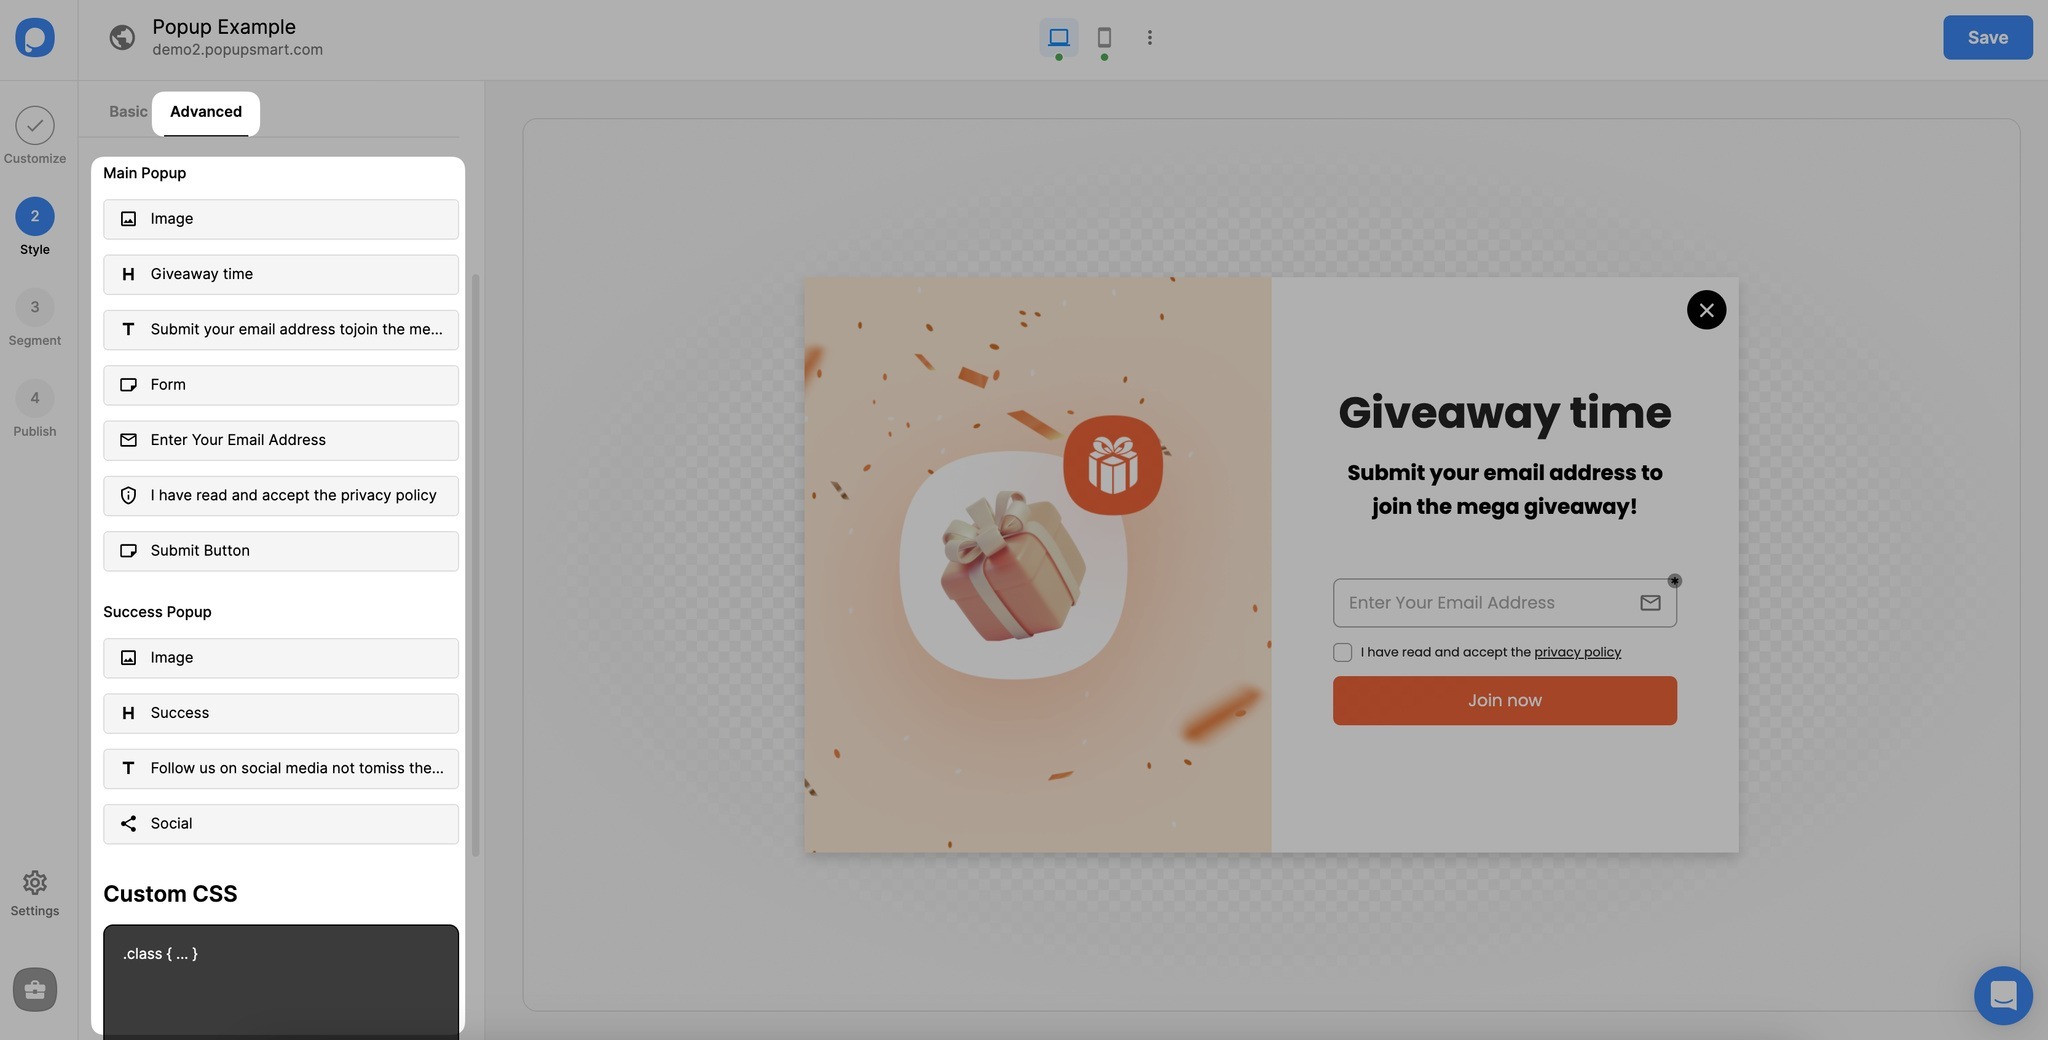
11. For further customization options, you can go to the "Advanced" part and customize your layout's margins and paddings, and add Custom CSS.
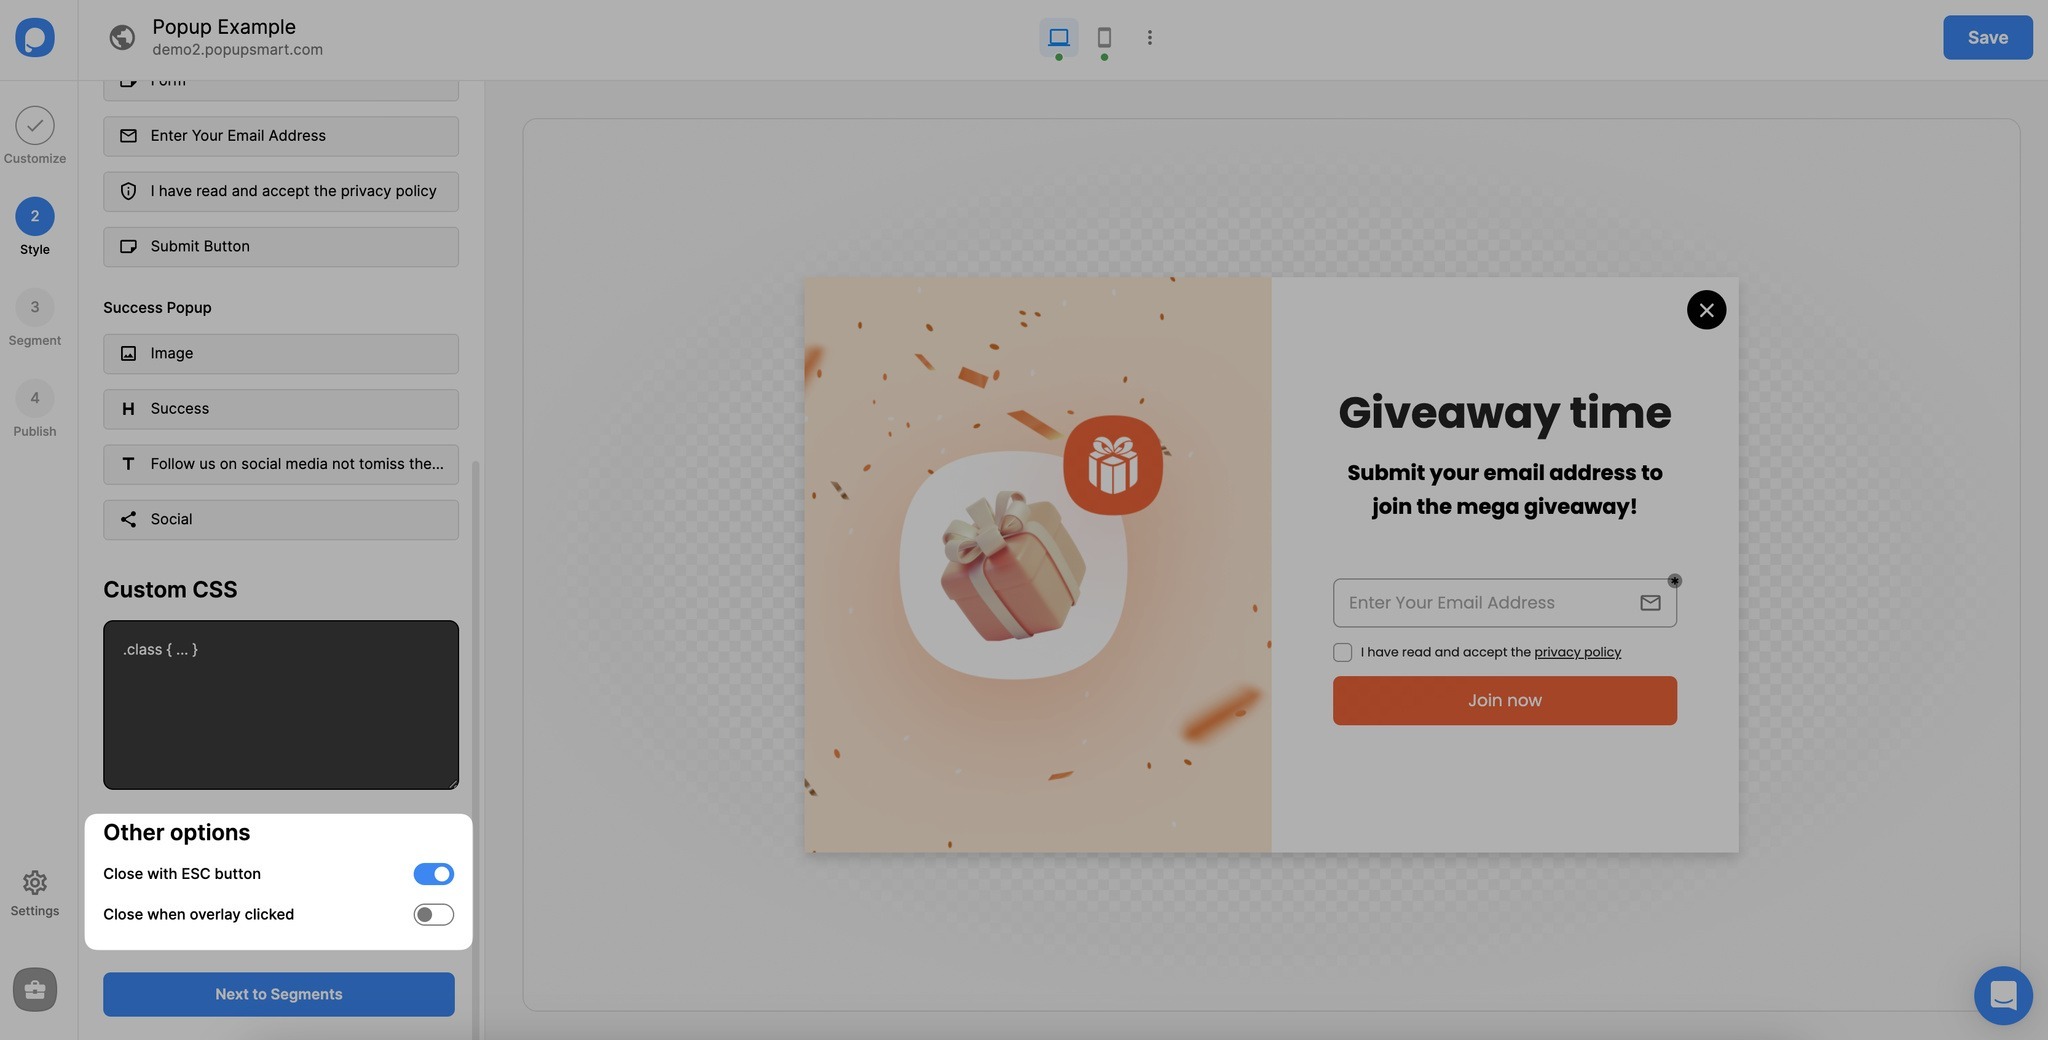
Also, from the “Other options” part, you can select closing options among the “Close with ESC button” and “Close when overlay clicked” options.
See "How to Add New Elements & Use Drag and Drop Editor" to independently customize your popup campaigns' elements.
Have more questions about customizing your popup layout? Contact us for further information!


